Work Page 9-26
A.D. Windsor
Olly Oakley Model
Circa 1900s
5 string Zither Banjo
U.K
Repair per customer's instructions.
Seal wood, replace missing marquetry.
INITIAL PICS
5 string Zither Banjo
U.K
Repair per customer's instructions.
Seal wood, replace missing marquetry.
INITIAL PICS
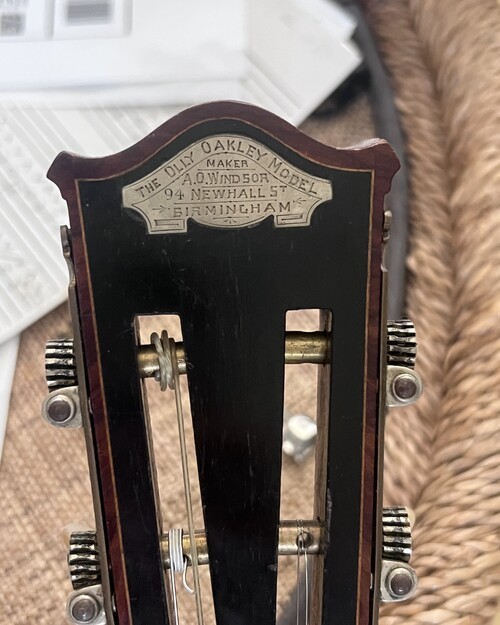
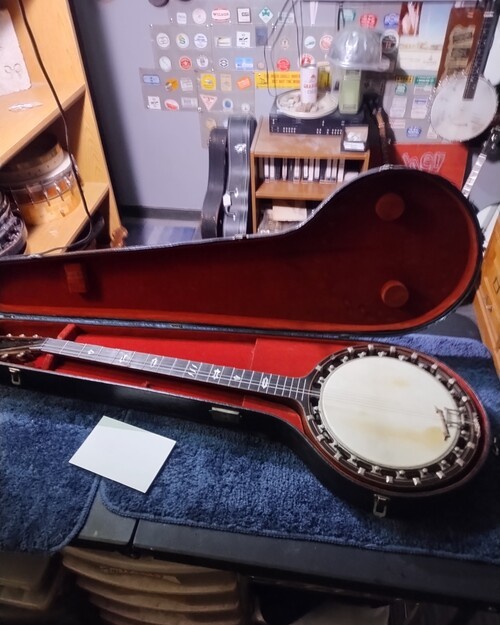
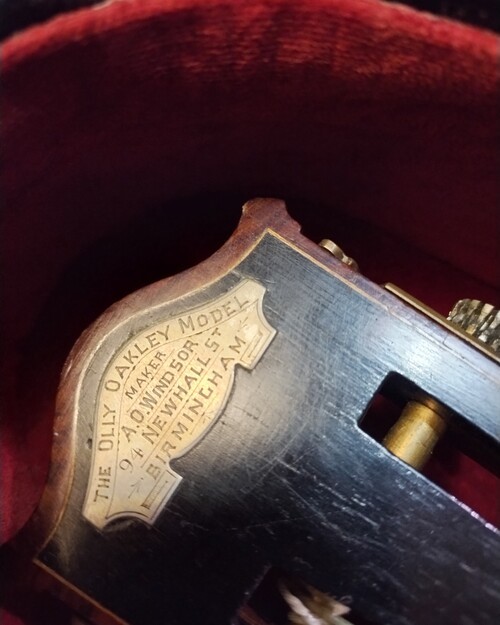
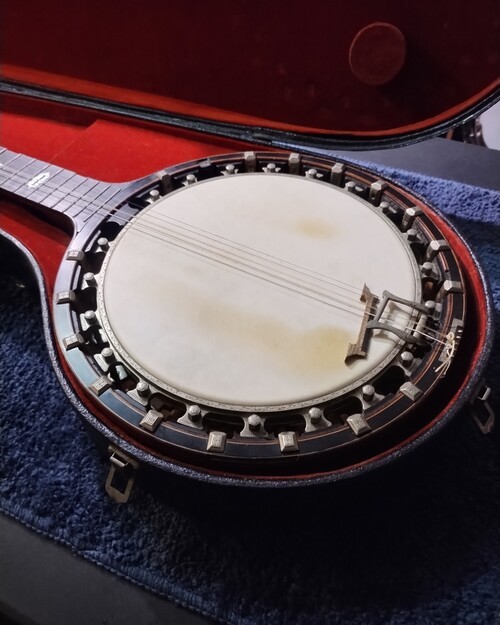
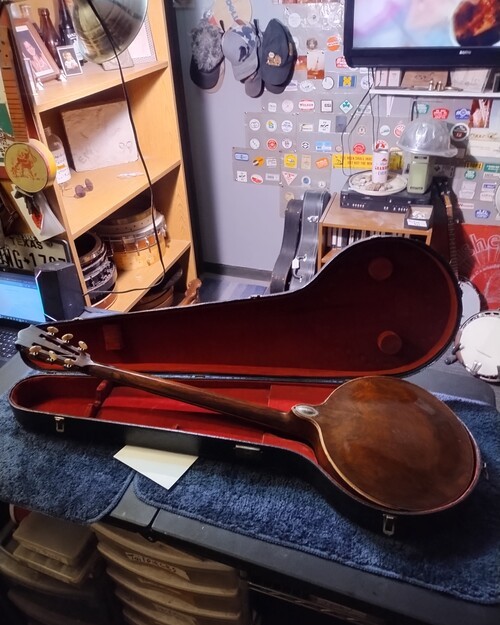
Setting up an antique Windsor zither-banjo requires a specialized approach. Because zither-banjos are lightly braced and structurally distinct from modern American banjos, using standard steel banjo strings can warp the neck or pull the delicate floating rim out of the wooden body
Evaluation
On these instruments, the neck is hollow.
Also, they have a tunnel, for the 5th string.
The 5th string runs into a brass tube that exits up at the 5th fret.
There is a visible forward pull of the neck starting around the tenth fret back to the nut.
This is why the action is so high.
By design, it is too risky to attempt a heat press so compression fretting is all that can help this issue to a minor extent.
I will show this in the following pics and discuss it with the owner along with it's other issues.
Evaluation
On these instruments, the neck is hollow.
Also, they have a tunnel, for the 5th string.
The 5th string runs into a brass tube that exits up at the 5th fret.
There is a visible forward pull of the neck starting around the tenth fret back to the nut.
This is why the action is so high.
By design, it is too risky to attempt a heat press so compression fretting is all that can help this issue to a minor extent.
I will show this in the following pics and discuss it with the owner along with it's other issues.

High acvtion, with no string tension at all.

Showing the hollow neck.

I will attempt to fab one from this carcass.

Attempting to show neck curvature.

Missing a bracket, ...sad.

Showing built-in neck, only a fool would ty to remove it.
Disassembly

Head must be removed to remove rim assembly

Holes for inserting screwdriver

This will be cleaned as 1 piece.

twin dowel sticks, tuning fork thoughts?


Neck cavity, wedges were for holding neck tight during gluing, not removable.
Repairs
Starting with the back.
It was about 50 percent "loose" already, with a bad spot up by the button (heel cap).
So I heated it where I needed to and removed it for repair.
One laminate was already separated on the button and stayed on the heel so I heated it as well, and got it off.
After I re-installed it, I use wood flour to level off all of the splintered area and block sanded it.
Added 2 coats of Lacquer and cleaned the areas where glue will be applied.
Flipped it over, added repair compounds to the 2 little split outs and tinted them.
Removed all of the shellac (Yes, not varnish, shellac) and will block sand to 600 and add 2 coats of lacquer to seal the wood before I start repairing the marquetry on the sidewalls.
After that, the back will go back on and its marquetry created and added.
This is a lengthy and time-consuming process, as it is what I call the "trifecta"
Conservation-Preservation-Restoration.
Starting with the back.
It was about 50 percent "loose" already, with a bad spot up by the button (heel cap).
So I heated it where I needed to and removed it for repair.
One laminate was already separated on the button and stayed on the heel so I heated it as well, and got it off.
After I re-installed it, I use wood flour to level off all of the splintered area and block sanded it.
Added 2 coats of Lacquer and cleaned the areas where glue will be applied.
Flipped it over, added repair compounds to the 2 little split outs and tinted them.
Removed all of the shellac (Yes, not varnish, shellac) and will block sand to 600 and add 2 coats of lacquer to seal the wood before I start repairing the marquetry on the sidewalls.
After that, the back will go back on and its marquetry created and added.
This is a lengthy and time-consuming process, as it is what I call the "trifecta"
Conservation-Preservation-Restoration.


This is it.

2 small chips in the rosewood.

Filling the chip-outs.

Chips filled

Shella removal.

2 coats of clear for now.

Broken marquetry repaired around heel.

It has to be sectioned, due to length.

Roughed in, now for the t-shell.


All gaps filled.

1st coat of oil.

All of the scrap that was left.

Taking on clear.

I will repair the nut.

Broken laminate.


Button repaired

Sealed.

Tinted.

Block sanded to 600#

Back re-installed

Installing 50 yr old "NOS" marquetry.


Celluloid will be used. Scraps of the old wood will be used on the top and neck.

Repairing the top, using scraps for the marquetry.

Frets dressed and polished. Fingerboard repaired.

Detail tinting repair joints.


2 more coats on the top side/inside.

It is a close match.
Repair Update 10-23-26
This sequence shows me cleaning the rest of the hardware, oiling the pegs, and then the assembly of the rim.
I am using a stanchion from a Barnes & Mullins just for the cosmetic effect. it is made differently so I glued it into place instead to keep the eye from drifting to the empty spot.
Then I strung it to pitch and used a rosewood bridge.
The strings are Aquila "Nyl-Gut" medium tension.
The action is acceptable now for this style banjo.
The string spacings on the bridge are constrained by the tailpiece design so this is as wide as it wants to be.
Not as wide as bluegrass spacings for sure.
It has a nice bright and perky tone from the small diameter skin head.
Then some final pics as I let things settle in, tweak things.
I will take that shiny gloss down with some hand polishing so it has more of a satin look again.
I am using a stanchion from a Barnes & Mullins just for the cosmetic effect. it is made differently so I glued it into place instead to keep the eye from drifting to the empty spot.
Then I strung it to pitch and used a rosewood bridge.
The strings are Aquila "Nyl-Gut" medium tension.
The action is acceptable now for this style banjo.
The string spacings on the bridge are constrained by the tailpiece design so this is as wide as it wants to be.
Not as wide as bluegrass spacings for sure.
It has a nice bright and perky tone from the small diameter skin head.
Then some final pics as I let things settle in, tweak things.
I will take that shiny gloss down with some hand polishing so it has more of a satin look again.


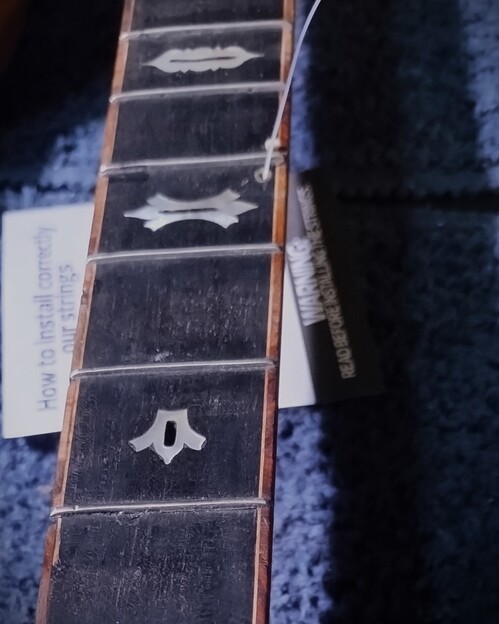


Final Pics


Thanks for looking and sharing, VM