Work Page 5-26
Custom Banjo Resonator
Repair as per customer instructions
Replace Binding with custom binding.
"Hey Vinnie,
I have a resonator that is very special to me that needs some (hopefully not too elaborate) restoration.
I collect all banjos associated with Chuck Ogsbury, from Ode to Baldwin to Ome, as well as a company founded by Chuck’s shop foreman, Monty Novotny (NBN Guitars). Monty and NBN were based in Longmont, Colorado and used parts purchased from Ode that Baldwin did not want/need. They built slightly different banjos, including solid carved rosewood resonator backs and LOTS of herringbone!
I have a carved resonator on a banjo I’m slowly restoring. The resonator is constructed with kerfing and the side walls (which I believe are laminated) have contracted at a different rate and the binding has broken and come off. Basically, I’m not looking to have the banjo refinished but I am looking to have this construction issue addressed and have the resonator sidewalls rerouted and rebound with W/B/W grained ivoroid."
Image of example of the desired look below:
Replace Binding with custom binding.
"Hey Vinnie,
I have a resonator that is very special to me that needs some (hopefully not too elaborate) restoration.
I collect all banjos associated with Chuck Ogsbury, from Ode to Baldwin to Ome, as well as a company founded by Chuck’s shop foreman, Monty Novotny (NBN Guitars). Monty and NBN were based in Longmont, Colorado and used parts purchased from Ode that Baldwin did not want/need. They built slightly different banjos, including solid carved rosewood resonator backs and LOTS of herringbone!
I have a carved resonator on a banjo I’m slowly restoring. The resonator is constructed with kerfing and the side walls (which I believe are laminated) have contracted at a different rate and the binding has broken and come off. Basically, I’m not looking to have the banjo refinished but I am looking to have this construction issue addressed and have the resonator sidewalls rerouted and rebound with W/B/W grained ivoroid."
Image of example of the desired look below:
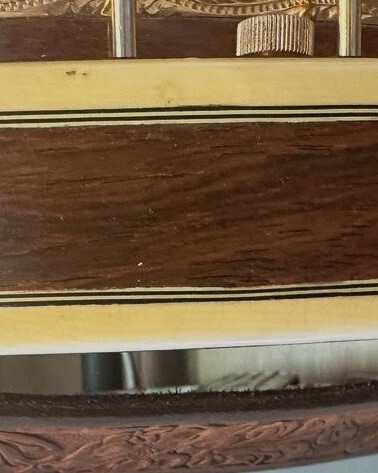
Example
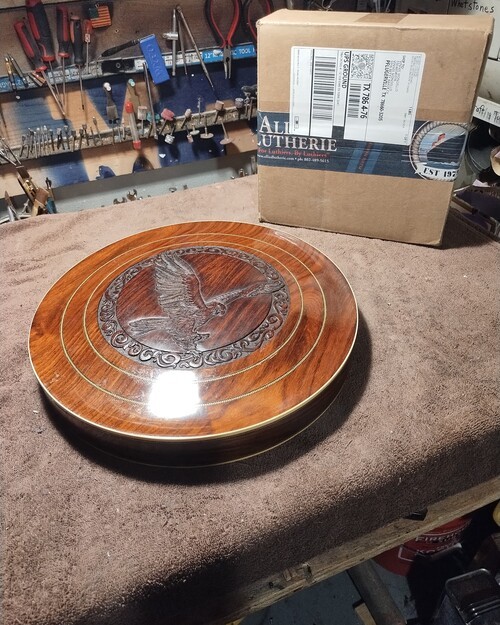
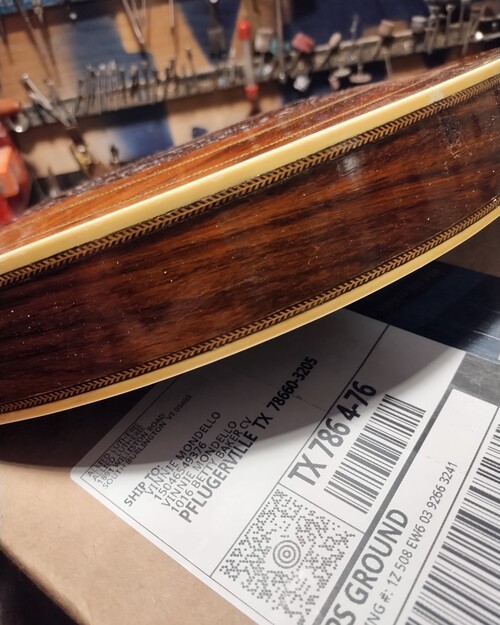
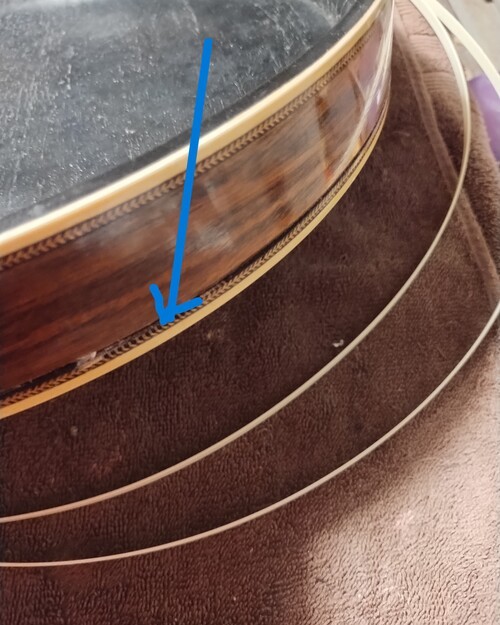
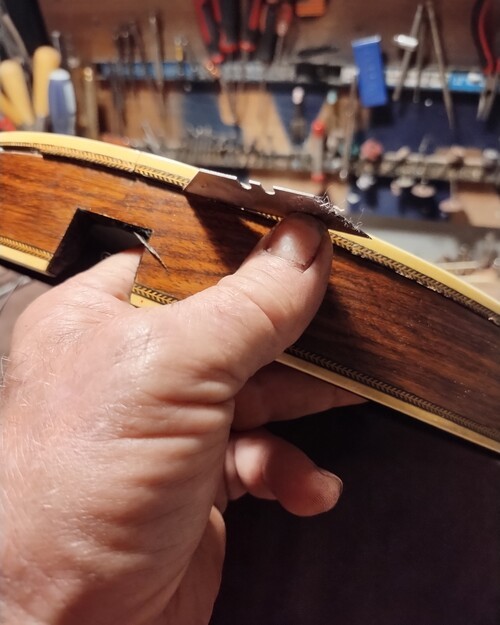
Back is separating in this area and on the other side as well.
The back is off center from glue release.
Celluloid binding off.
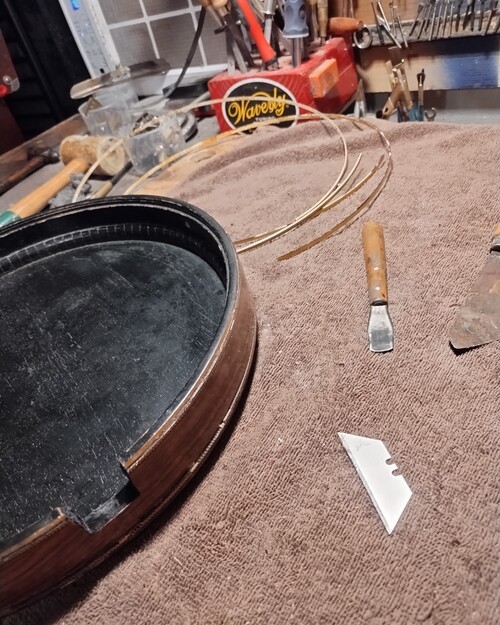
Removing the back, a few tight spots, mostly loose.
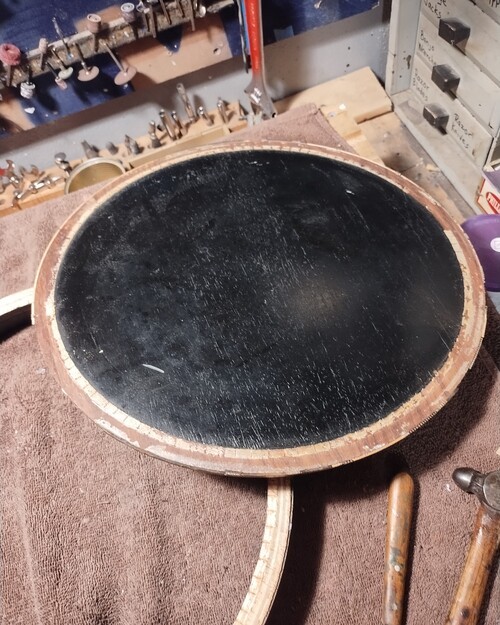
Came off fairly clean.
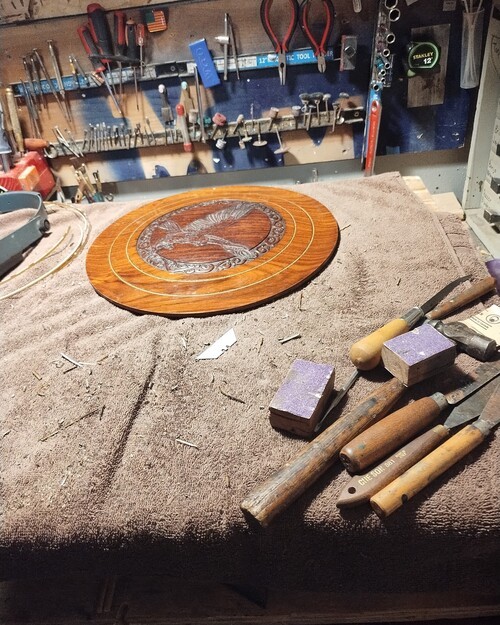
I have cleaned up the side edge here.
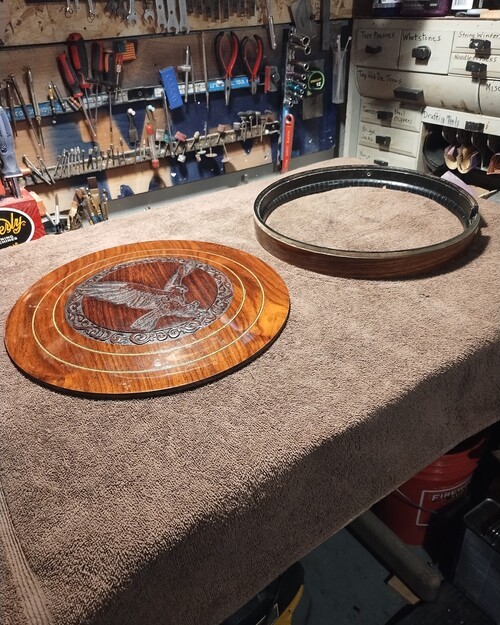
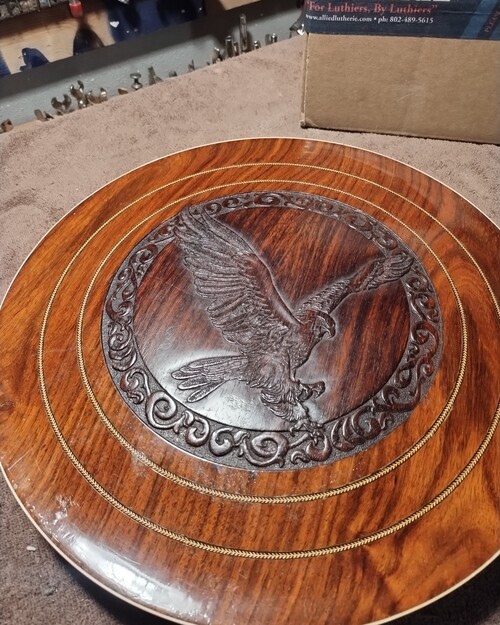
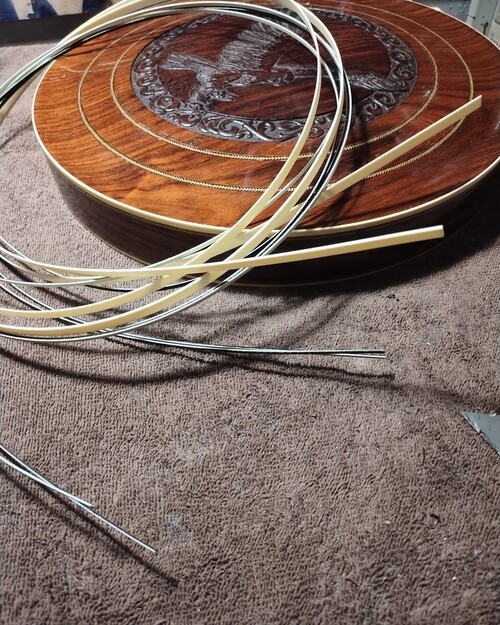
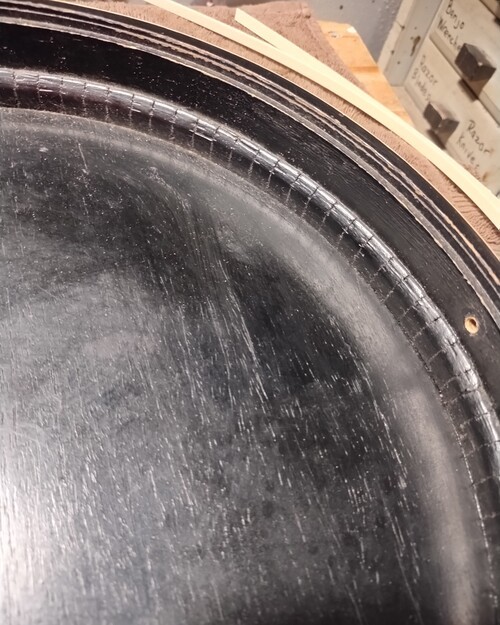
I can see it is loose under the kerfing.
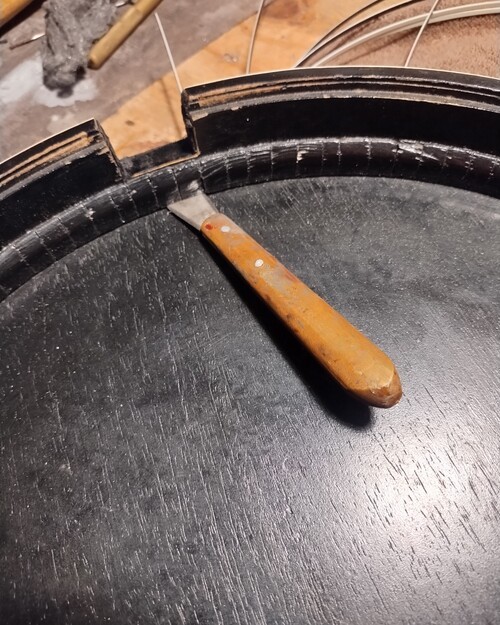
I will pull the back off and do it right.
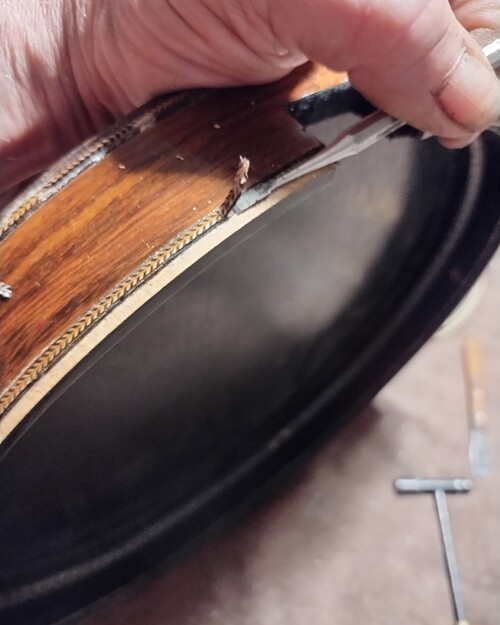
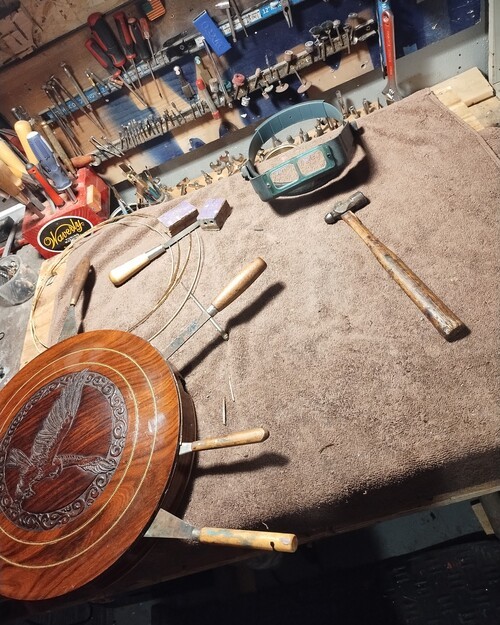
Micro filet knife for the herringbone
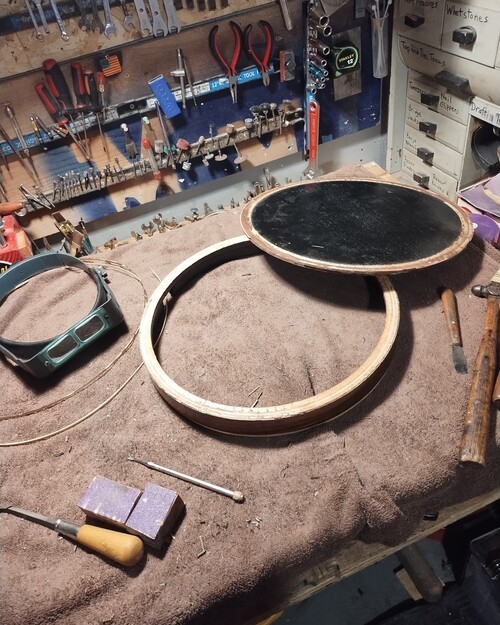
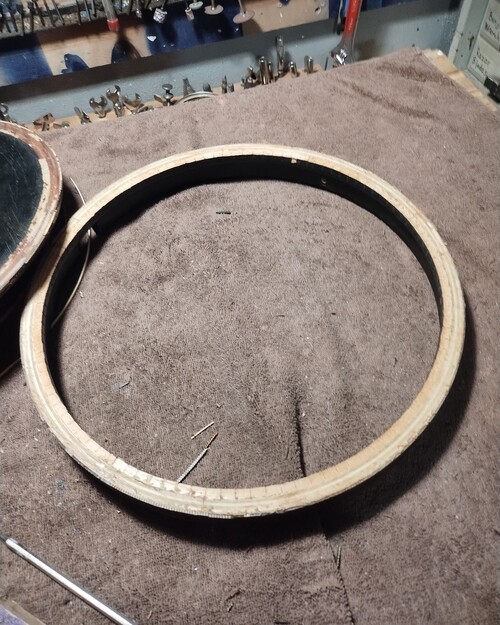
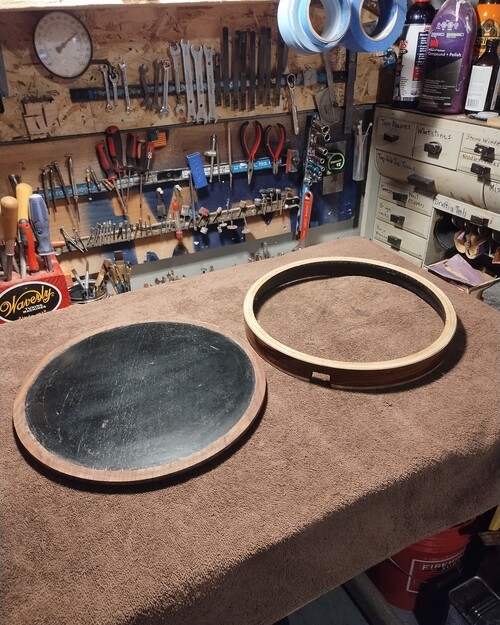
Mating surfaces cleaned and ready for glue.
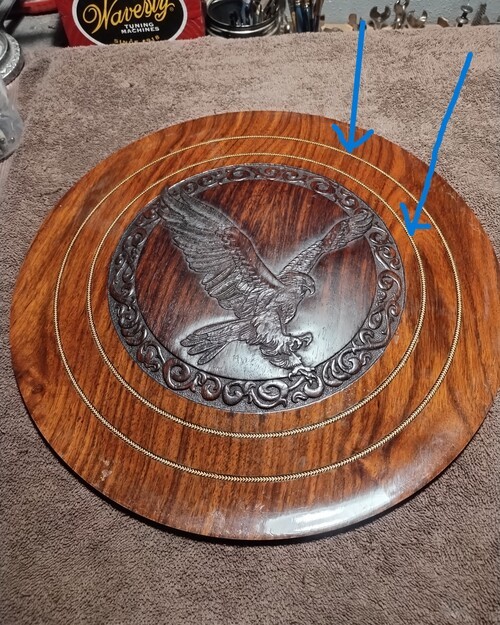
What are we doing about this "Bone"?
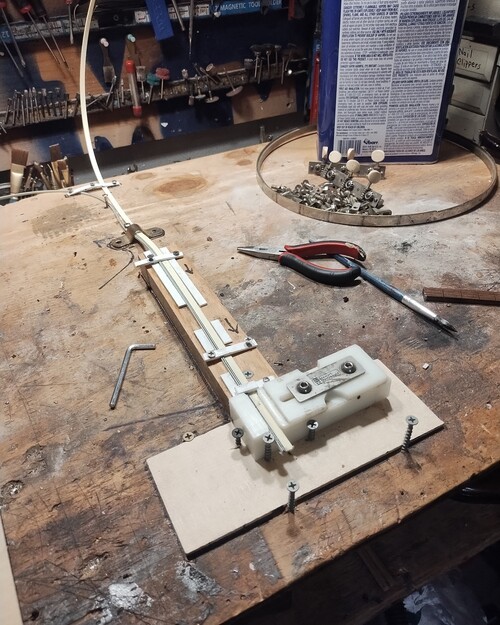
Jig - for laminating celluloid binding strips.
Definition of Jig:
Something that later on, years after it is used and its function forgotten, is found in a banjo estate sale and a person goes "WTH is this?"
They are made many times with no forethought in times of need, and this is one of them.
I am using at it's core, the Stew Mac binding laminator and it is very functional in its design and a bonus to have even if you do this operation like, once every 10 years.
So to come up with this particular binding, or l close this will allow me to feed all of the bindings into the laminator while I apply the acetone and "cook" it together.
If you did this every day it would be one thing but when someone buys expensive celluloid and it is a crapshoot at best to get 100 percent adhesion you really need to go the extra mile or have catastrophic results. That being said, wish me luck.
So I am re-creating this.
Ivoroid - Black/White-Black/White.
Definition of Jig:
Something that later on, years after it is used and its function forgotten, is found in a banjo estate sale and a person goes "WTH is this?"
They are made many times with no forethought in times of need, and this is one of them.
I am using at it's core, the Stew Mac binding laminator and it is very functional in its design and a bonus to have even if you do this operation like, once every 10 years.
So to come up with this particular binding, or l close this will allow me to feed all of the bindings into the laminator while I apply the acetone and "cook" it together.
If you did this every day it would be one thing but when someone buys expensive celluloid and it is a crapshoot at best to get 100 percent adhesion you really need to go the extra mile or have catastrophic results. That being said, wish me luck.
So I am re-creating this.
Ivoroid - Black/White-Black/White.
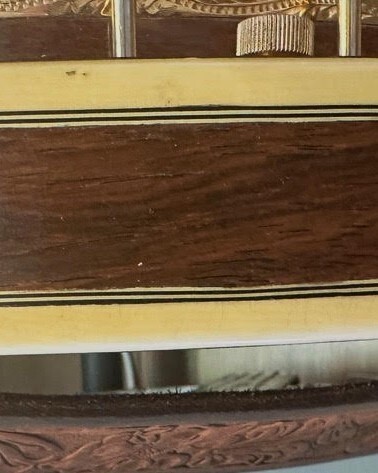
The bindings we received are top quality but the black/white is taller (when vertically laid) than the ivoroid so the jig has to compensate for the height difference.
Bear in mind, that when it is all done that the pressure on all retention has to be as light as possible to do the work for the bindings muse still be able to be pulled through the laminator easily.
So I am both holding things down, and also together as it comes into the slide to the laminator.
I will show it as it is going together with the final result.
The pics do have zoom, and hover for text.
Bear in mind, that when it is all done that the pressure on all retention has to be as light as possible to do the work for the bindings muse still be able to be pulled through the laminator easily.
So I am both holding things down, and also together as it comes into the slide to the laminator.
I will show it as it is going together with the final result.
The pics do have zoom, and hover for text.
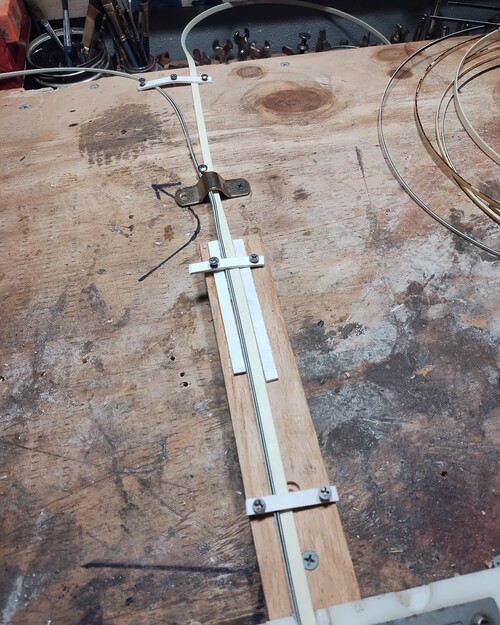
Figuring out how to feed all 3 into the slide.
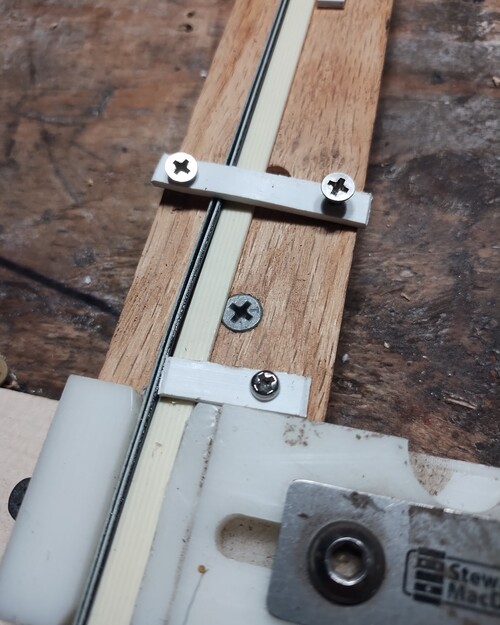
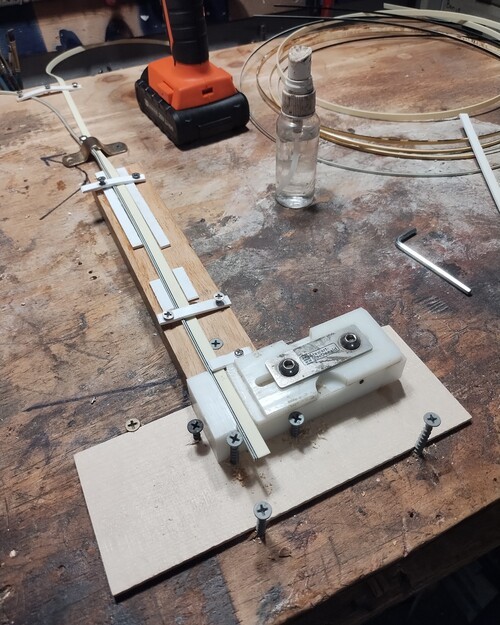
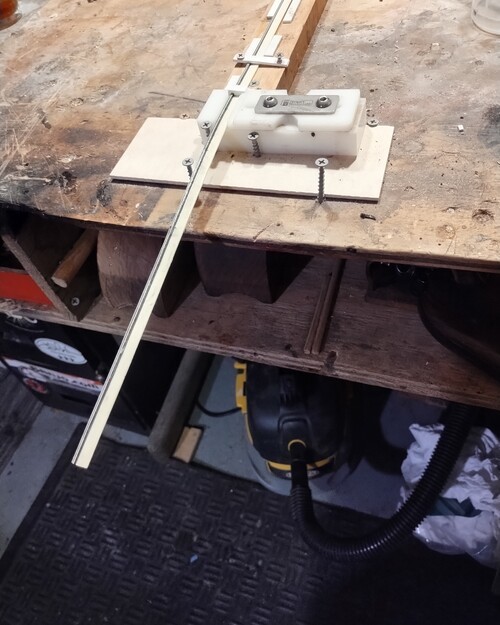
Working as I had hoped for.
Hanging to cure.
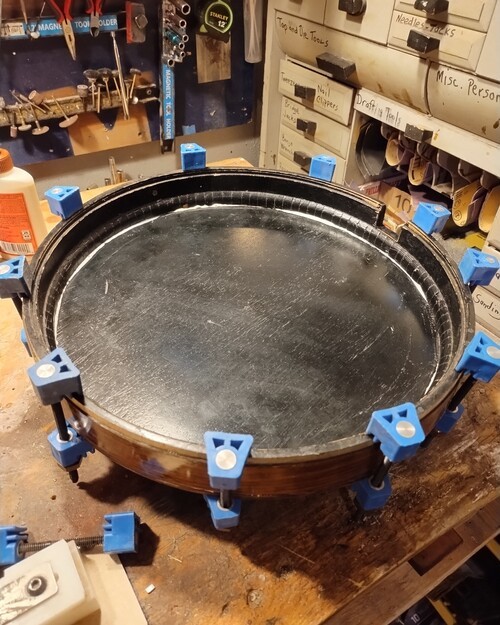
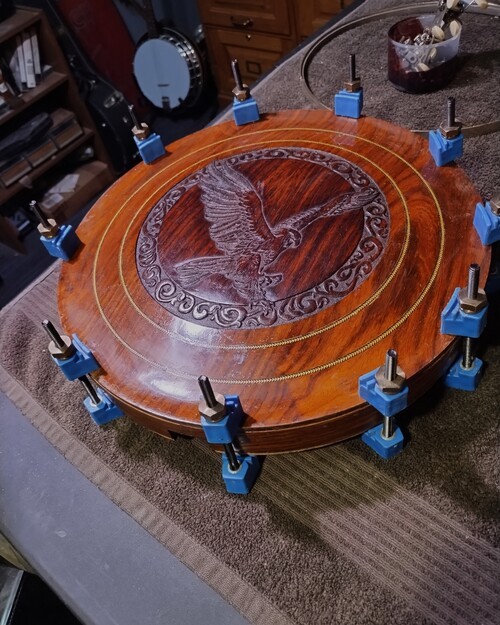
In the clamps, will clean that squeeze-out.
Both sides done.
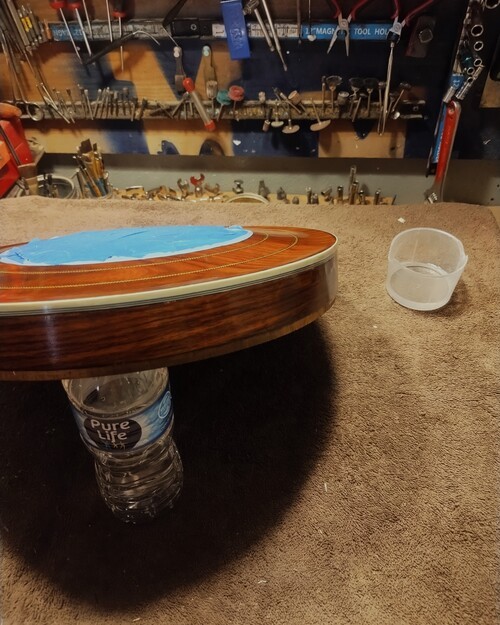
Light finish over the repair, Nitro Lacquer.
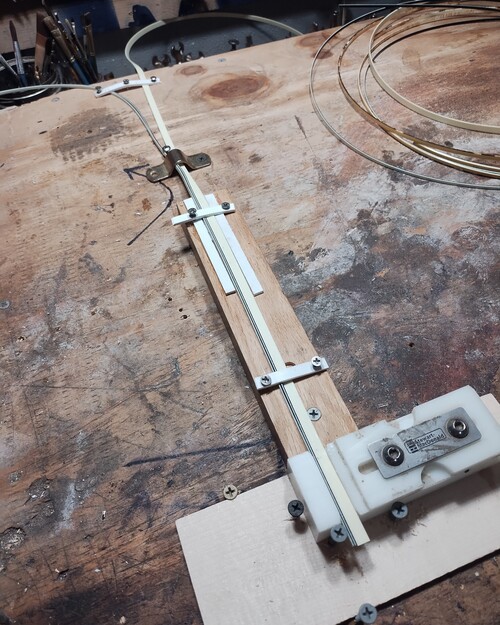
The slide is lever with the entry of the laminator.
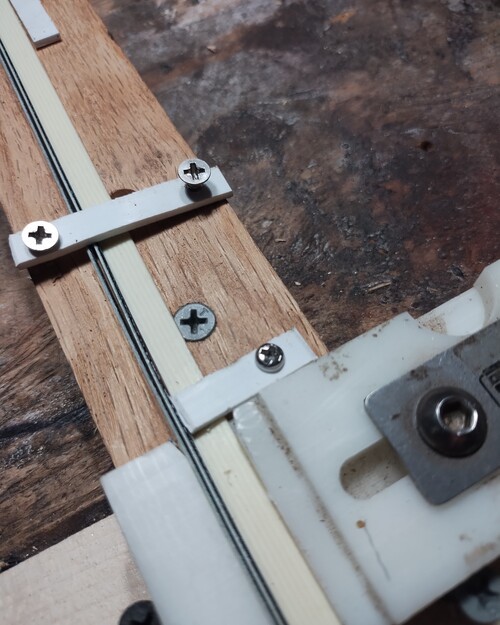
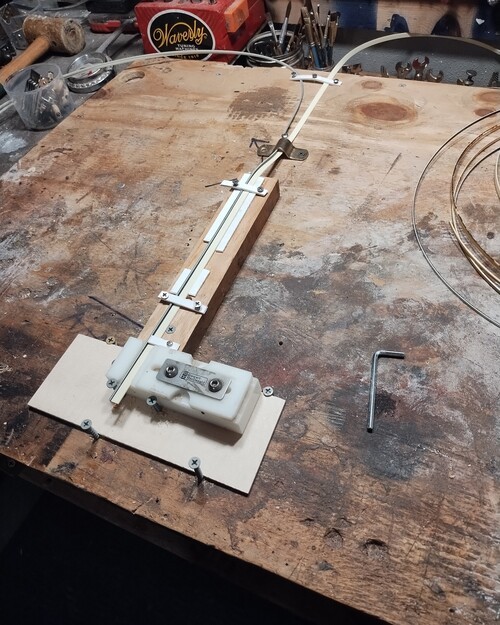
I will push the binding back in to begin.
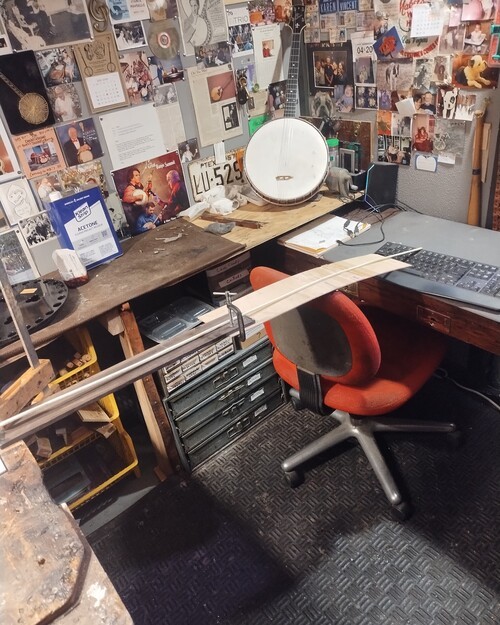
Making slides to keep it from bending.
Now for #2
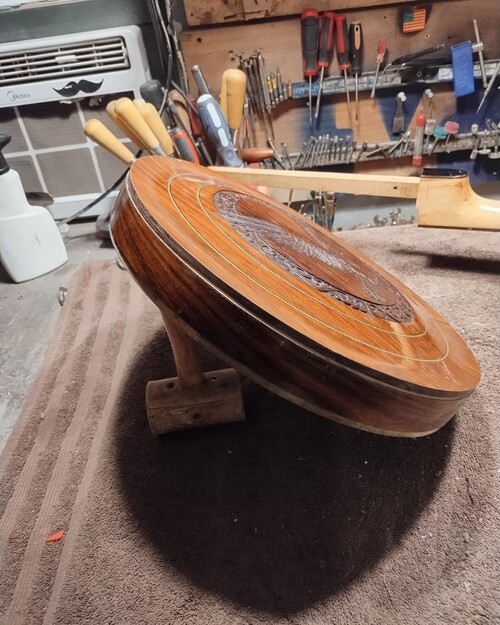
Cleaning binding channels.
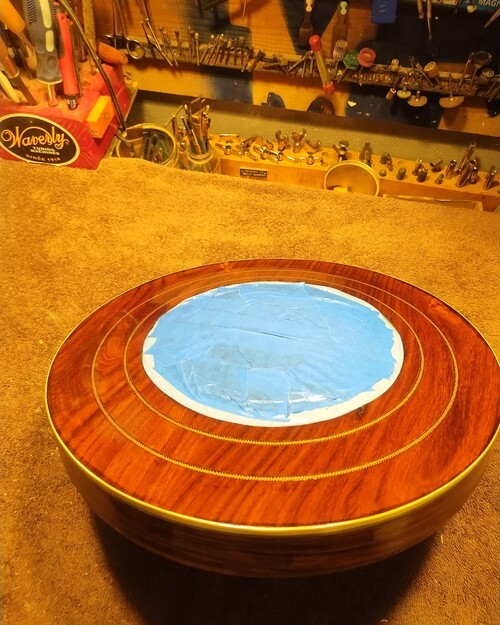
Now for the top side.
End of pic sequence - it was finished and shipped.
PART TWO
7-2 Update
Anyone that knows me knows that when I screw up, I am the first to say so.
This is one of those times, maybe the worst time ever so here it goes.
Honesty is the best policy.
I took this job on to try and help someone out and because of my own chain of errors, it snowballed on me and became an avalanche.
Also was trying to do it at the least cost possible, taking things in trade.
Of course, it would be on something rare and unobtainable today.
It started off with me not being satisfied with the binding, which I fought with pretty hard because I tried to not have to re-cut binding channels on an out of round side wall. So I used them as they were and ended up with some thin areas and uneven places which irked me so bad I finished it up and sent it off paying the shipping and paying the customer for his binding, which was the right thing to do and said "no charge" on the work, I was not happy at all and told him so.
All that was fine with him, he said he would live with it.
What he could not live with, was they fact that I had glued the back on UPSIDE -DOWN.
I cannot even believe that happened after so many times of me doing that type of procedure.
When I saw the pic he sent I went to the top of my BP chart.
Well, that made me think "I guess it is getting about time to hang it up and find some other way to make a living that is not ruining other peoples stuff".
He was kind enough to send it back to me, I paid that shipping as well, and I bought new binding.
Thanks B, for doing that, it may have saved my career and we will see on the second try.
VM
Cut to the chase.
Back apart, that was no fun.
Fresh glue is harder to heat and separate, got it done with no damage other than all of the new finish which had to be removed.
PART TWO
7-2 Update
Anyone that knows me knows that when I screw up, I am the first to say so.
This is one of those times, maybe the worst time ever so here it goes.
Honesty is the best policy.
I took this job on to try and help someone out and because of my own chain of errors, it snowballed on me and became an avalanche.
Also was trying to do it at the least cost possible, taking things in trade.
Of course, it would be on something rare and unobtainable today.
It started off with me not being satisfied with the binding, which I fought with pretty hard because I tried to not have to re-cut binding channels on an out of round side wall. So I used them as they were and ended up with some thin areas and uneven places which irked me so bad I finished it up and sent it off paying the shipping and paying the customer for his binding, which was the right thing to do and said "no charge" on the work, I was not happy at all and told him so.
All that was fine with him, he said he would live with it.
What he could not live with, was they fact that I had glued the back on UPSIDE -DOWN.
I cannot even believe that happened after so many times of me doing that type of procedure.
When I saw the pic he sent I went to the top of my BP chart.
Well, that made me think "I guess it is getting about time to hang it up and find some other way to make a living that is not ruining other peoples stuff".
He was kind enough to send it back to me, I paid that shipping as well, and I bought new binding.
Thanks B, for doing that, it may have saved my career and we will see on the second try.
VM
Cut to the chase.
Back apart, that was no fun.
Fresh glue is harder to heat and separate, got it done with no damage other than all of the new finish which had to be removed.
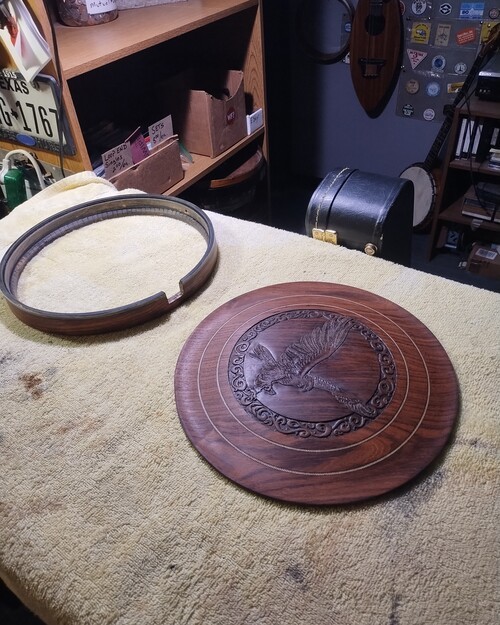
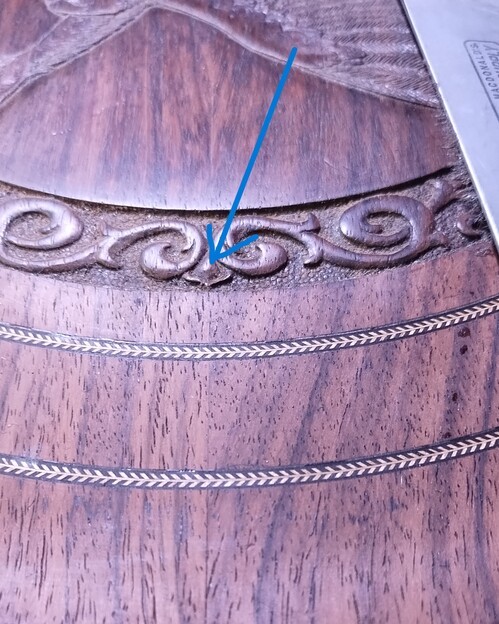
This flourish is the line-up point for neck notch.
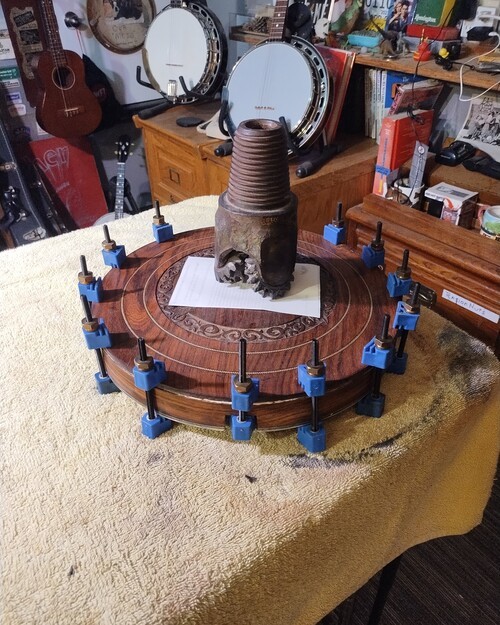
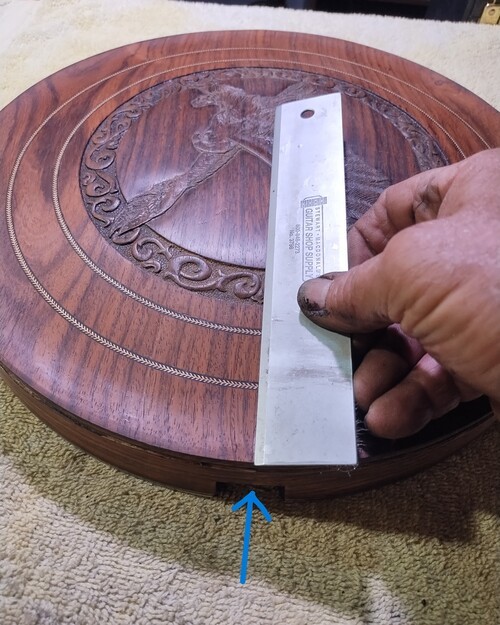
Lined up.
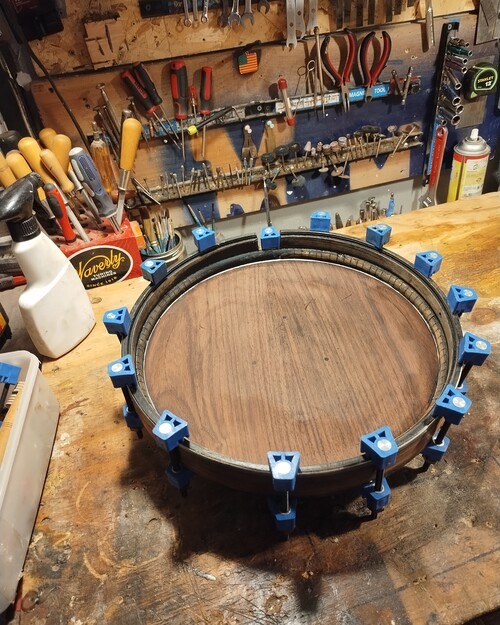
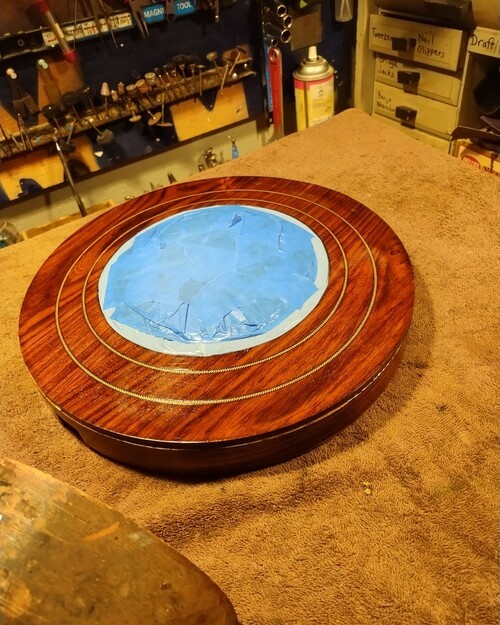
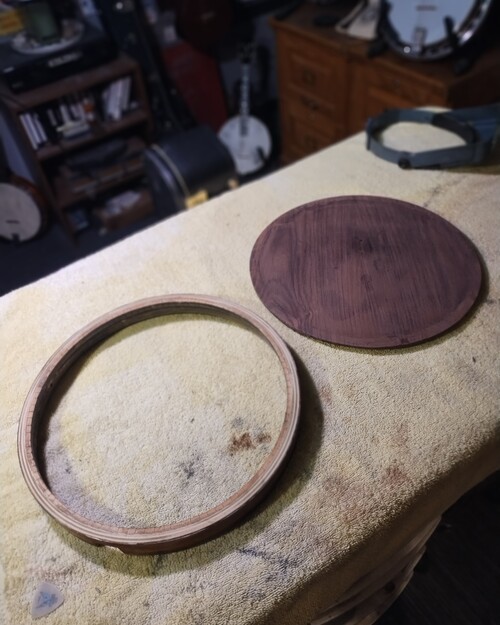
Sanded and sealed.
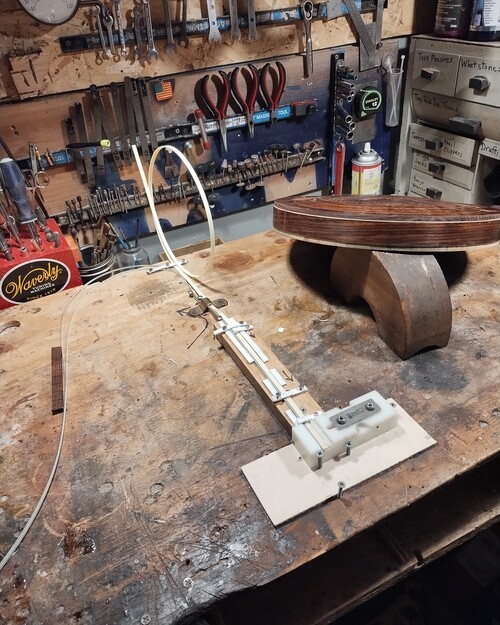
Binding channels good, ready to laminate binding.
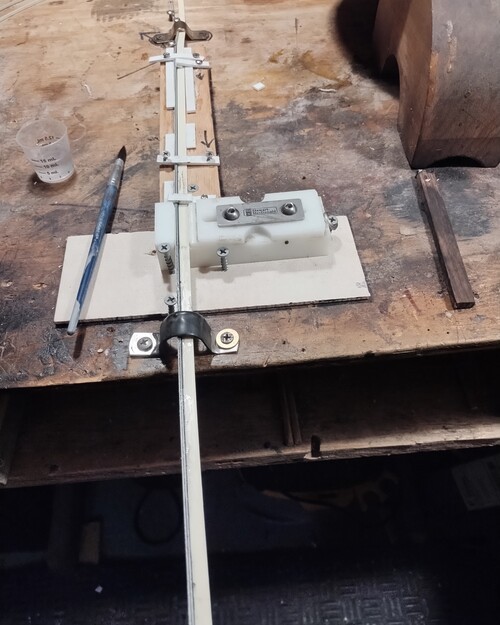
Going as I wished.
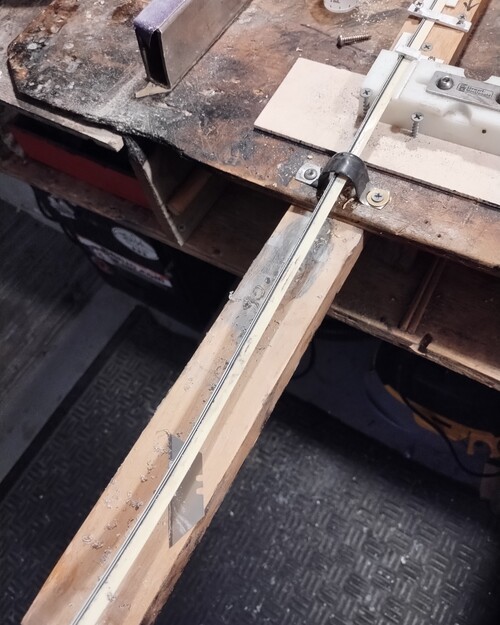
Scraping to flat as I go, things learned from 1st attempt.
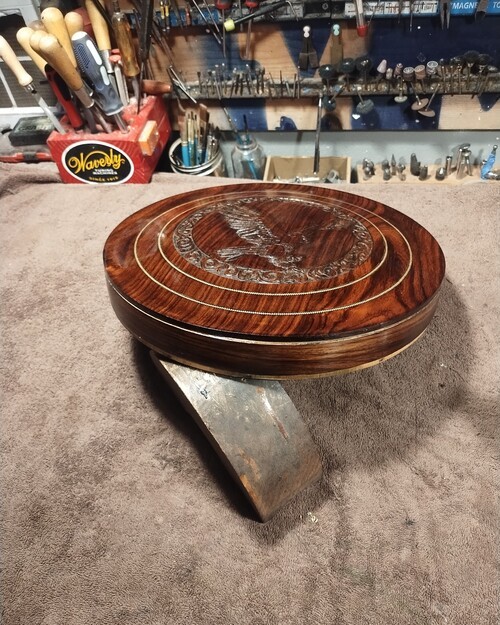
Ready to correct binding channels.
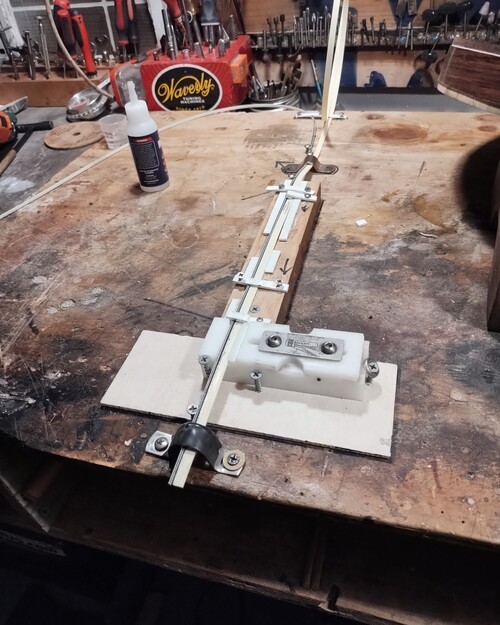
Modifying jig as I go.
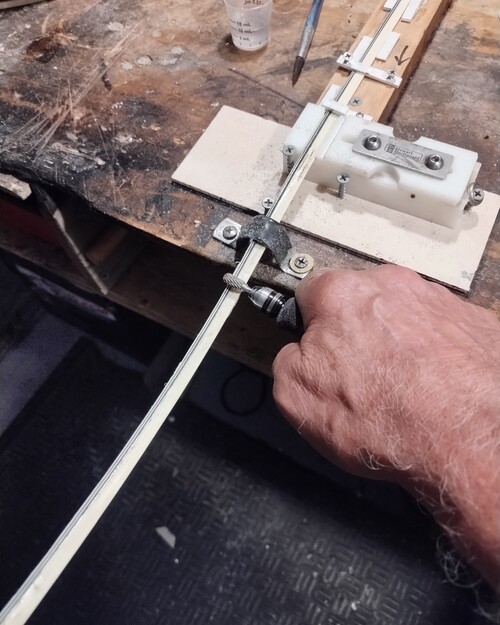
Removing some overburden on the Black/White/Blacks.
MORE TO FOLLOW