Workpage 12-25
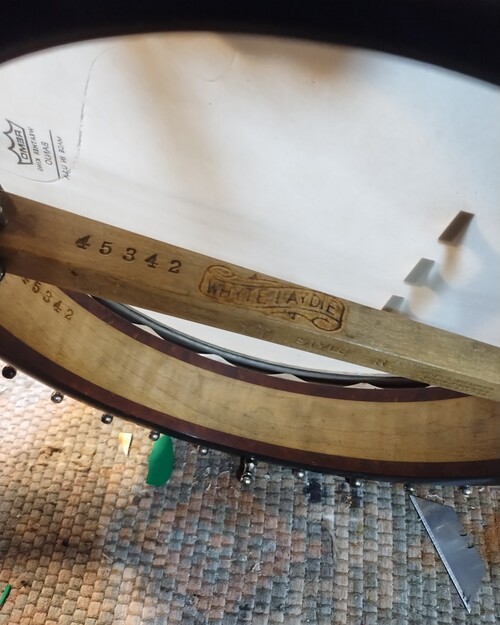
Jeremy's Vega Whyte Laydie
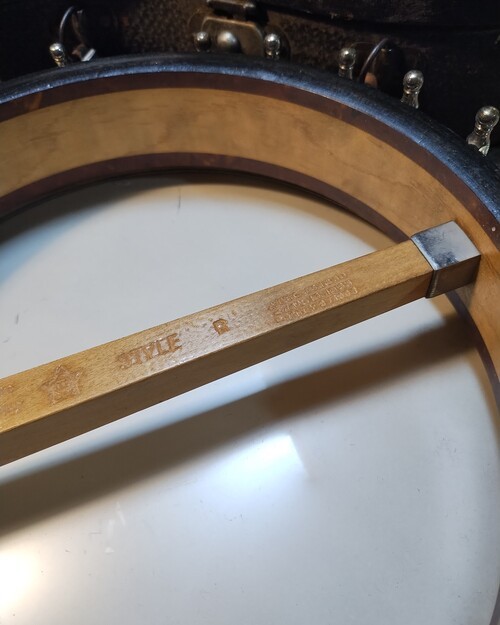
17 fret Whyte Laydie (Style R)
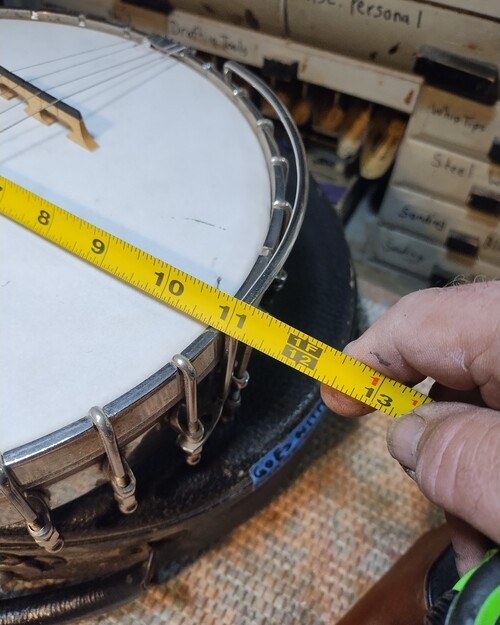
10-3/4" open back
Convert to 5 string
Fabricate neck from Honduras Mahogany
Inlay -fret bind-finish
Add tailpiece (Kershner Long)
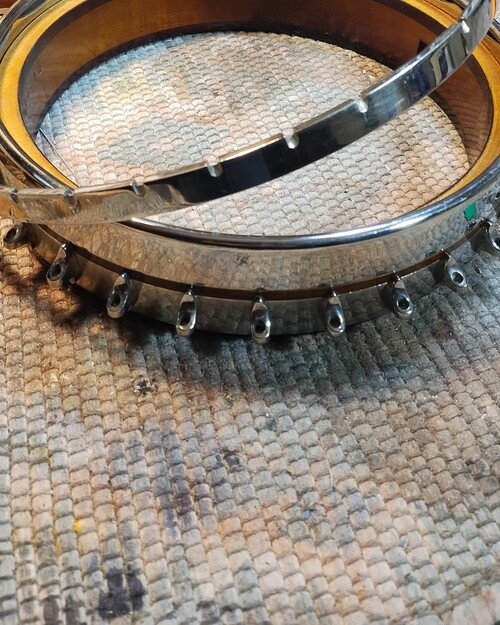
Add 28 flange plates (Nickel)
Add 1 hook set (Missing - Nickel)
Add new head-strings-bridge
Add resonator attaching hardware (Nickel)
Add Hardshell Case
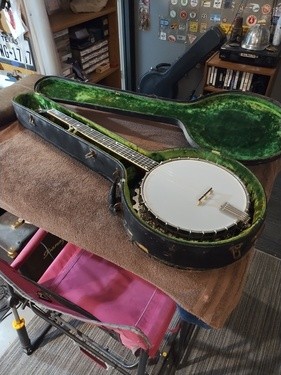
Initial Pics
Sequence #1
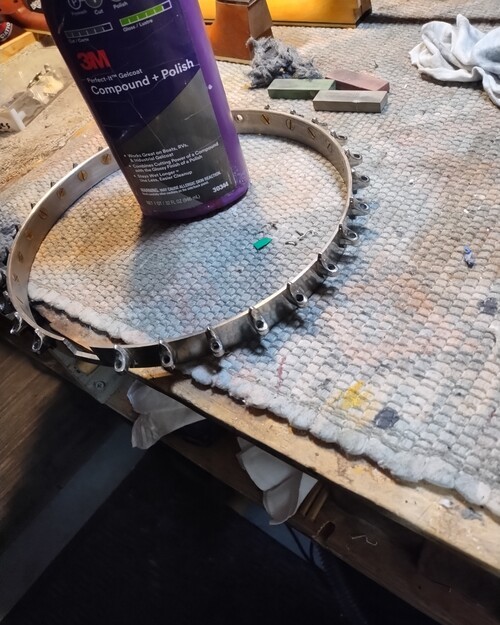
Clean rim and hardware/polish/wax
Refinish rim to match neck and resonator.
Clean rim and hardware/polish/wax
Refinish rim to match neck and resonator.
Clean hardware-re-finish rim to match neck.
Ordering 4 more flange plates.
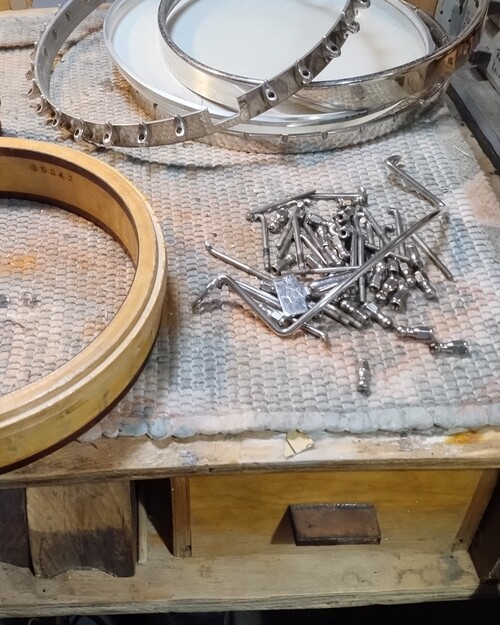
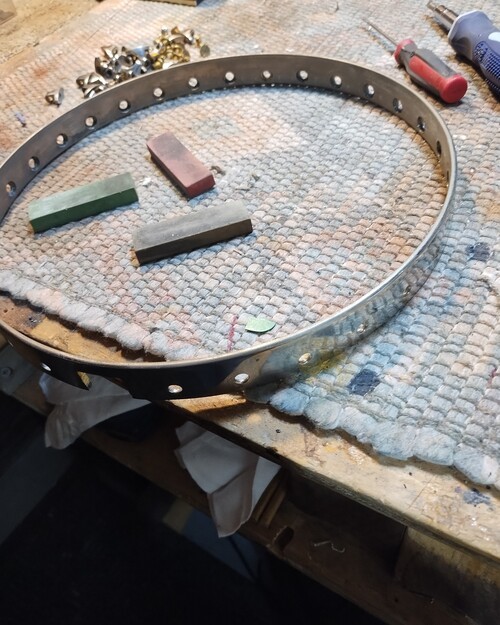
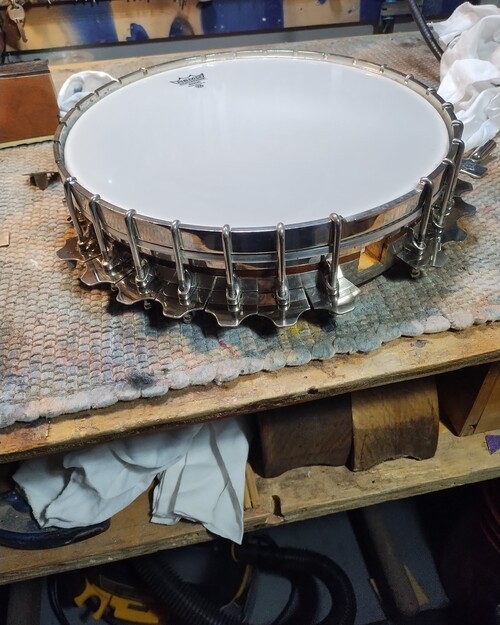
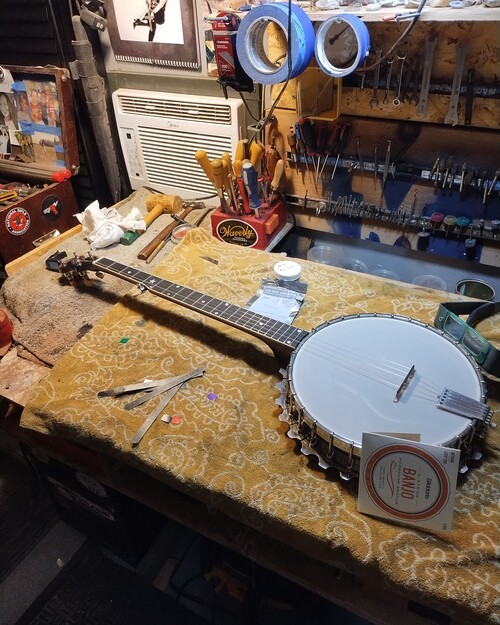
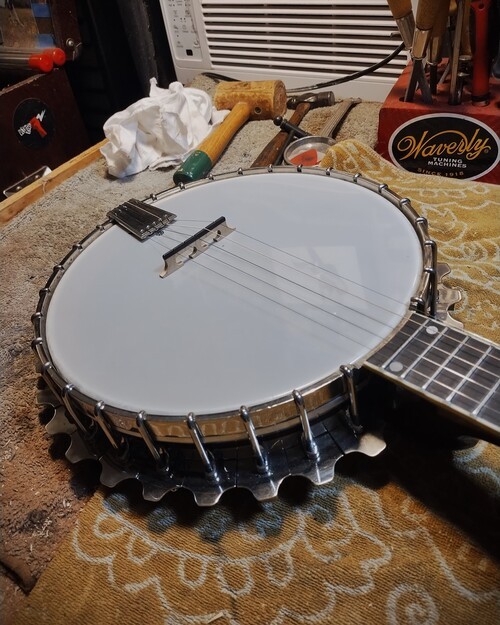
Install new REMO head.
Sequence #2
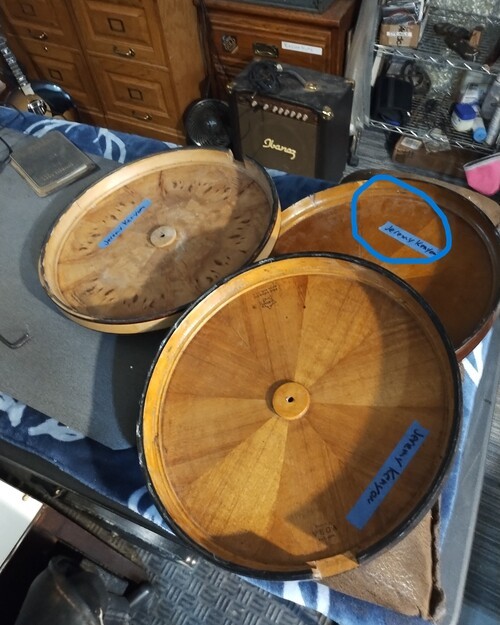
Parts in stock for possible use:
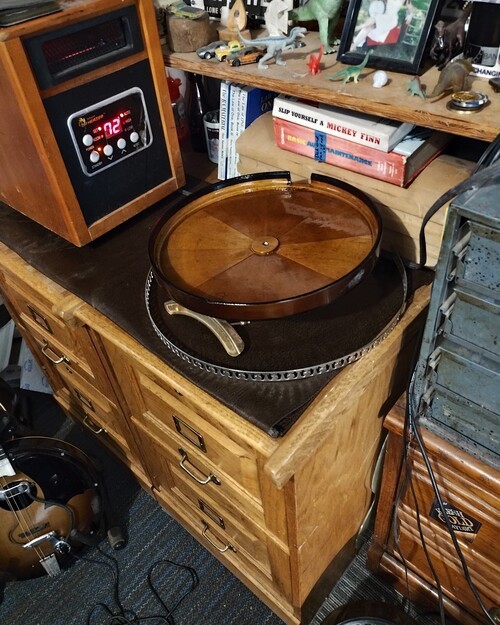
1 resonator that fits 11-13/16 rim with flanges
1 resonator for 11-13/16 rim that is for no flanges (close fit)
1 resonator for 10-15/16 with flanges
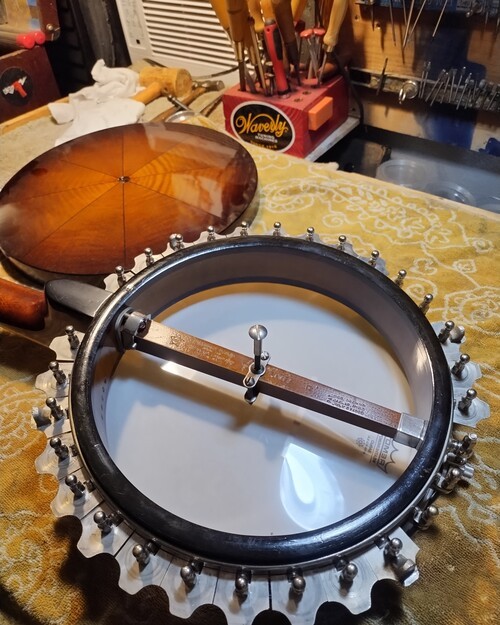
Out of all of the resonators, only one will work and that is the one circled.
Since Vega did not create a resonator for 10-3/4 with flanges (They only made spin-on or close fit) ) I will have to use the close fit that fits an 11-13/16" rim assembly modified to fit 10-3/4.
On the close fit for 11-13/16" rim, it is the right outside diameter by chance to fit 10-3/4" rims, if I add an additional section of wood inside for the flanges to land upon.
Parts in stock for possible use:
1 resonator that fits 11-13/16 rim with flanges
1 resonator for 11-13/16 rim that is for no flanges (close fit)
1 resonator for 10-15/16 with flanges
Out of all of the resonators, only one will work and that is the one circled.
Since Vega did not create a resonator for 10-3/4 with flanges (They only made spin-on or close fit) ) I will have to use the close fit that fits an 11-13/16" rim assembly modified to fit 10-3/4.
On the close fit for 11-13/16" rim, it is the right outside diameter by chance to fit 10-3/4" rims, if I add an additional section of wood inside for the flanges to land upon.
That is the close fit
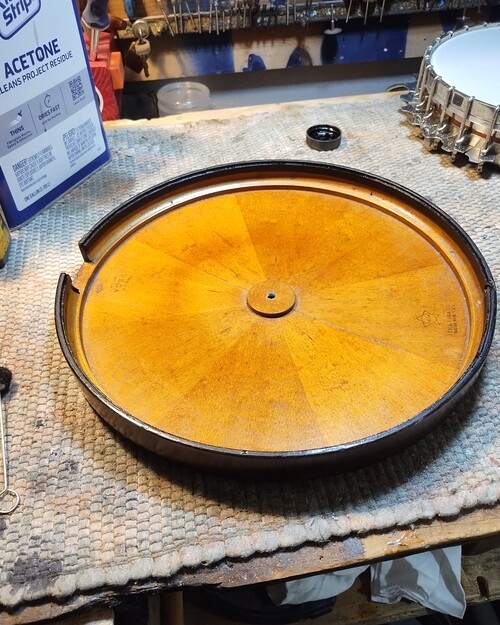
Installed-dyed repair area.
I will add a flange land inside.
3 coats clear lacquer inside.
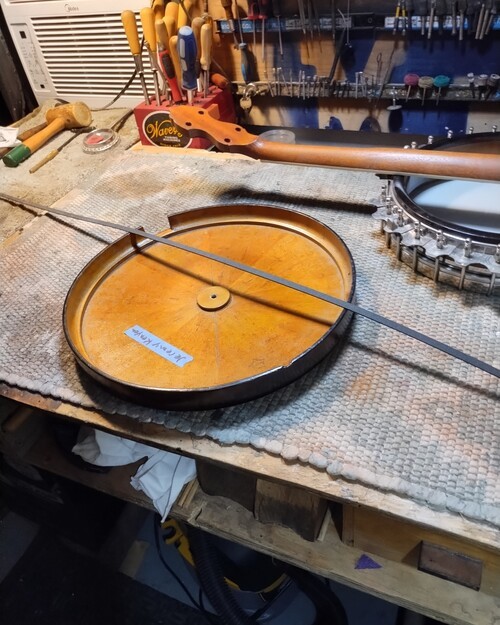
Wooden laminate
Sequence #3
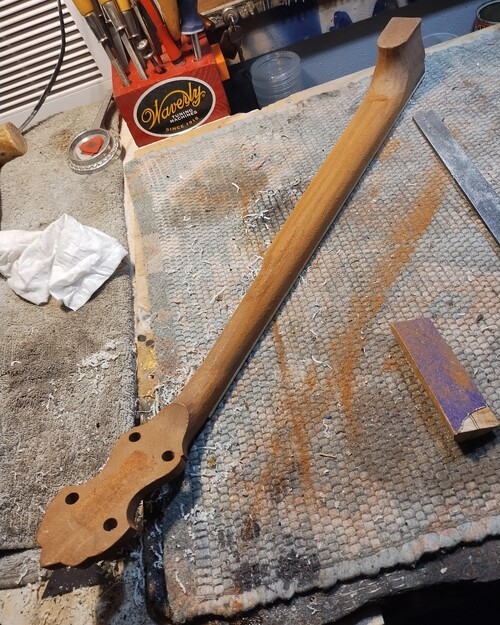
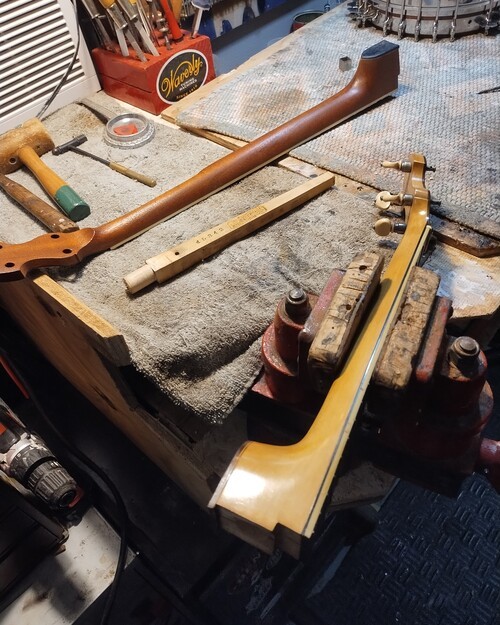
The neck I made is fabricated from a neck that I had long ago started for someone that vanished that was in its later stages.
It is Honduras mahogany and built with an adjustable truss.
I found it when I was looking thru everything I own trying to find the other neck.
This is a better neck than the Eastman and will take no more work than it would have to re-convert the Eastman neck that I had made for one of Jeremy's other projects (In Tubaphone styling) - (Which somehow I lost during my 3 shop moves in 2 yrs) and the bonus is an adjustable truss.
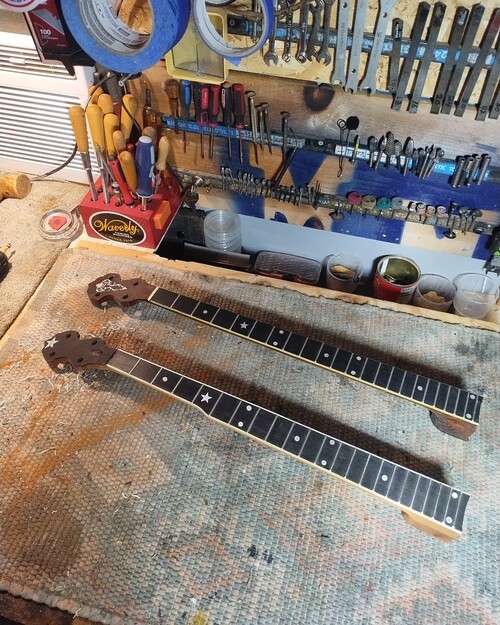
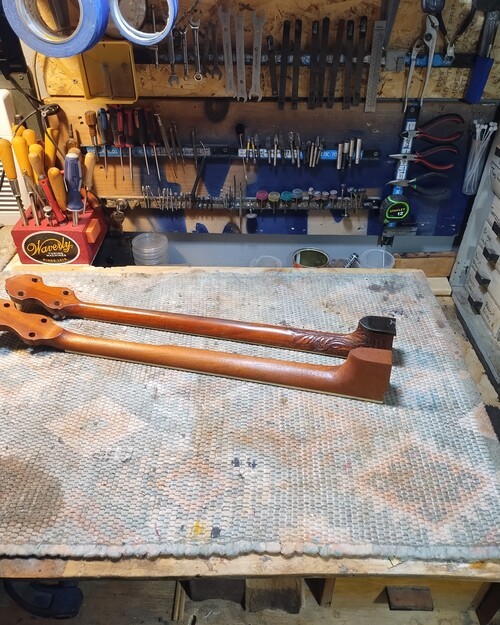
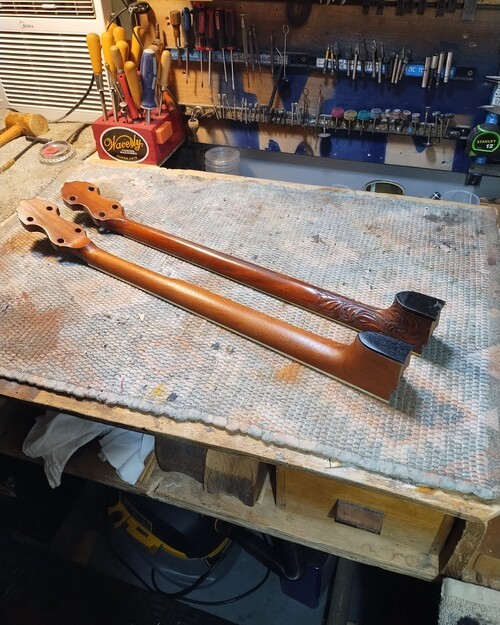
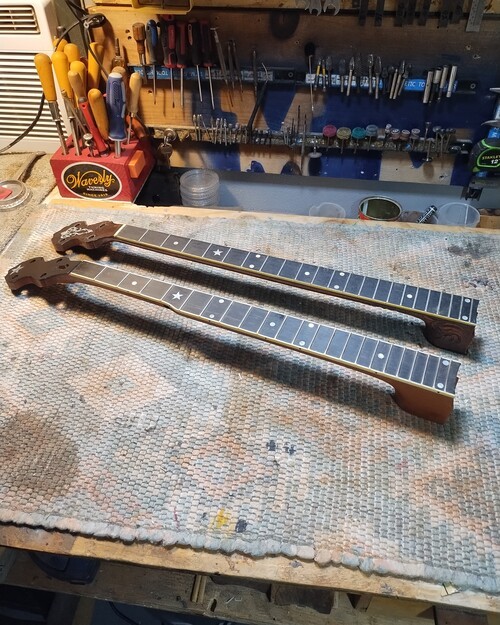
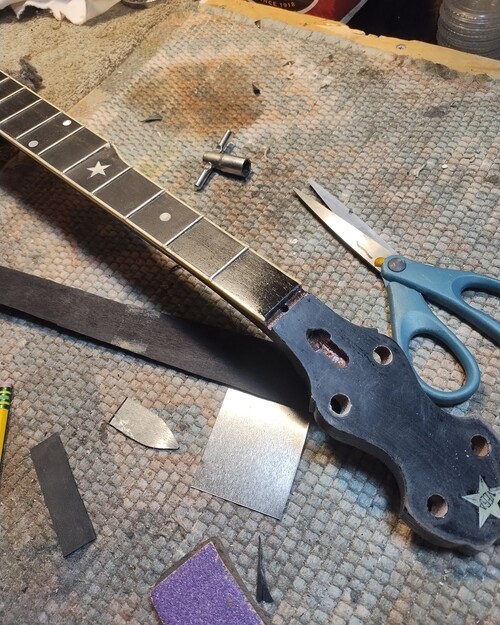
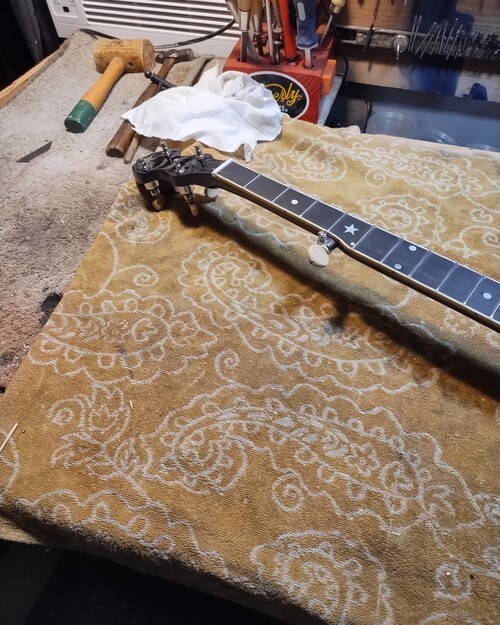
Next to Tphone 3 neck, laying out inlay
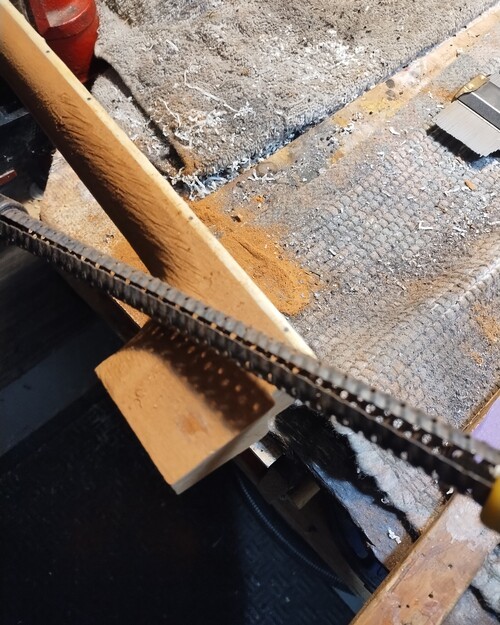
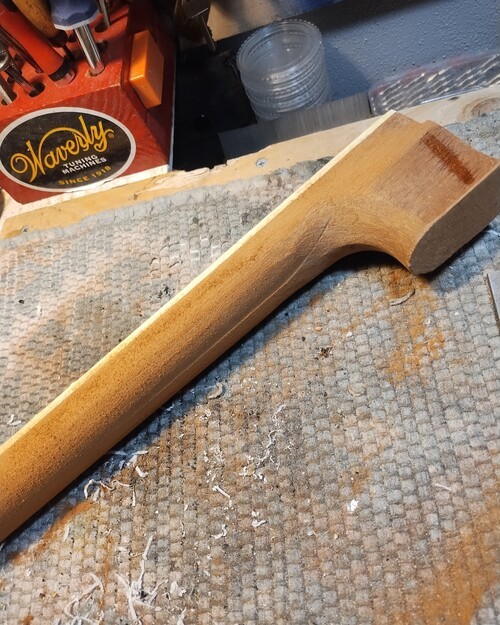
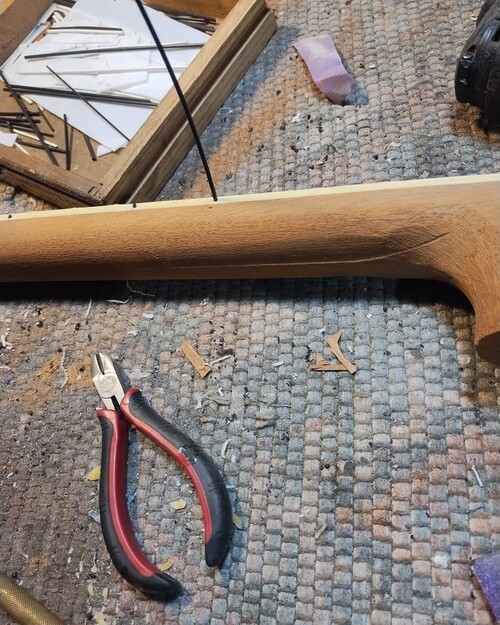
Finishing the shaping/contouring
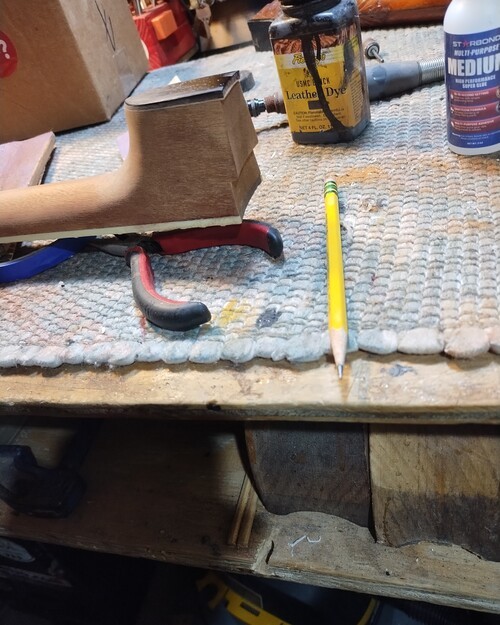
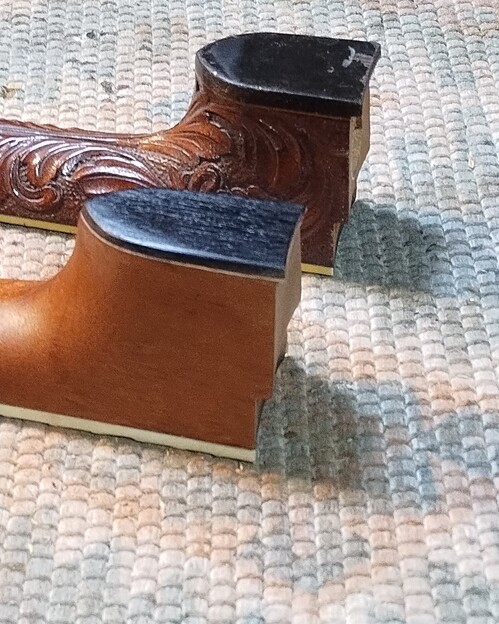
Making heel cap.

Drilling for dowel insertion
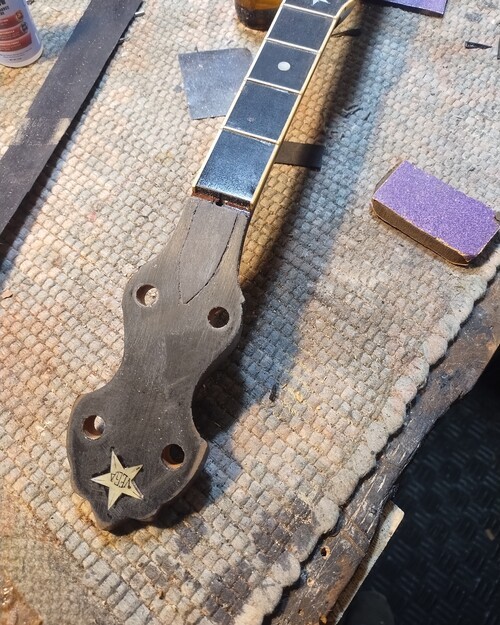
Checking the fit.
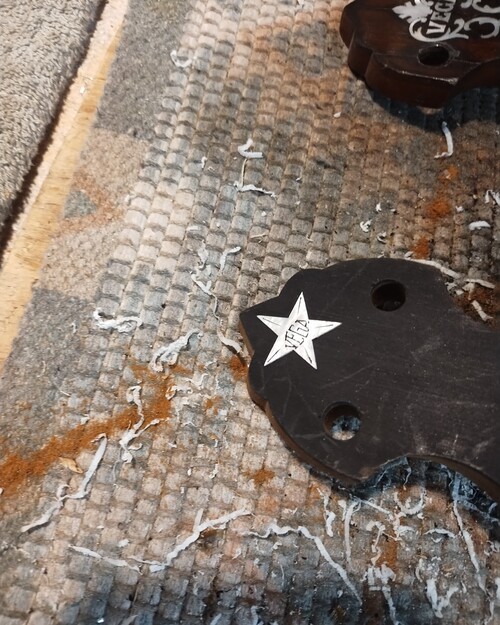
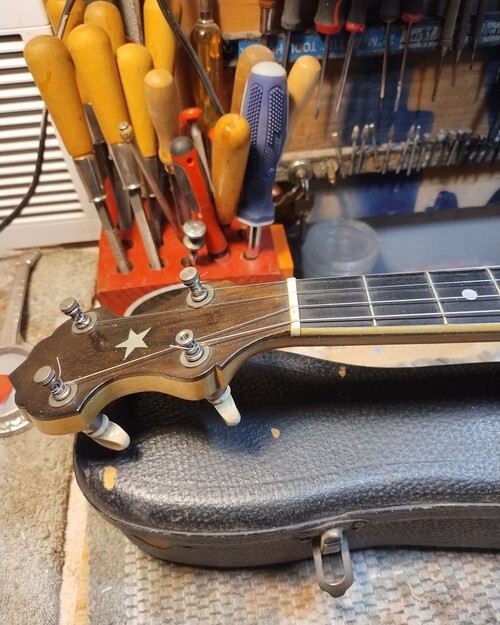
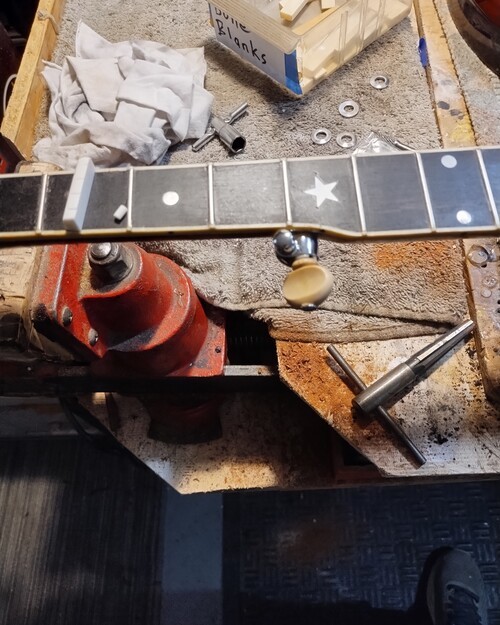
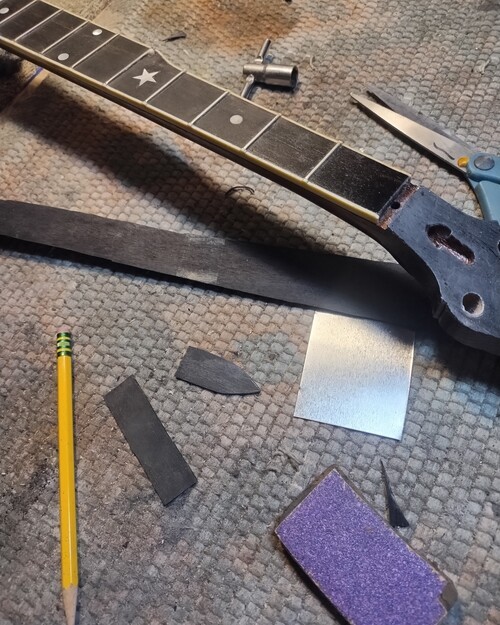
Nice engraved Whyte Laydie star
! sealer coat of clear.
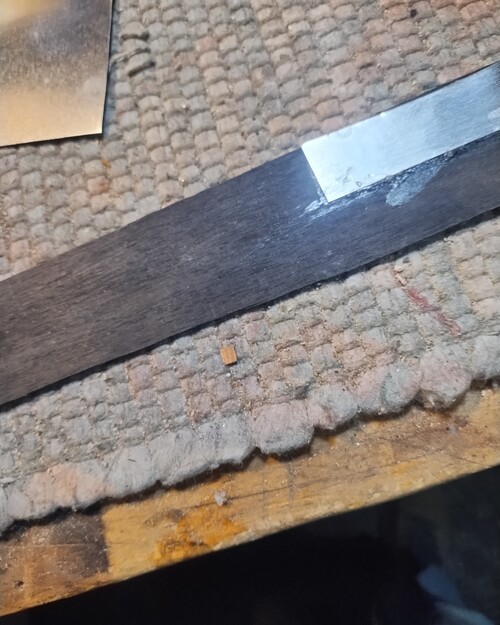
Original dowel pulled.
Making a nut and pip.
Just a look before final teardown.
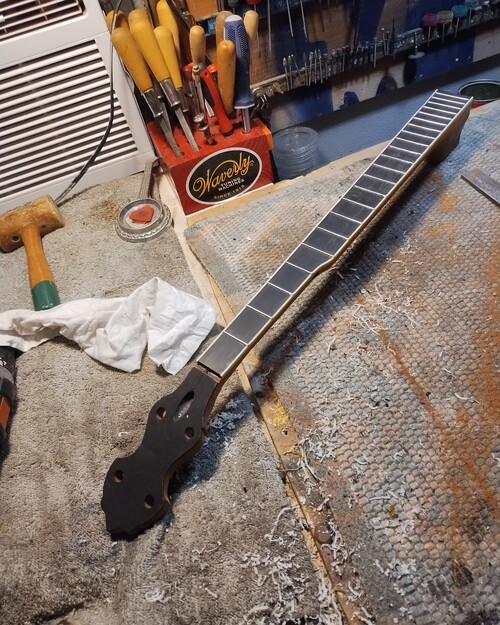
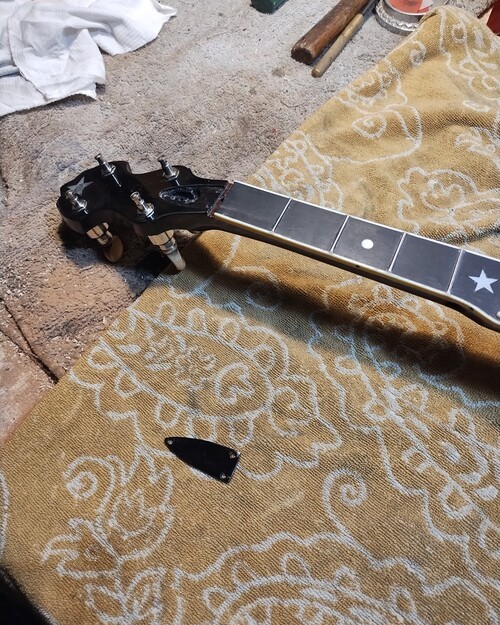
Adding side markers.
First finish coats with tint.

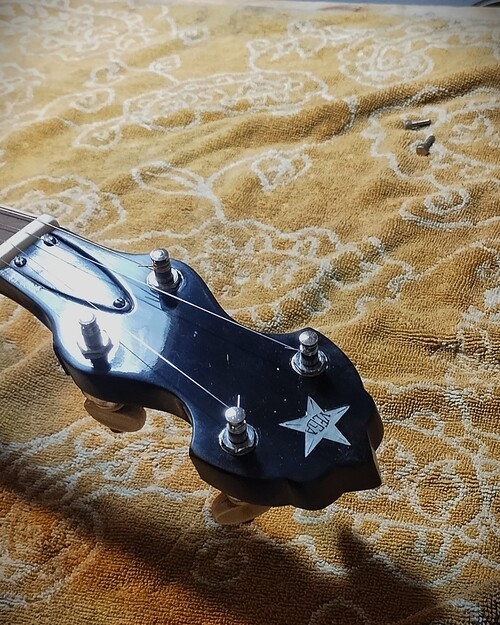
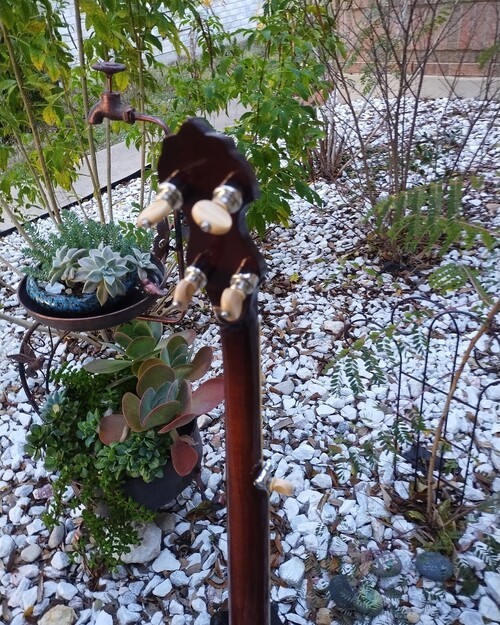
Schaller pegs with added vintage buttons.
Sequence #4
I will fabricate a truss cover with wood/aluminum backing.
Then due to the design, I will recess the cover into the peghead, and make a 3 point mounting pattern for the cover.
After that I will hand polish all of the wood and wax.
Then assemble the components and do the setup.
I will fabricate a truss cover with wood/aluminum backing.
Then due to the design, I will recess the cover into the peghead, and make a 3 point mounting pattern for the cover.
After that I will hand polish all of the wood and wax.
Then assemble the components and do the setup.
Dyed veneer and aluminum plate.
Cutting the recess.
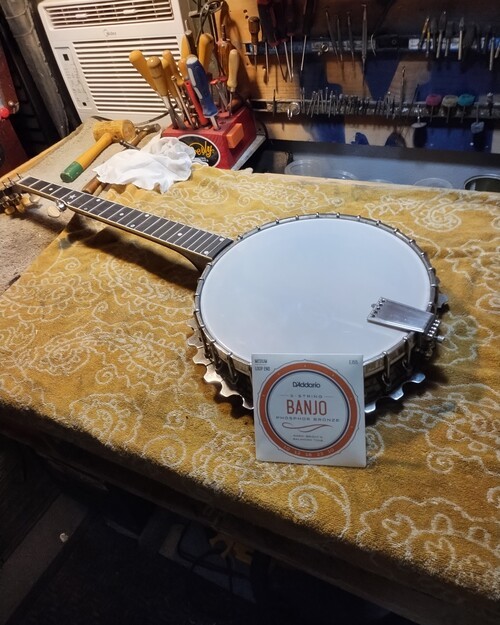
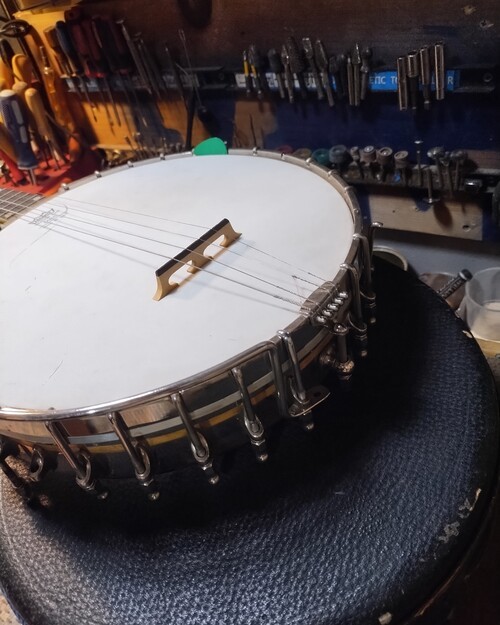
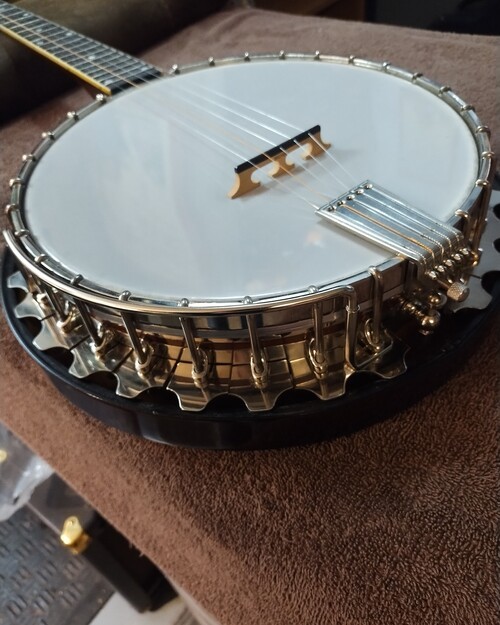
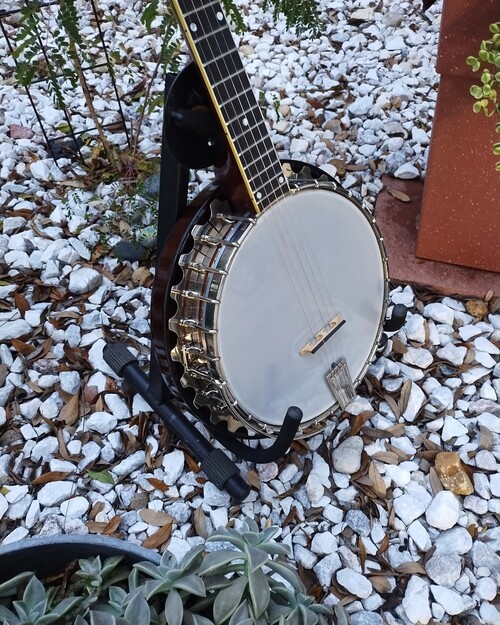
Setup is 5/5 bridge, med.gauge strings.
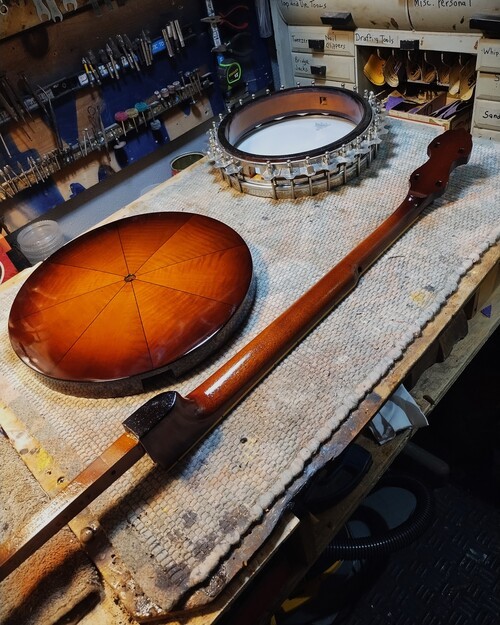
Ready to mount.
Will stop here for now.
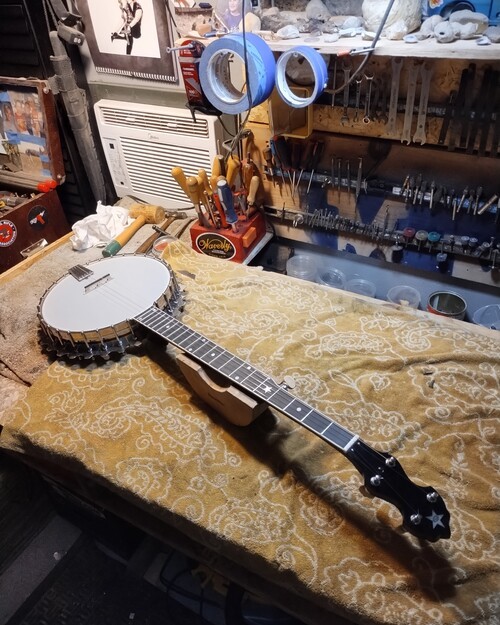
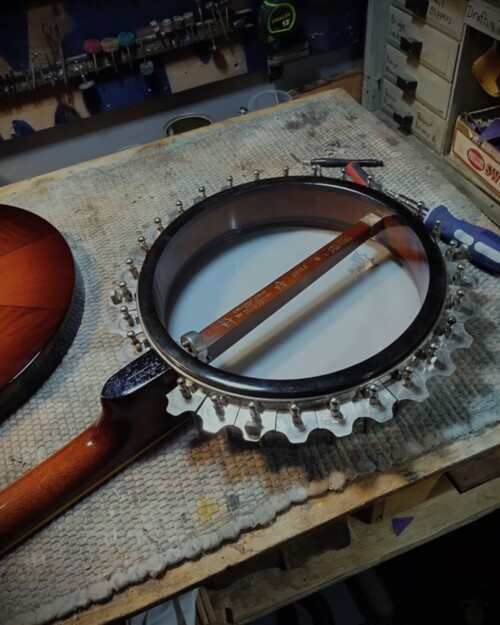
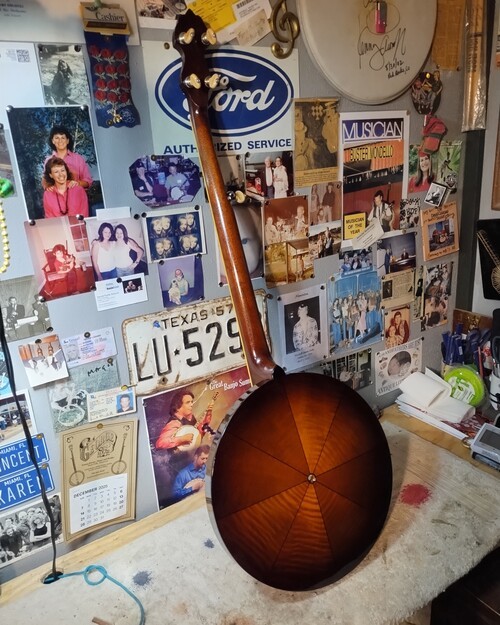
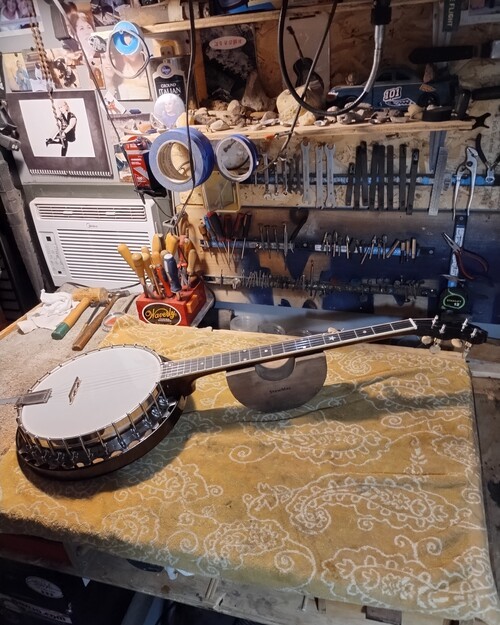
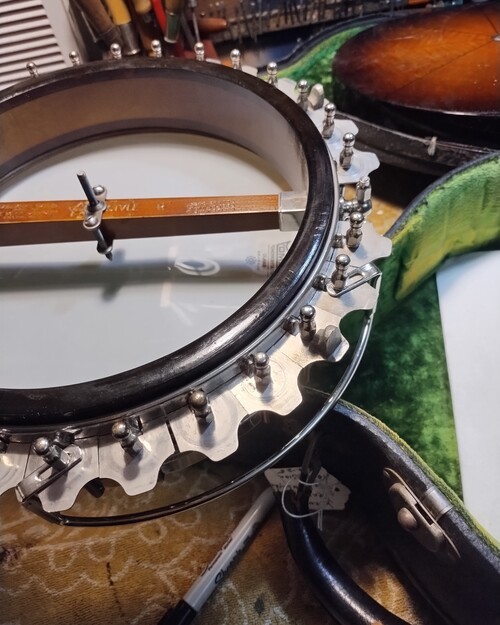
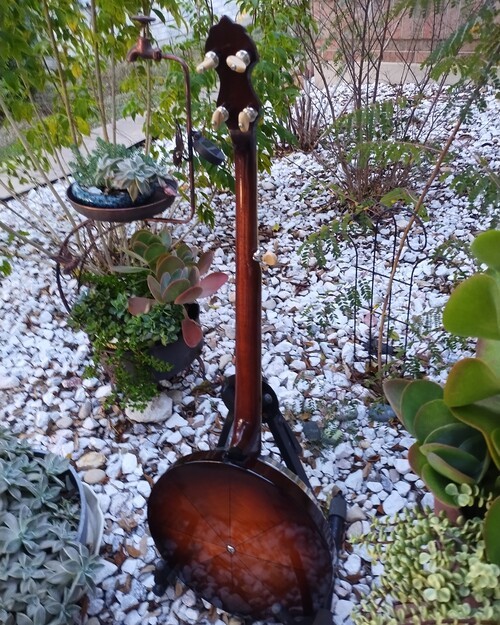
Everything looking good under tension.
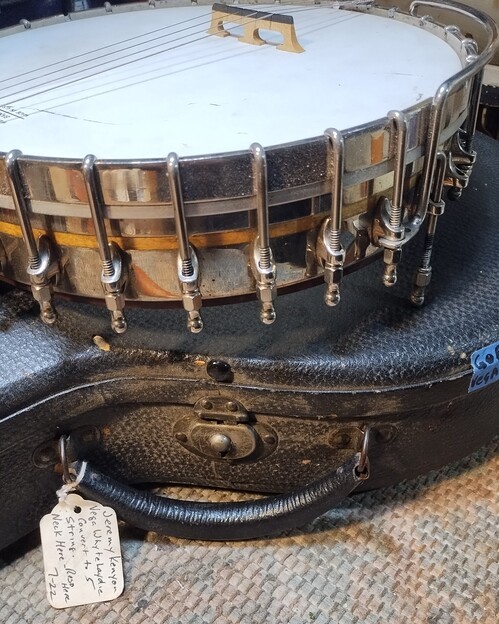
Reso hardware installed, flanges on the way
Final Sequence
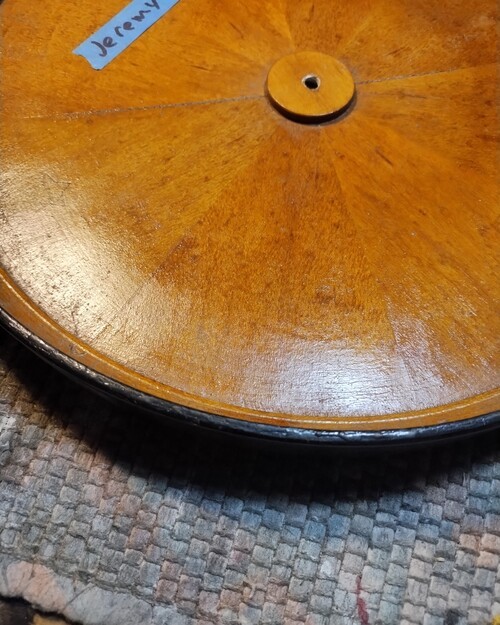
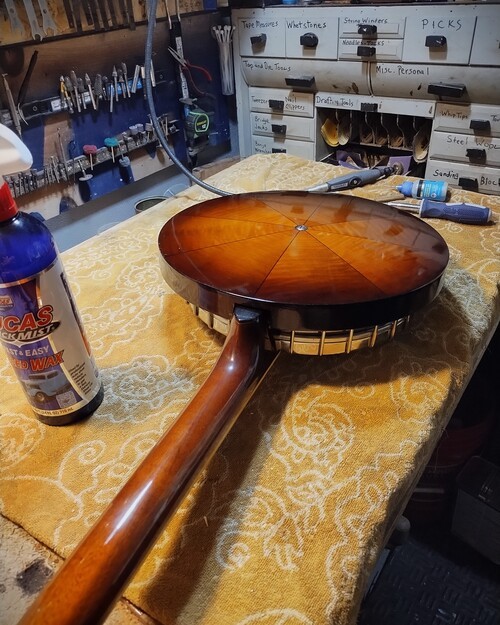
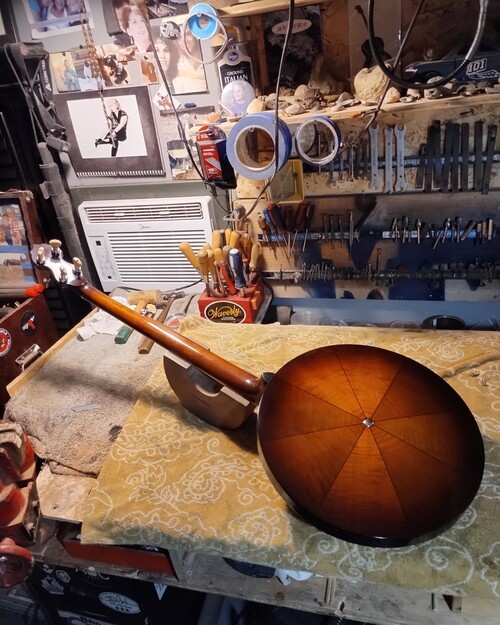
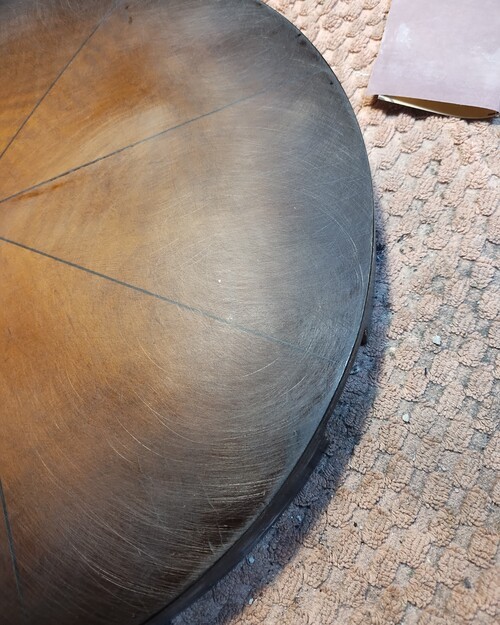
This maple veneered resonator has what is called "wood checking"
Wood checking in maple veneer involves cracks forming in the thin wood layer, usually from moisture /temperature changes causing differential shrinkage between the veneer and its substrate, creating stress that ruptures the fibers, appearing as white lines (the wood's edge) or finish cracks.
There is nothing I can do to overcome it, and it will always come back.
It has appeared on every coat so far and I have 6 coats applied.
So all we can do is finish it up and allow it to check as it has its entire life.
Since there is no resonators for 10-3/4" Vega for full resonator available, it is all we can do.
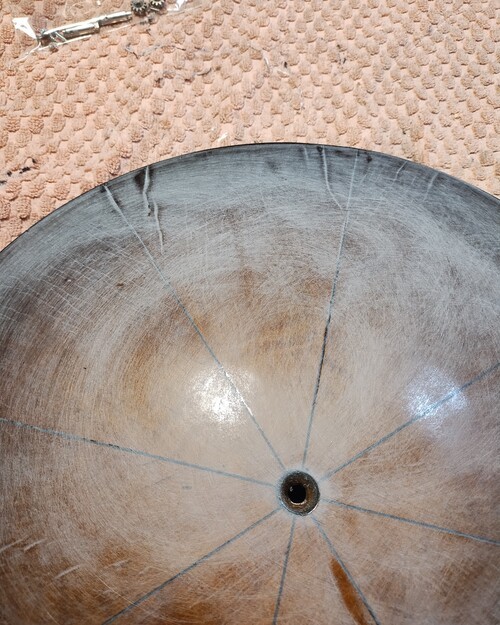
Checking shown here
How original armrest works with flanges now.
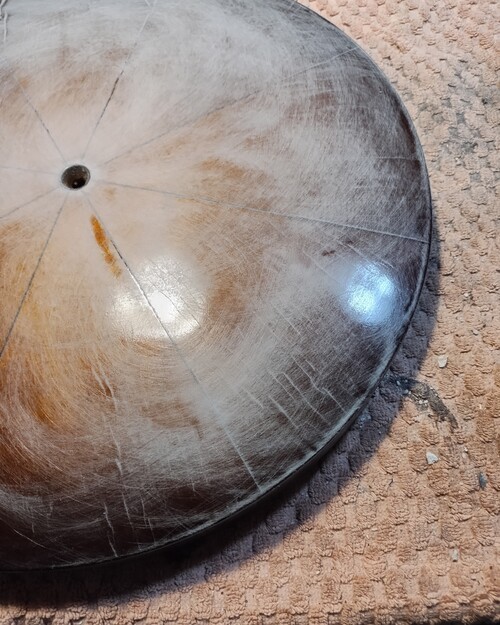
And here...
Removal between each coat.
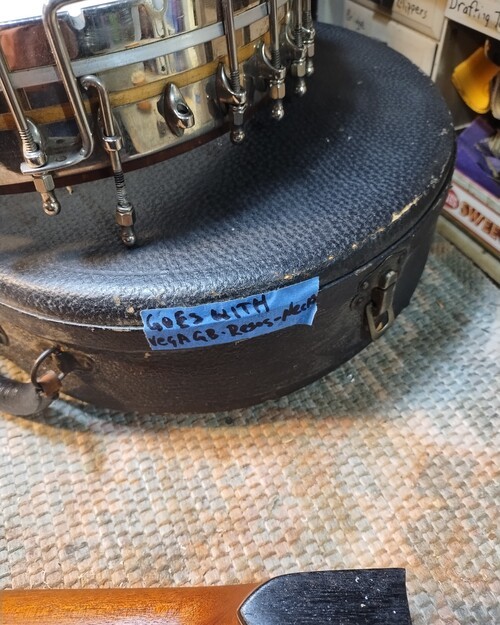
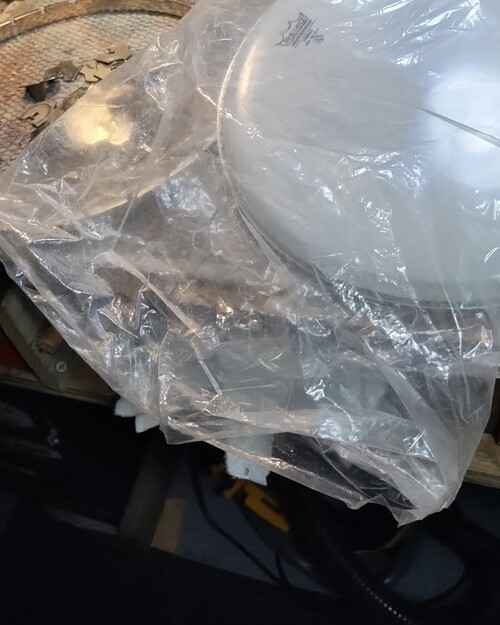
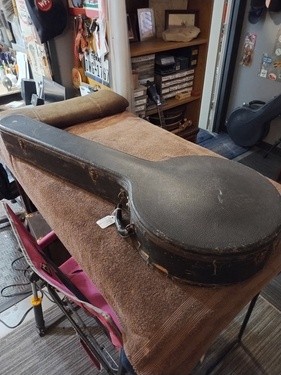
Vintage HSC- VEGA
I will use this and exchange it for the short scale HSC
I will use this and exchange it for the short scale HSC
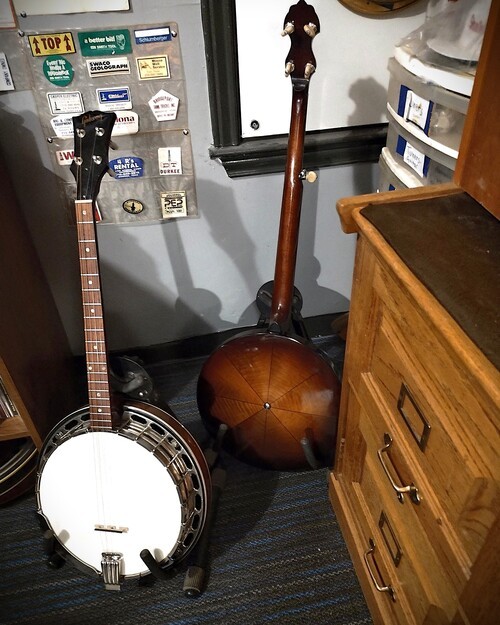
FINAL PICS
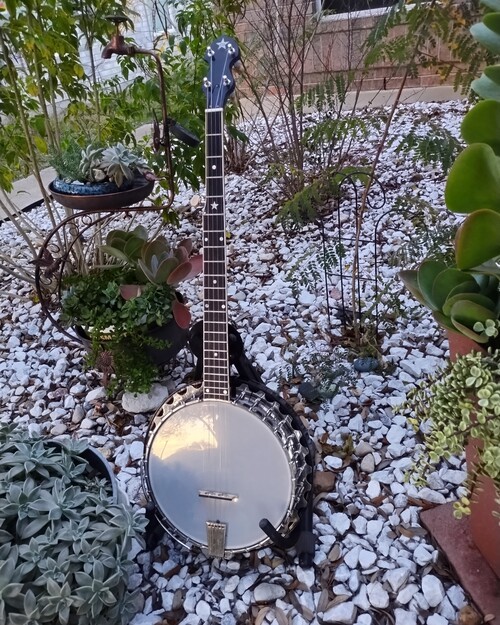
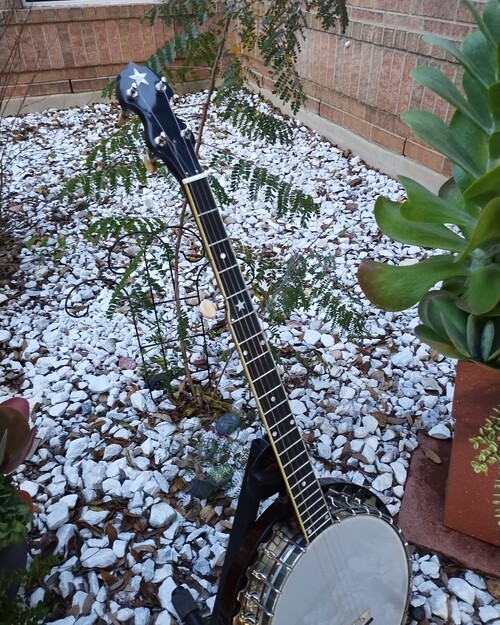
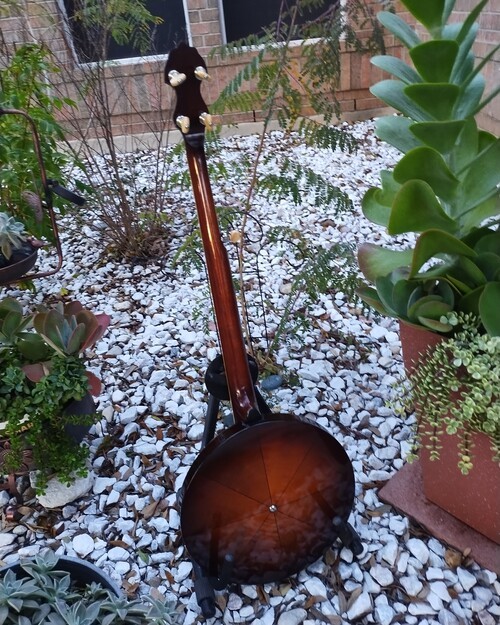
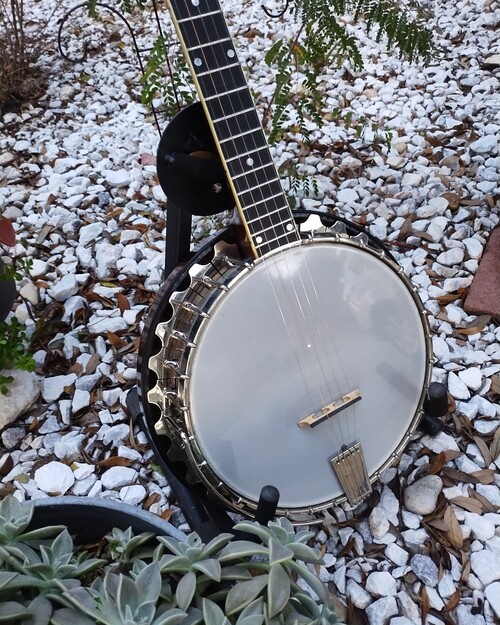
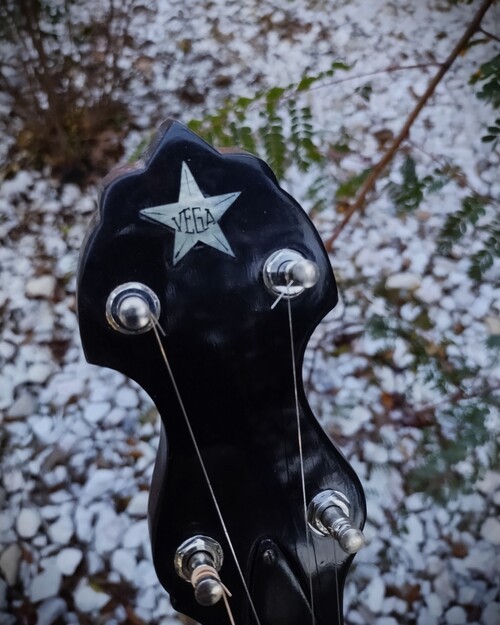

Thanks for looking and sharing, VM