2003 Mazda B 2300 Repair page
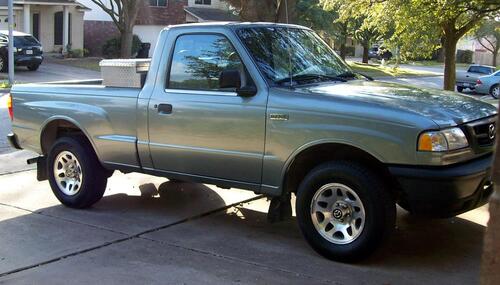
2019 pic
2.3L Ford Duratec
A/T
I have owned it 8 yrs, and it has 215K
Time to do some repairs.
Starting with the older ones.
2024
Headliner fabric replacement
Driver's seat bolster repair- seat covers
(The seat covers are custom made but temporary, and will be replaced with real upholstery at a later date .)
A/T
I have owned it 8 yrs, and it has 215K
Time to do some repairs.
Starting with the older ones.
2024
Headliner fabric replacement
Driver's seat bolster repair- seat covers
(The seat covers are custom made but temporary, and will be replaced with real upholstery at a later date .)
2026
Head gasket leak
Will begin this sequence of events after removing what was needed to remove intake manifold.
This will be a long process with many parts changed out as I go, I intend on making this a dependable truck for me for years to come.
The head gasket just became the reason to get deep into it and be methodical.
The years of having a shop for auto work are gone, so it is back to the driveway and shade tree at 69 yrs young!
Head gasket leak
Will begin this sequence of events after removing what was needed to remove intake manifold.
This will be a long process with many parts changed out as I go, I intend on making this a dependable truck for me for years to come.
The head gasket just became the reason to get deep into it and be methodical.
The years of having a shop for auto work are gone, so it is back to the driveway and shade tree at 69 yrs young!
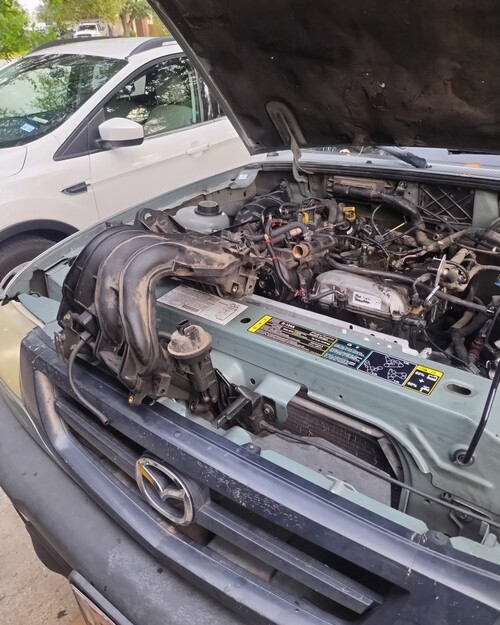
Intake removed.
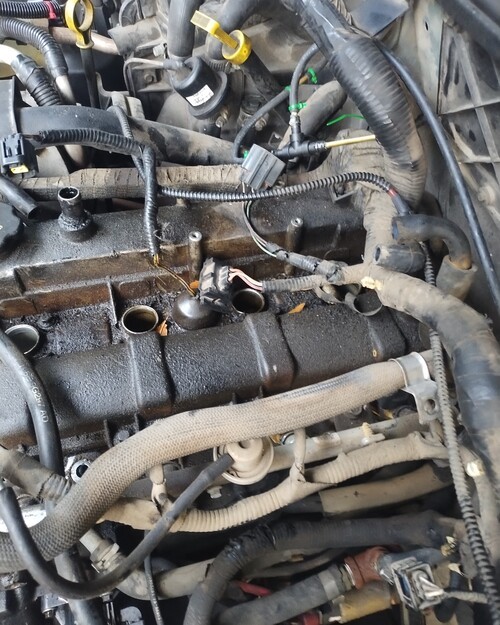
Been leaking oil for years.
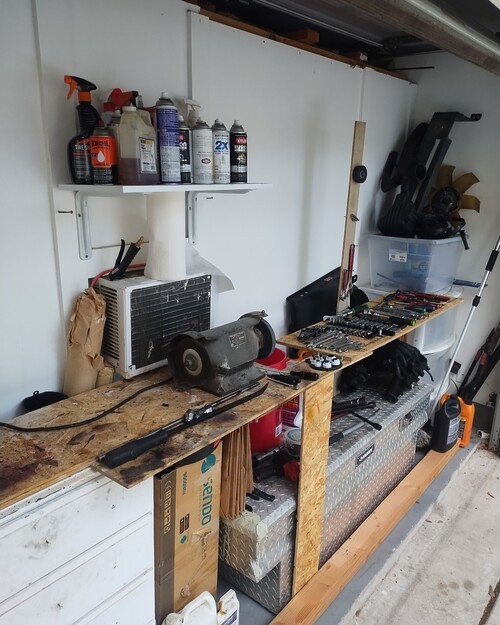
My tiny work area, banjo shop takes the rest!
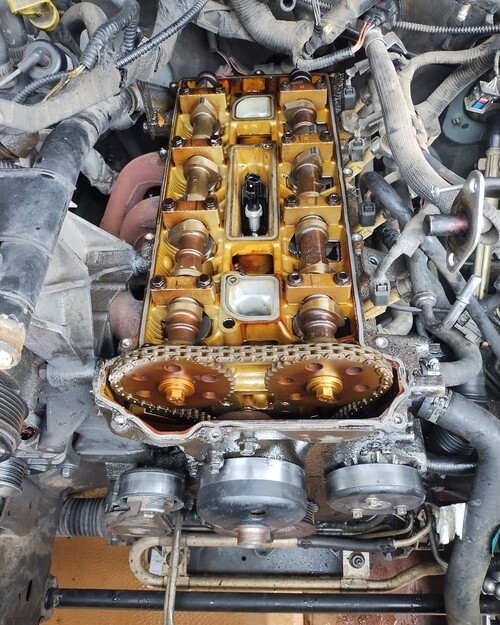
Clean for 215K
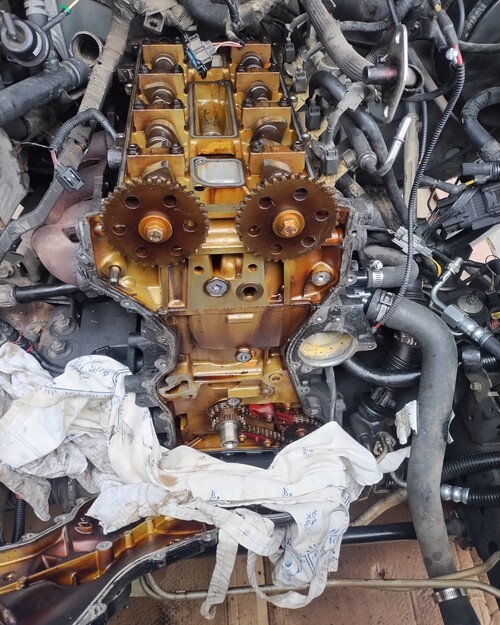
Timing cover off, timing chain off.
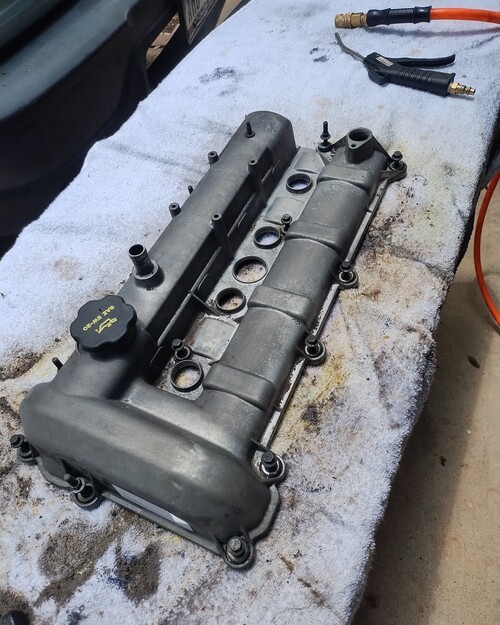
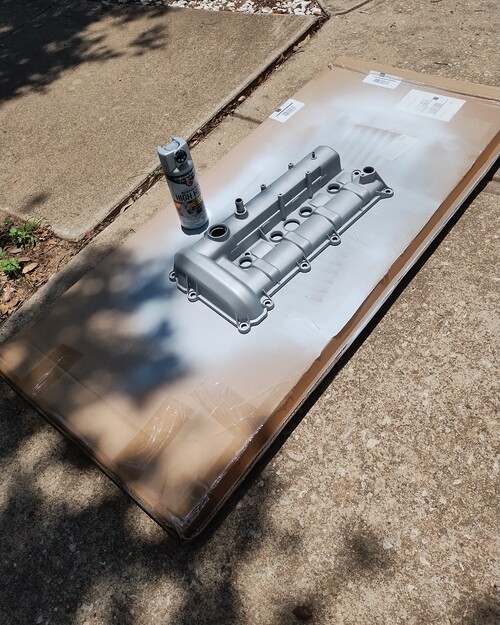
High heat ceramic enamel.
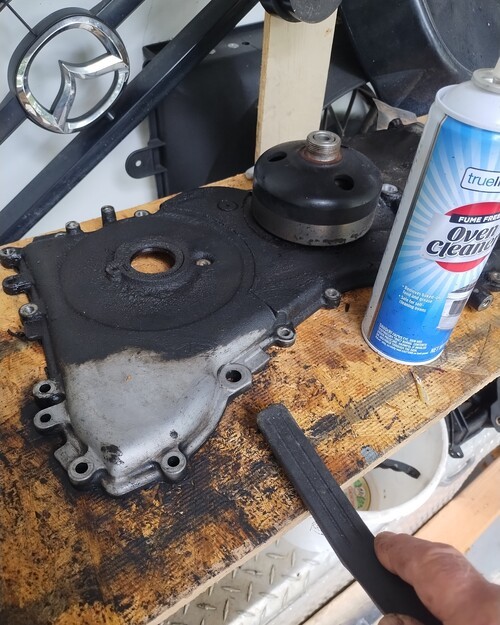
Cleaning timing cover.
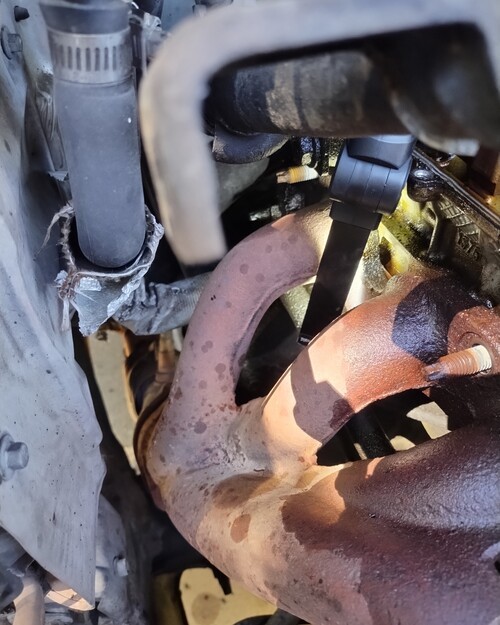
Getting the exhaust loose.
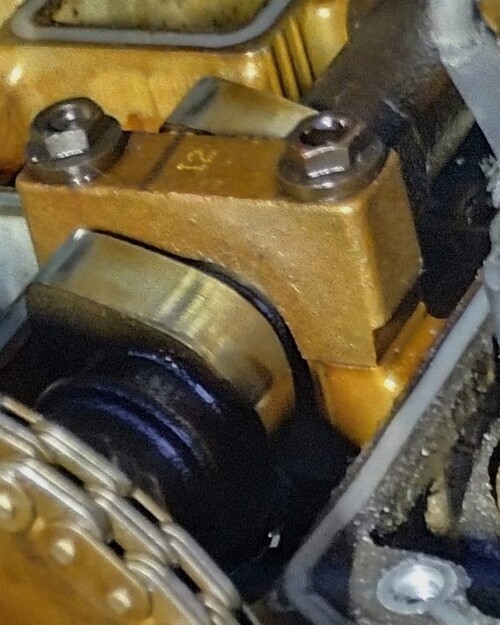
Ready to pull cams.
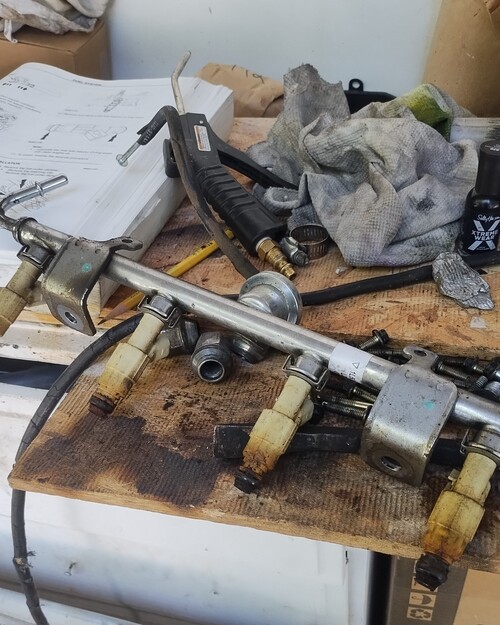
I will clean fuel rail and replace all injectors.
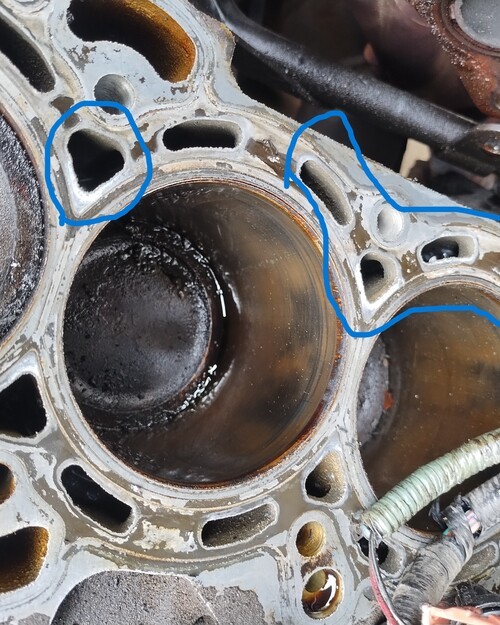
The white areas are where steam was coming out.
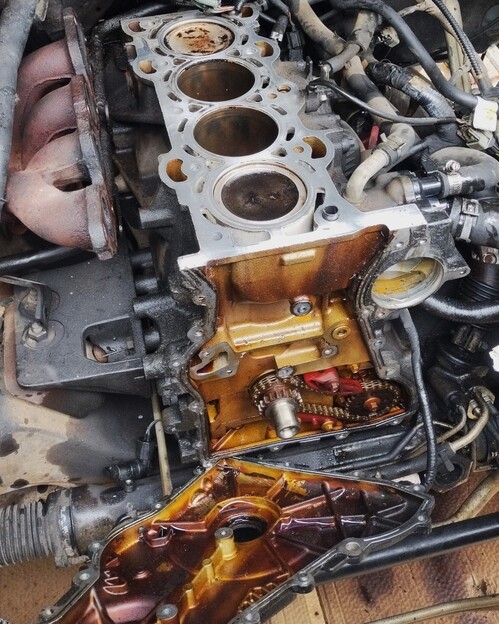
Surface cleaned.
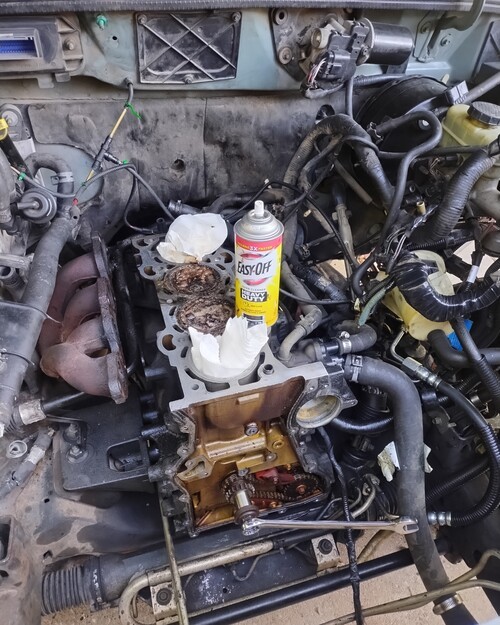
Starting to clean pistons.
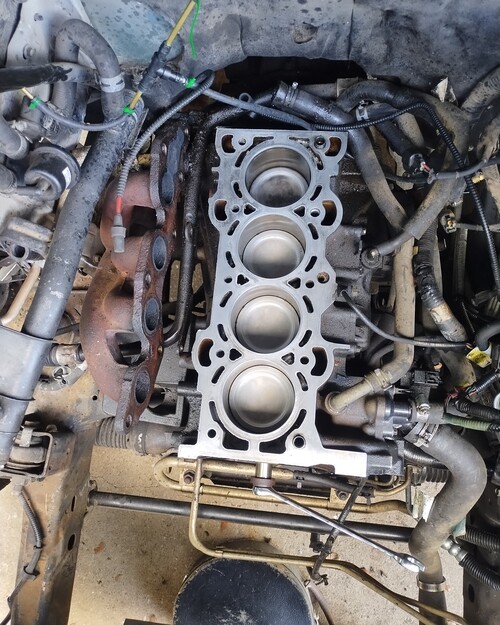
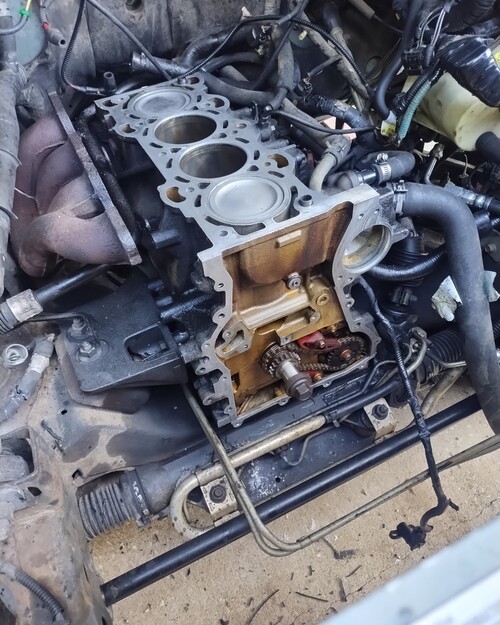
Timing cover surface cleaned.
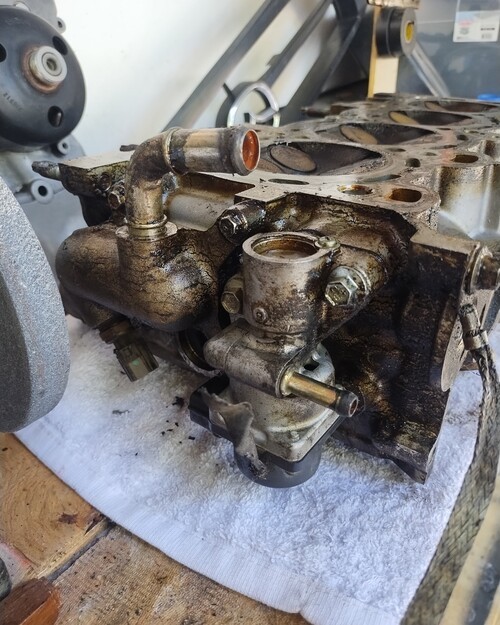
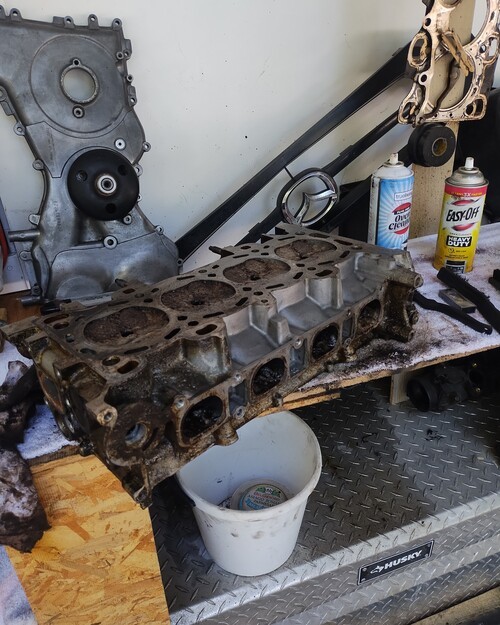
Oven cleaner and brush.
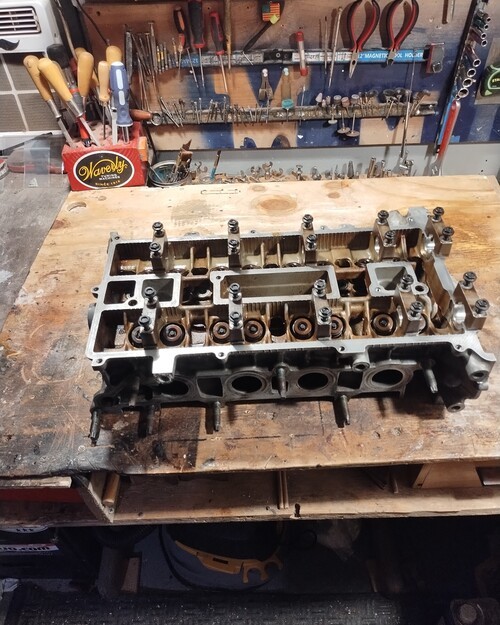
Ready to pull valves,
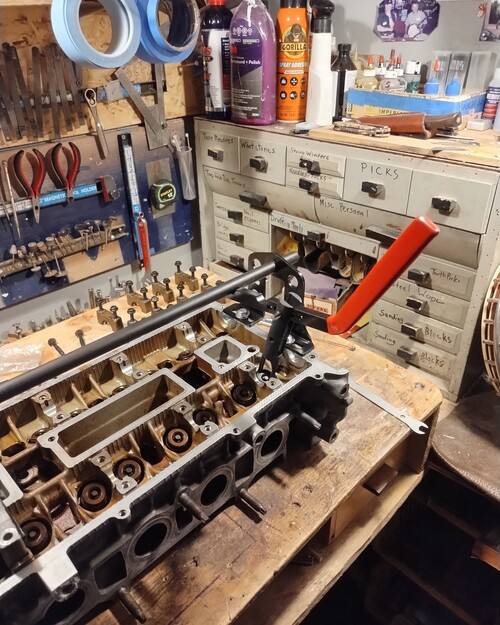
Set at correct angle ready to pull valves.
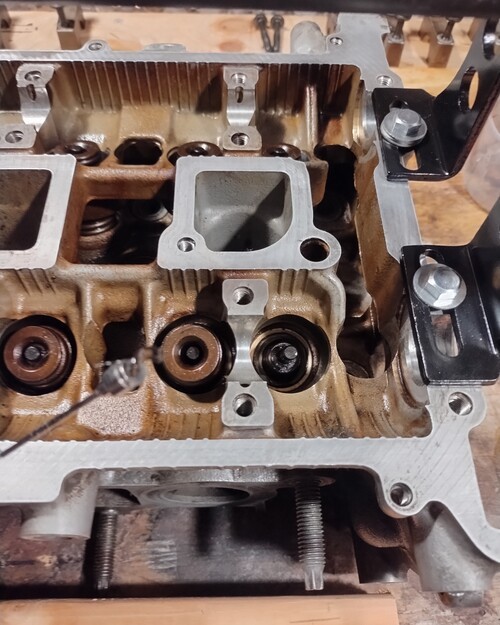
1st spring off.
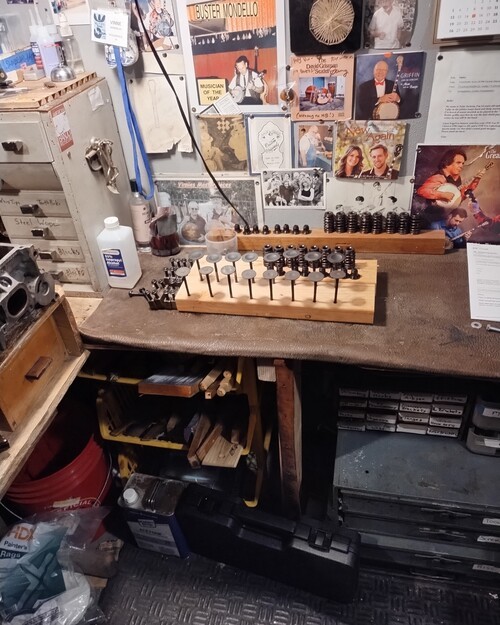
All out and in order.
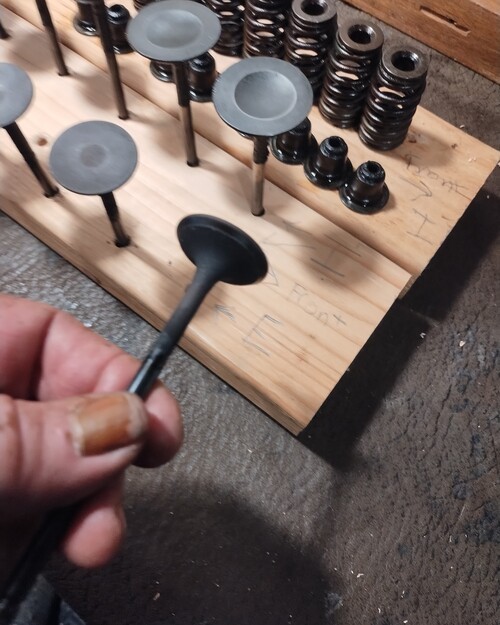
Normal carbon for 215K
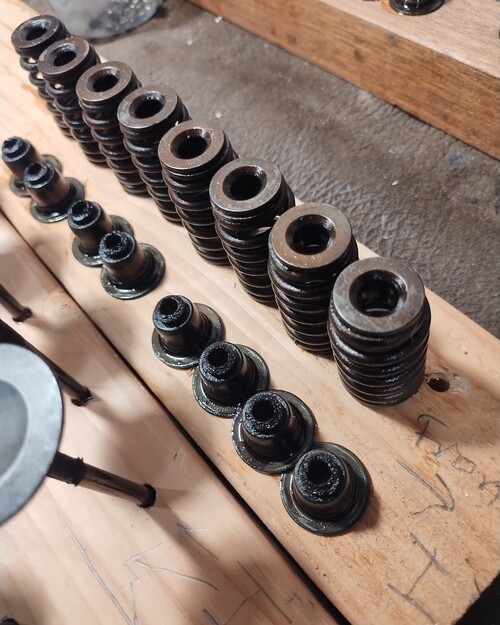
Valve stem seals were "tired" good job boys.
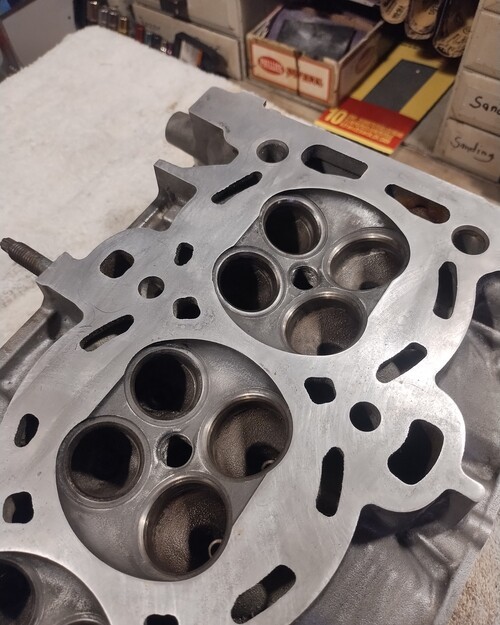
After pressure wash and dry.
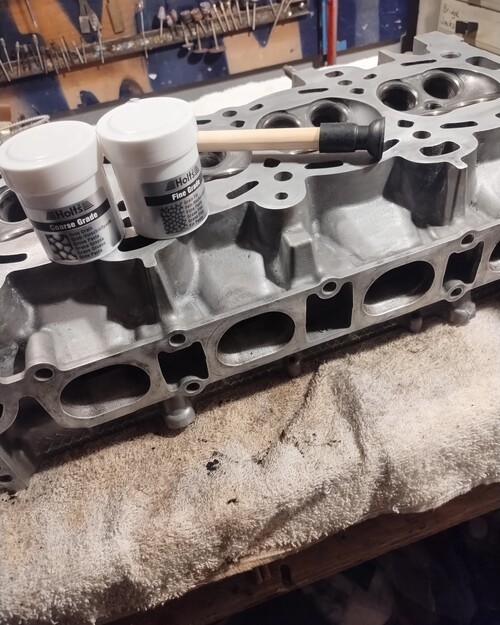
Ready to lap valves.
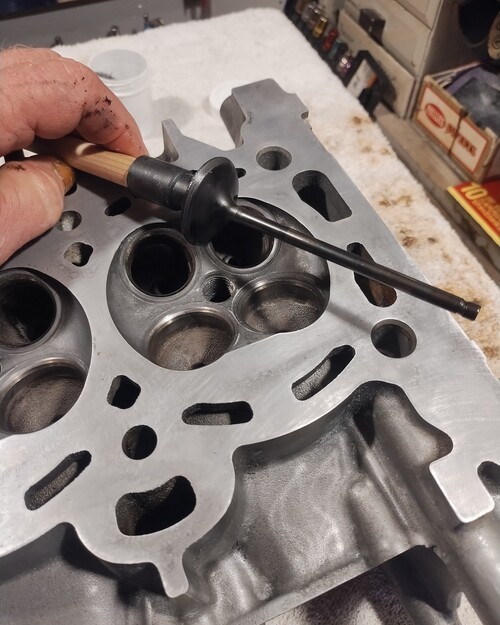
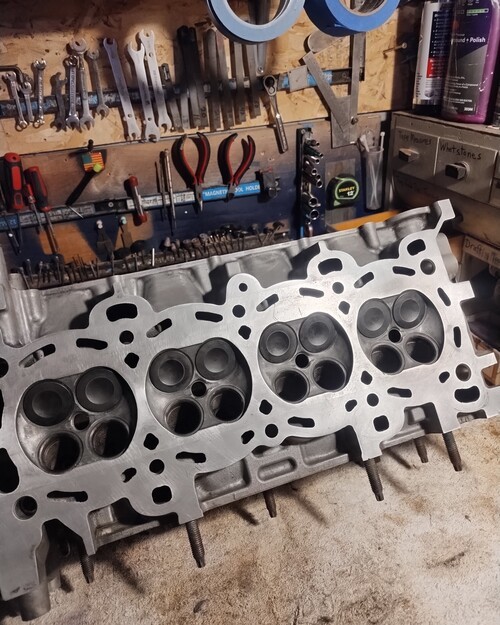
All good to go.
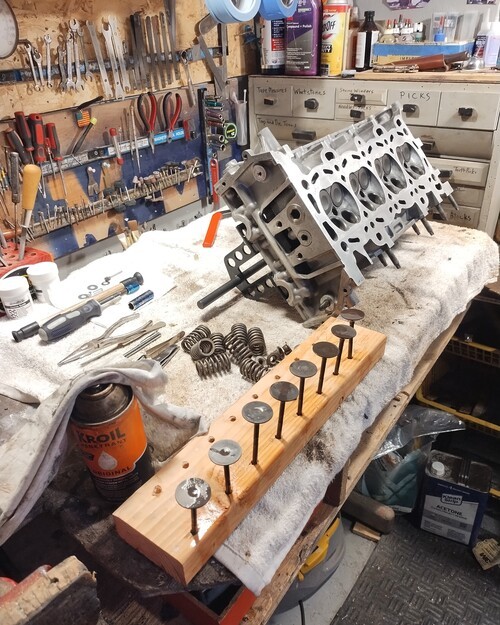
Now for the exhaust side.
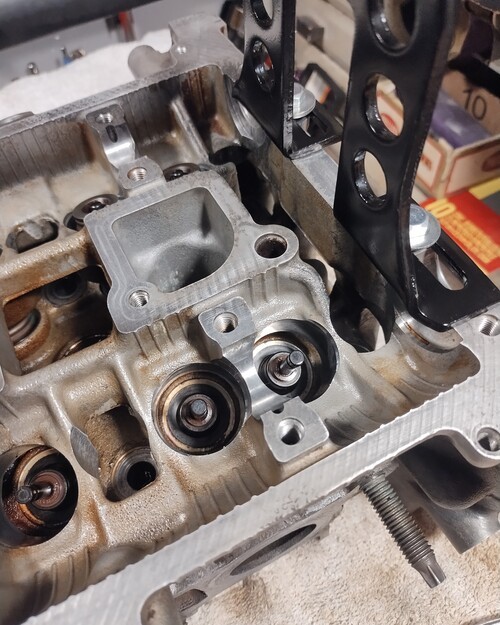
Installing valve stem seals on exhaust side.
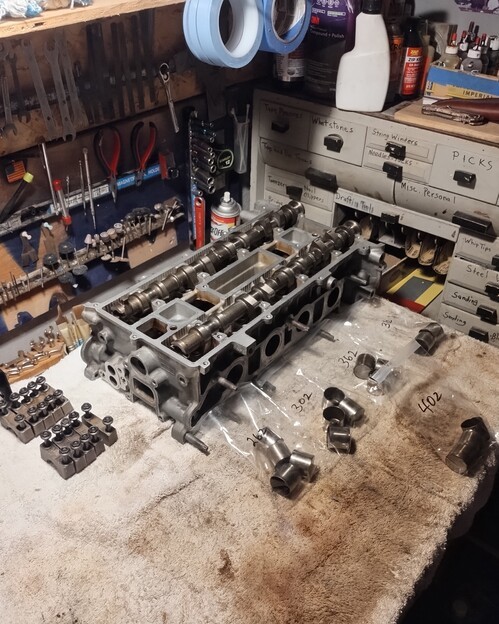
Cams cleaned and journals polished.
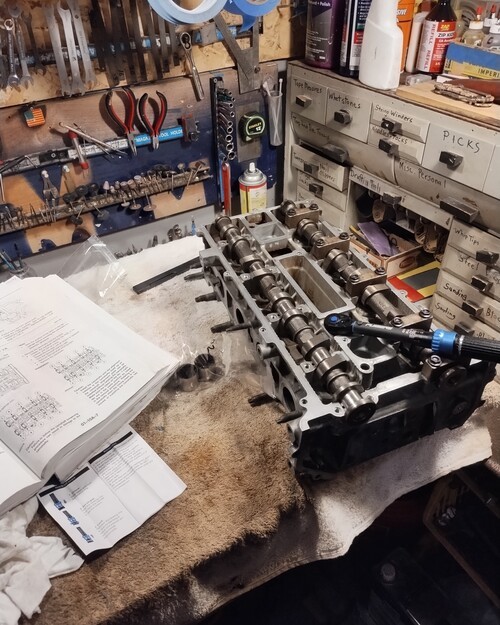
Time to install shim cups.
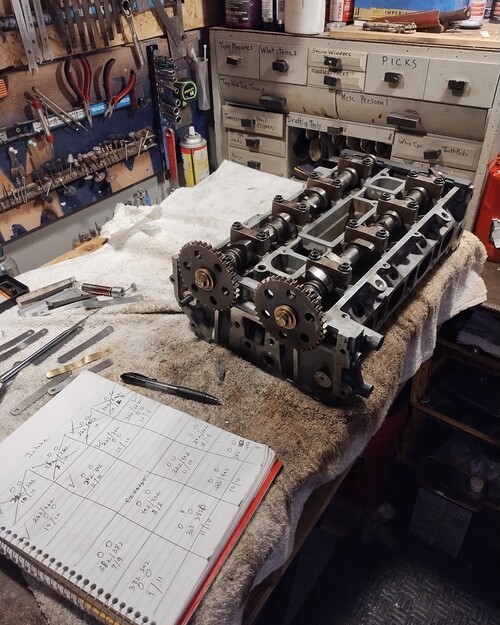
Ready to bolt on accessories and install.
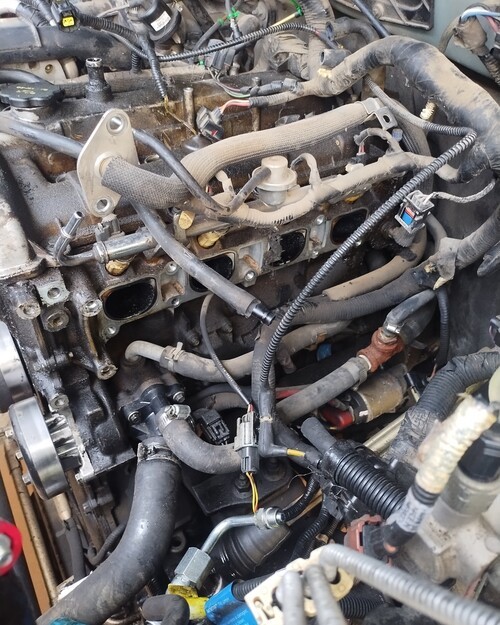
Now for the valve cover.
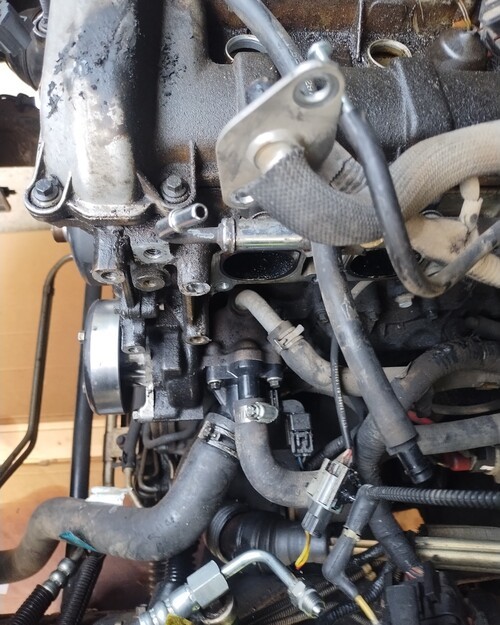
I did do a T-stat /water pump and radiator a while back.
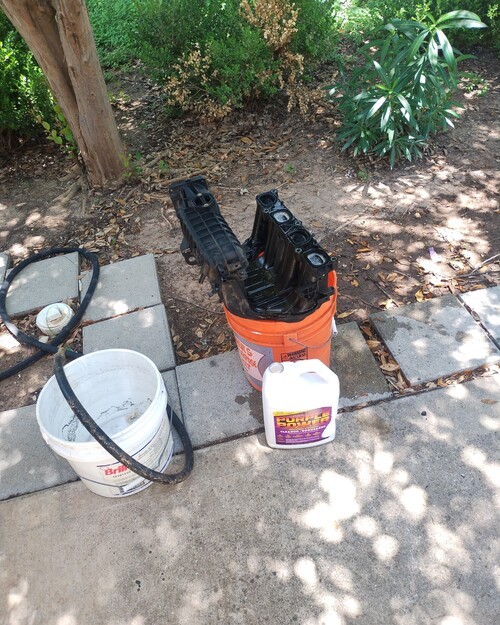
Purple Power for intake cleaning.
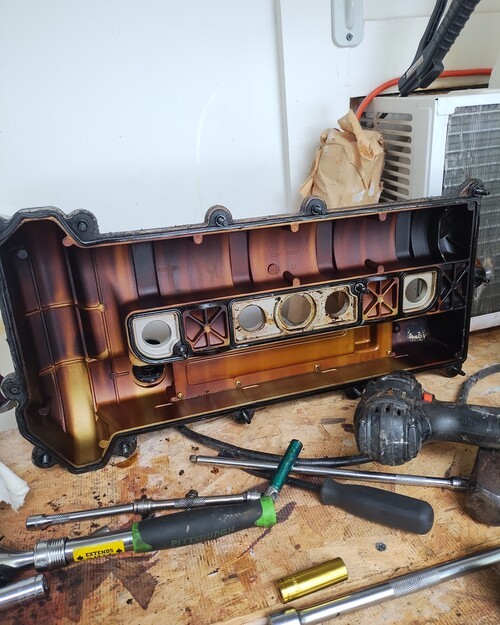
Ready to clean/[paint valve cover.
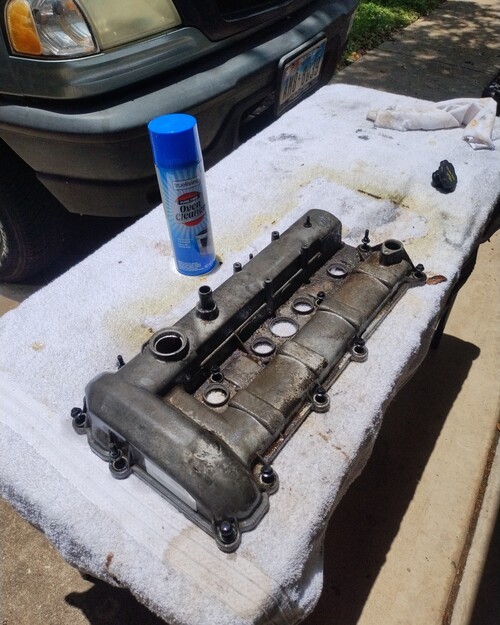
Oven cleaner, VG de-greaser.
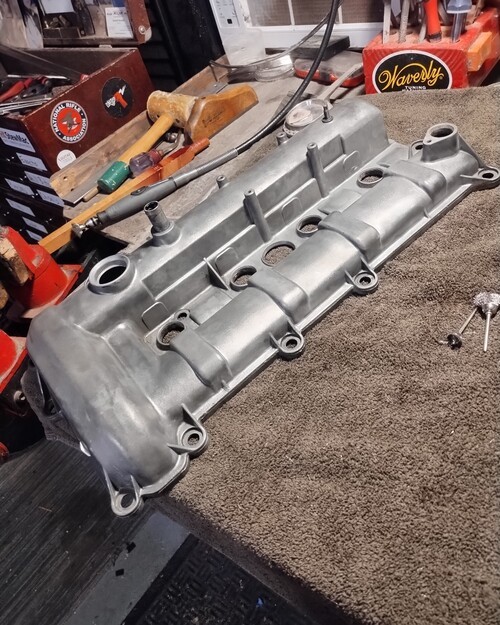
After wire wheel, ready for prep/paint.
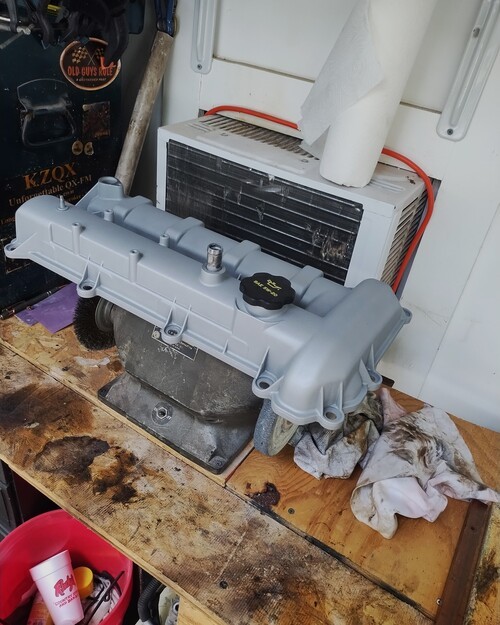
3 coats, cured.
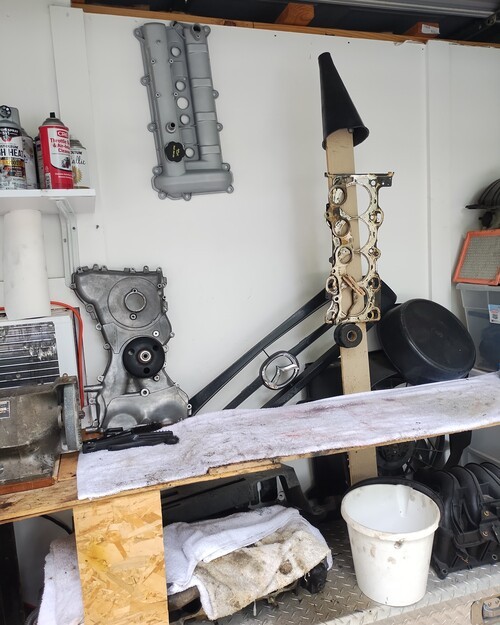
No painting for it.
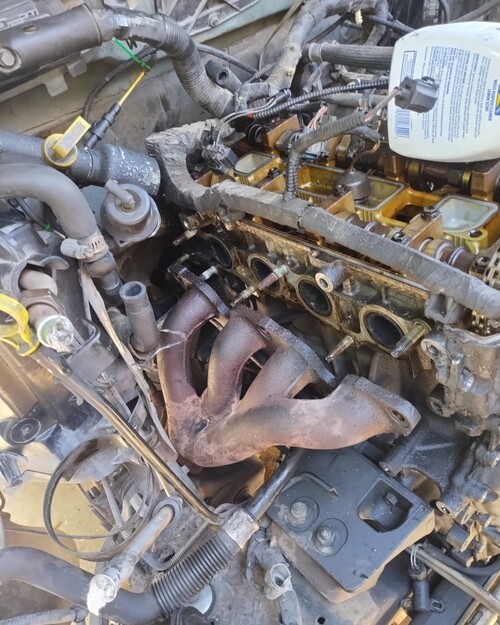
I will clean all of the studs before re-assembly.
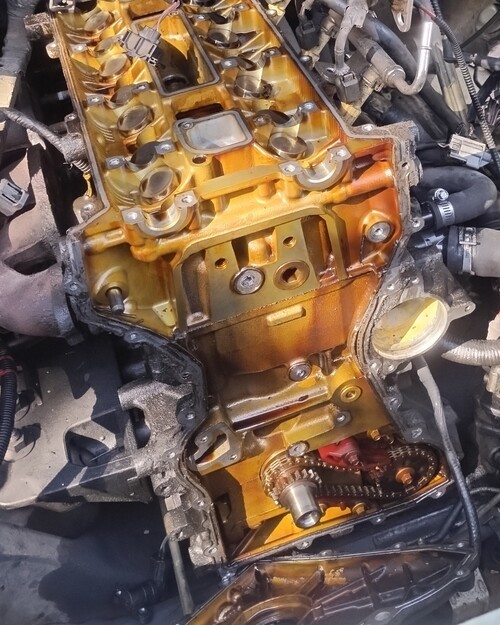
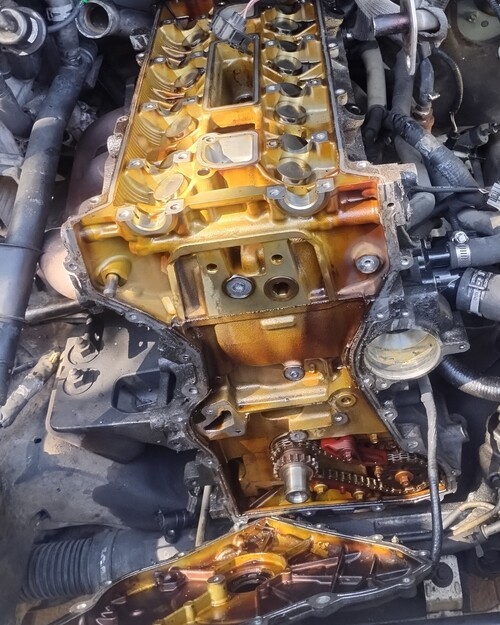
I will also replace oil pump, chain is good.
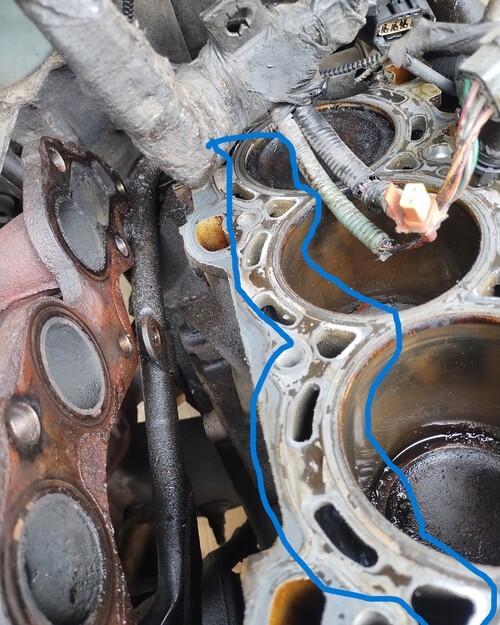
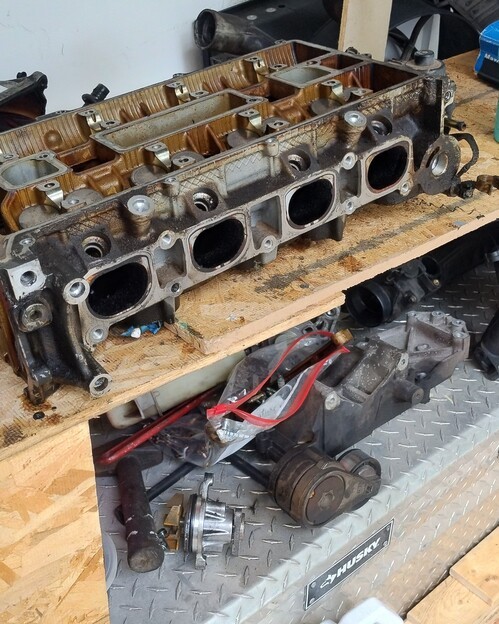
I will clean the main grime off now.
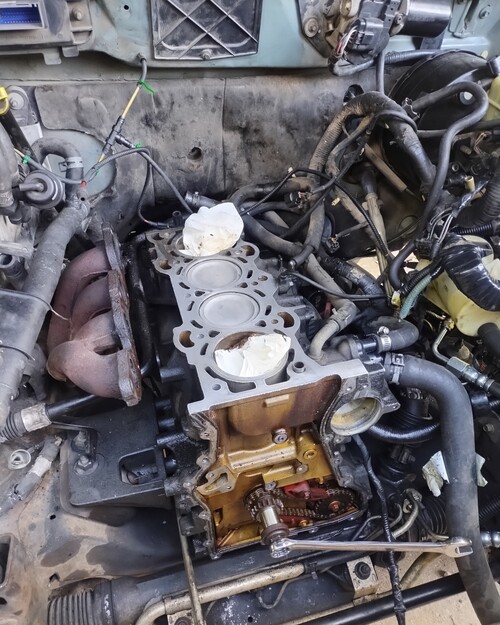
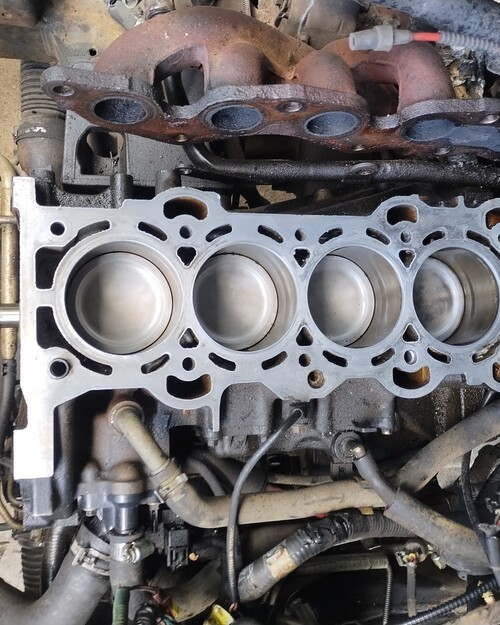
EZ-Off is great.
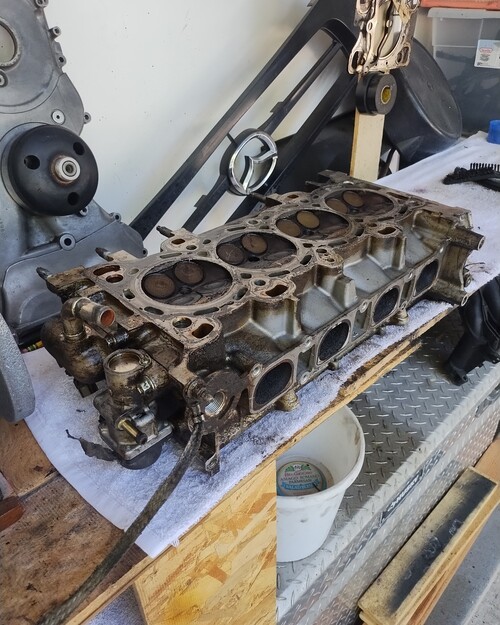
De-greasing head.
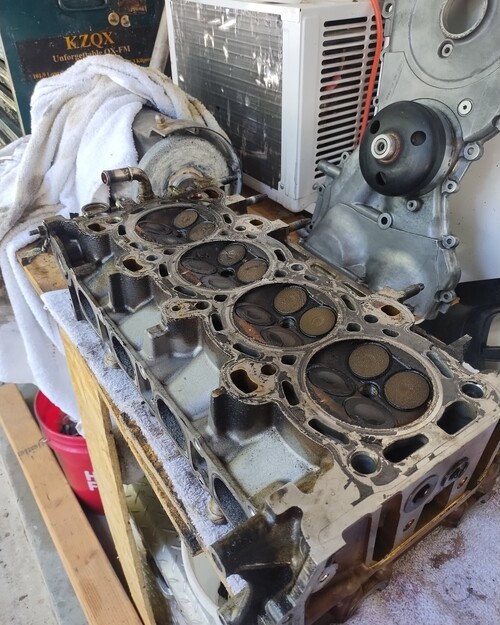
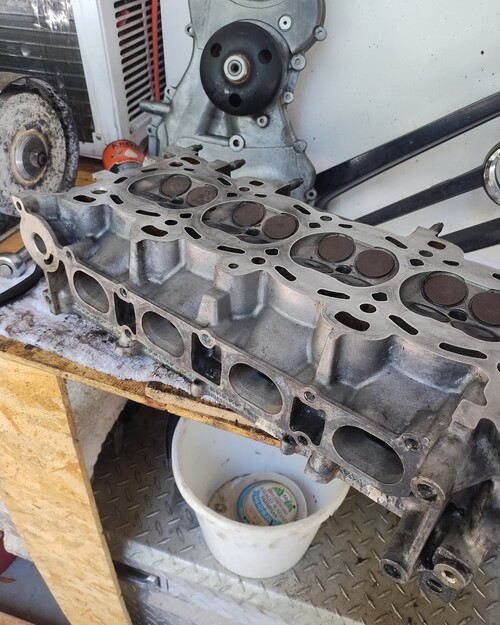
Clean enough to come inside now.
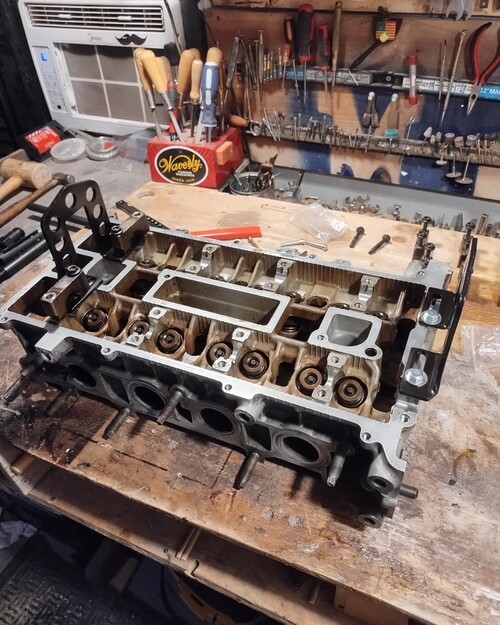
Setting up valve compressor tool.
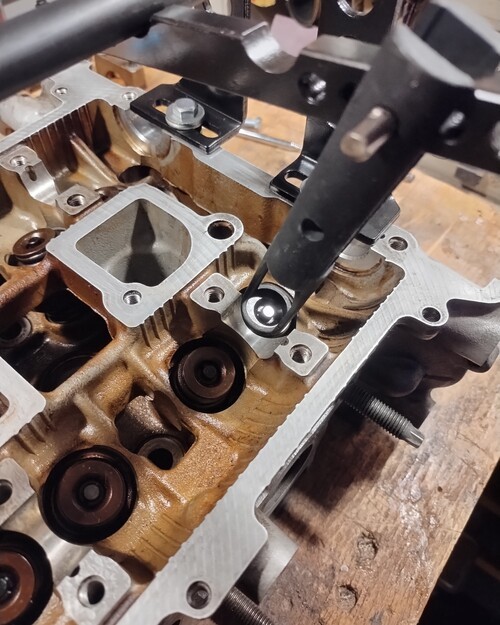
I can pick out the valve locks with my magnet.
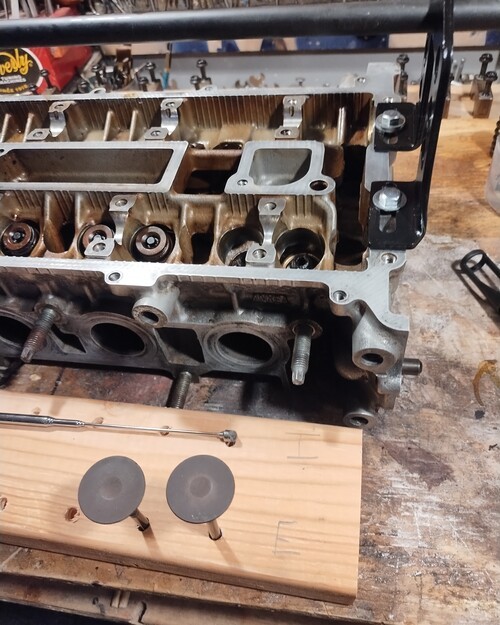
moving along.
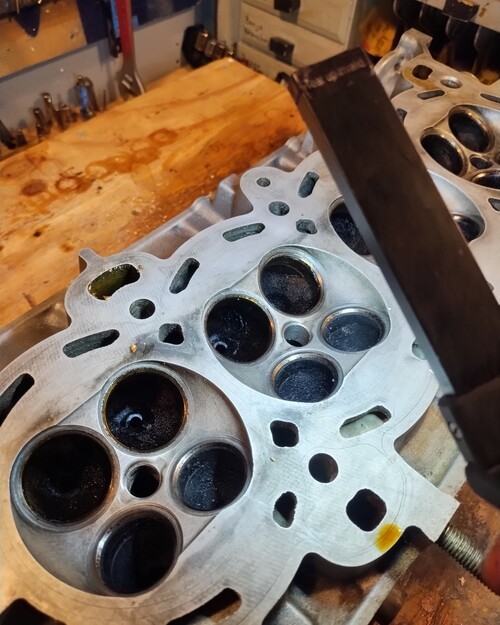
Now to clean ports and combustion chamber.
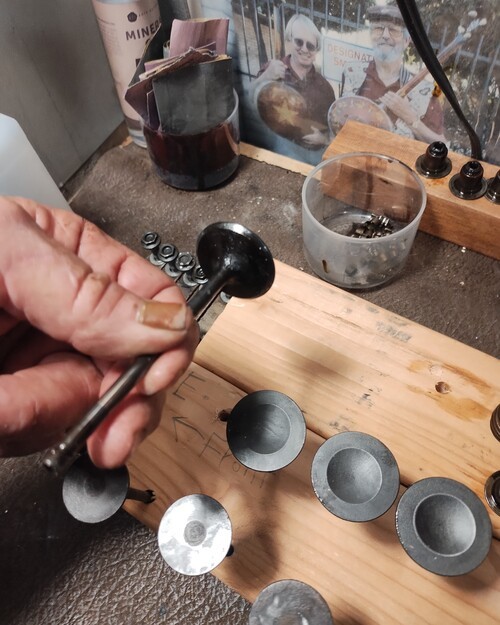
Intake side.
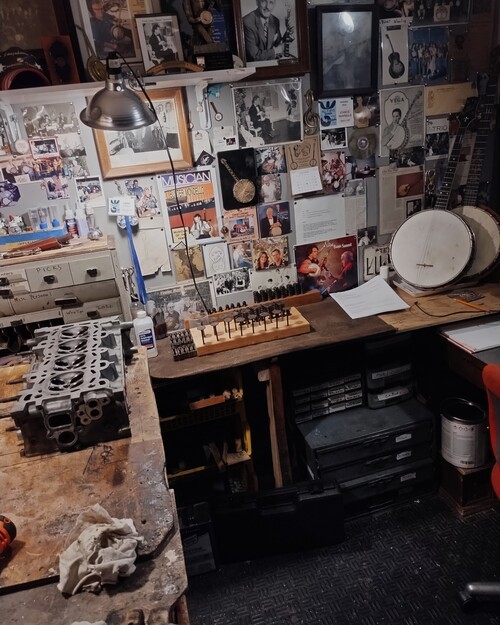
Banjos, move over , we are taking your AC and bench!
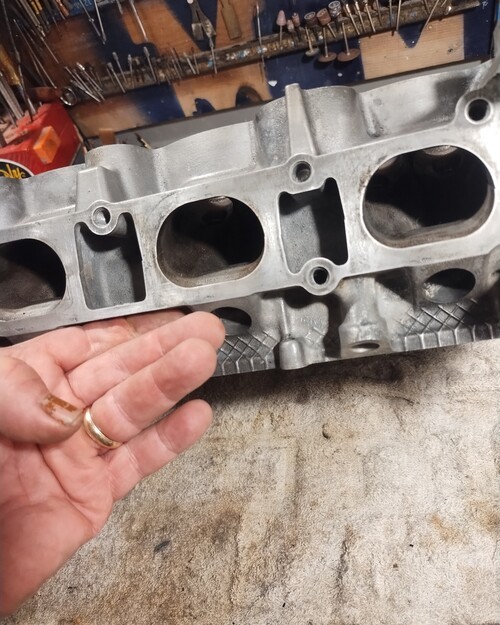
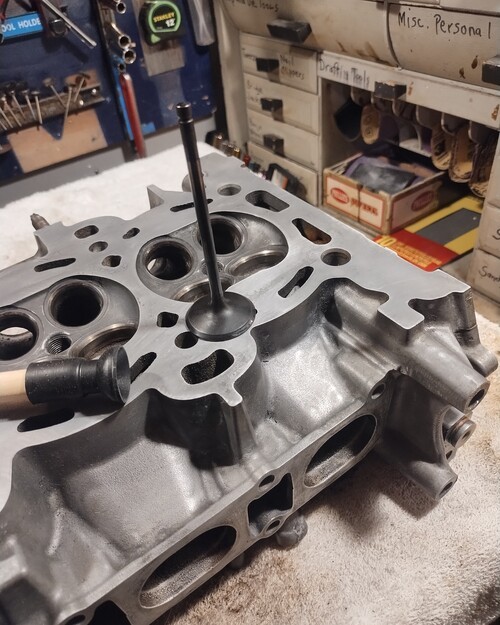
Starting with the intakes.
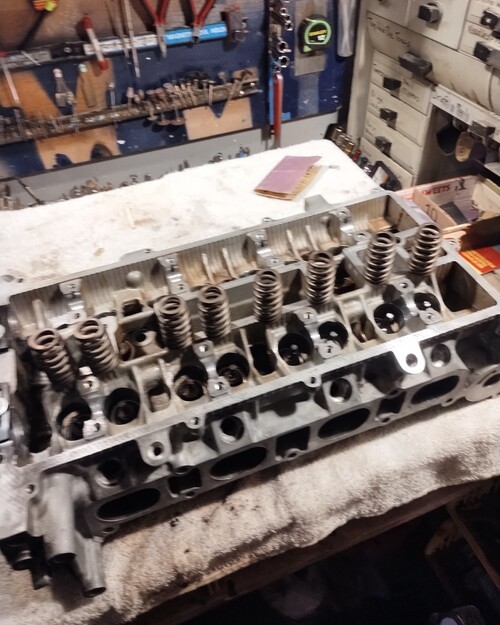
Valve stem seals installed, ready to compress.
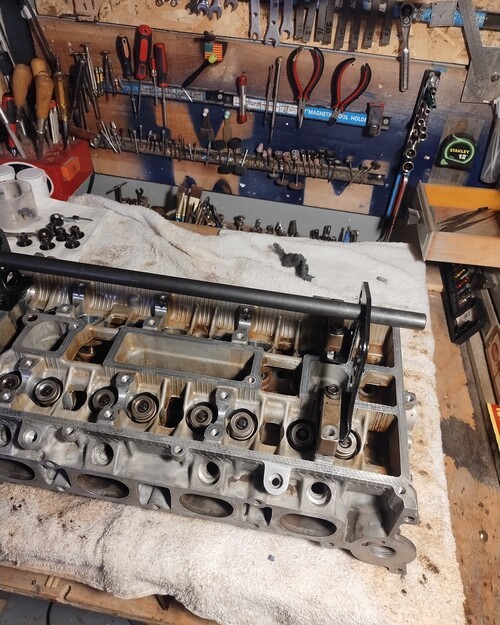
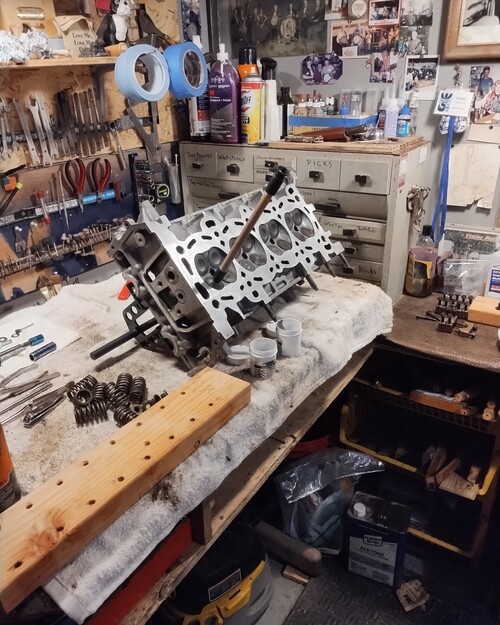
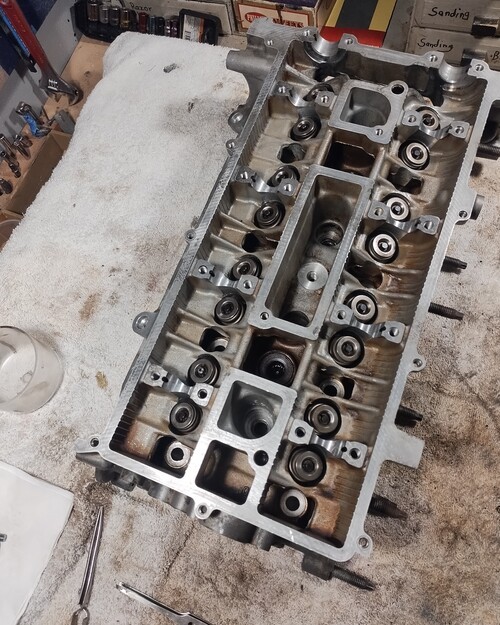
All back in.
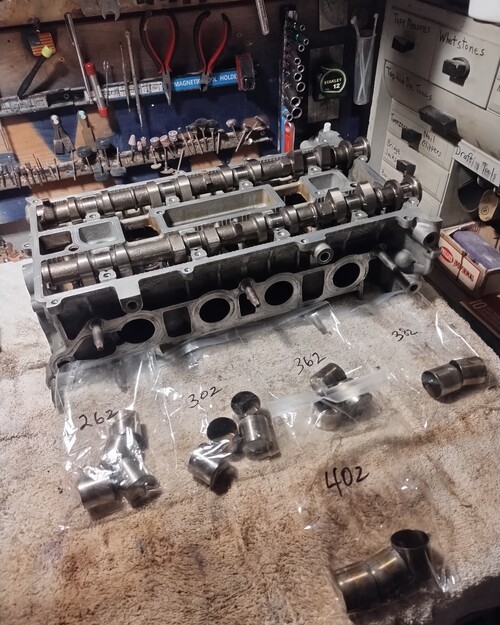
Ready to start adding ship cups and checking valve lash.
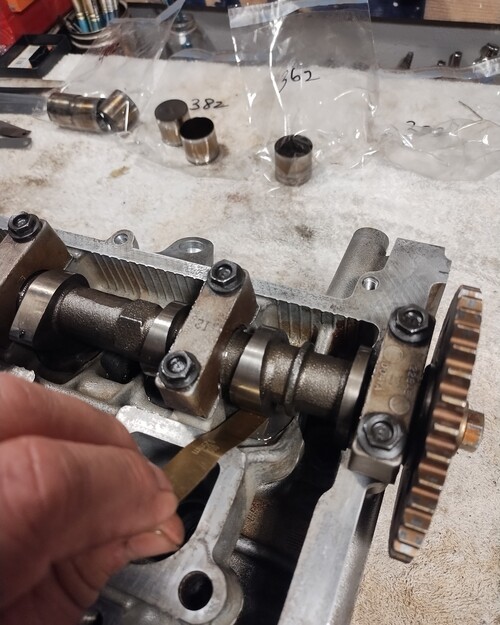
After "some time" they are all now within specs.
Head installation
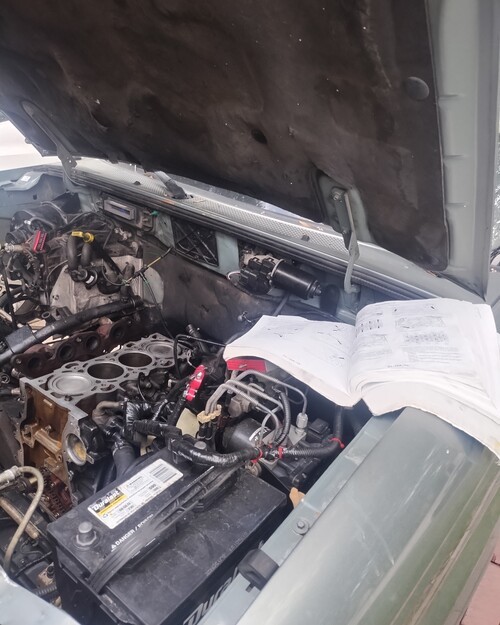
Pistons locked at TDC, ready for install.
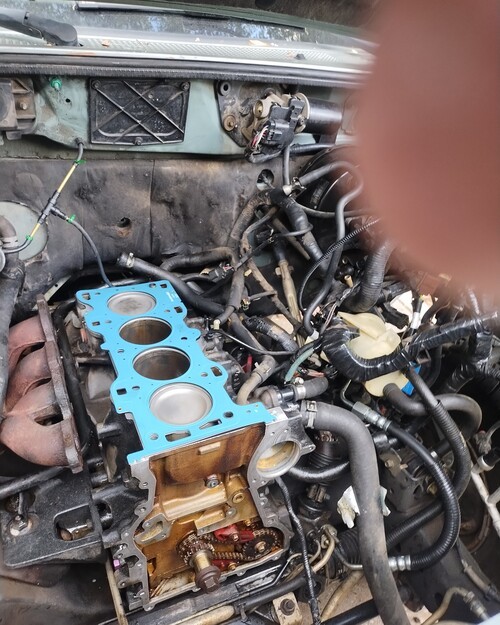
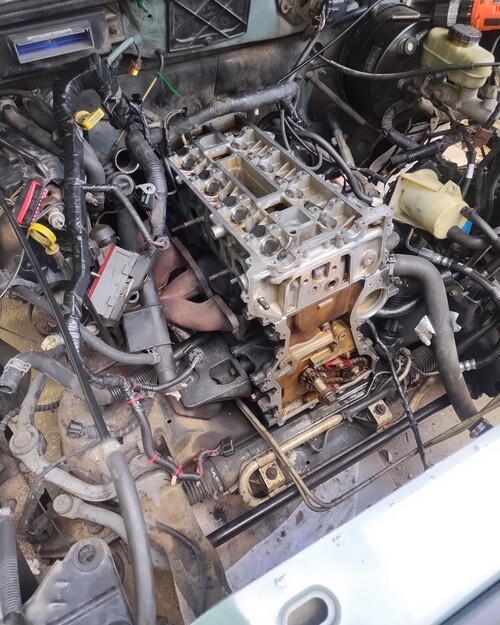
All torqued.
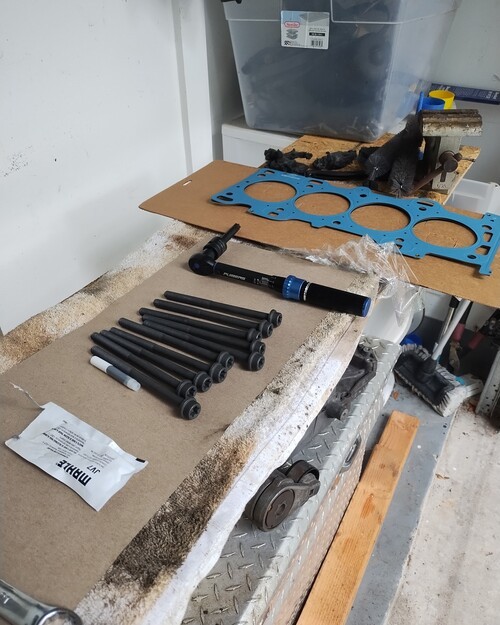
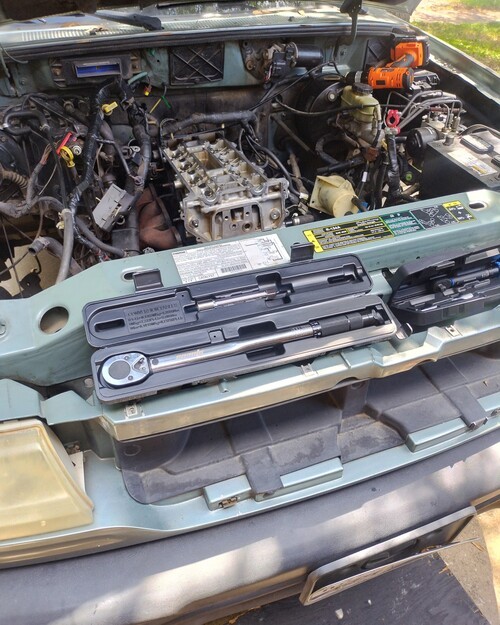
Ready to torque, 5 steps.
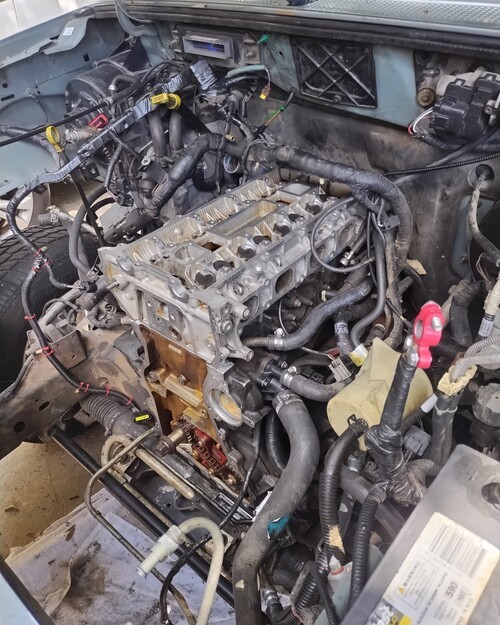
Ready for cams/ timing components.
Cam/Timing Components
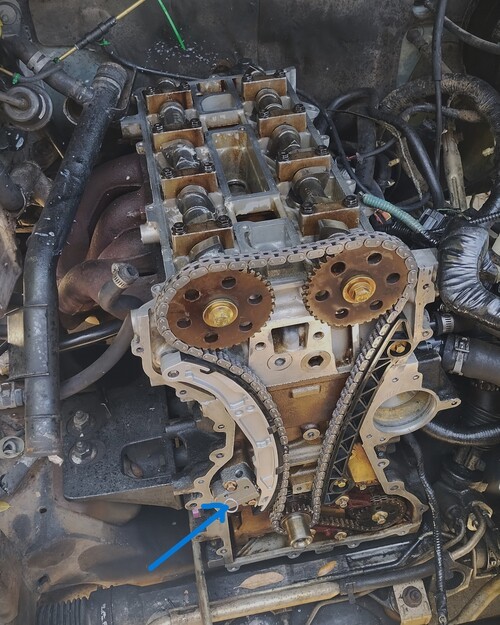
Timing set. Ready to pull the grenade pin!
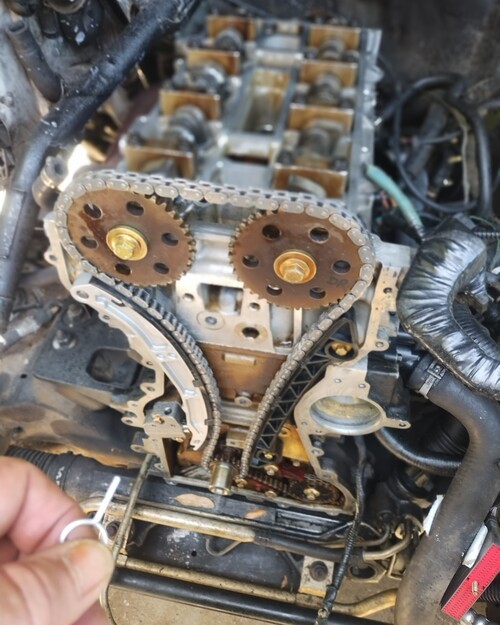
All good to go.
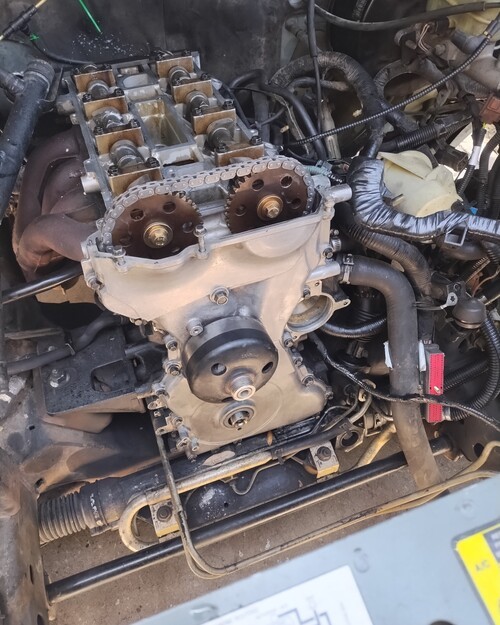
Front Cover with new seal installed.
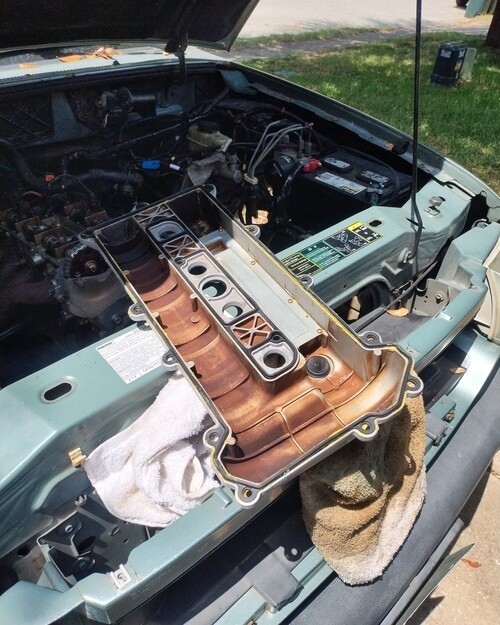
valve cover gaskets installed.
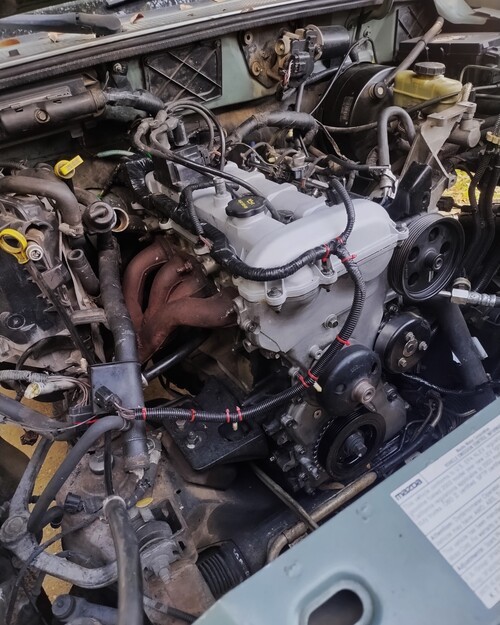
Coil pack and wires, hooking up grounds, sensors.
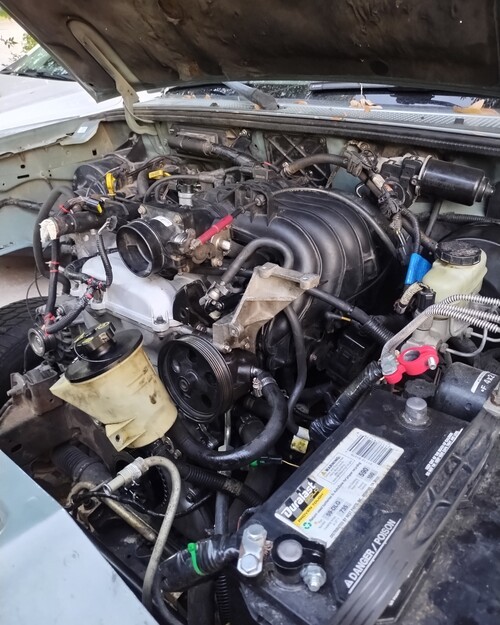
Intake installed.
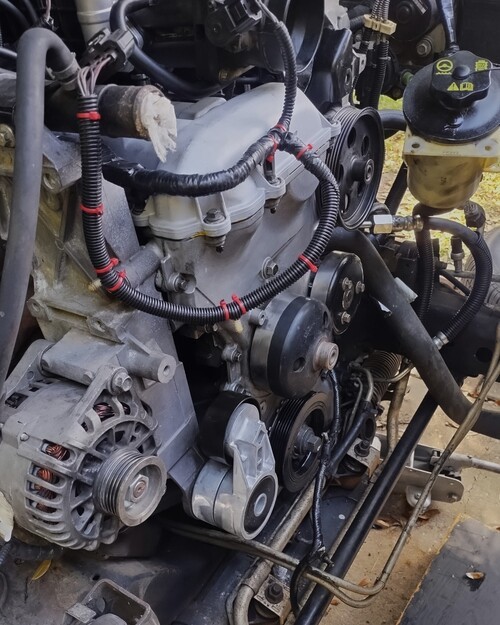
New belt tensioner installed
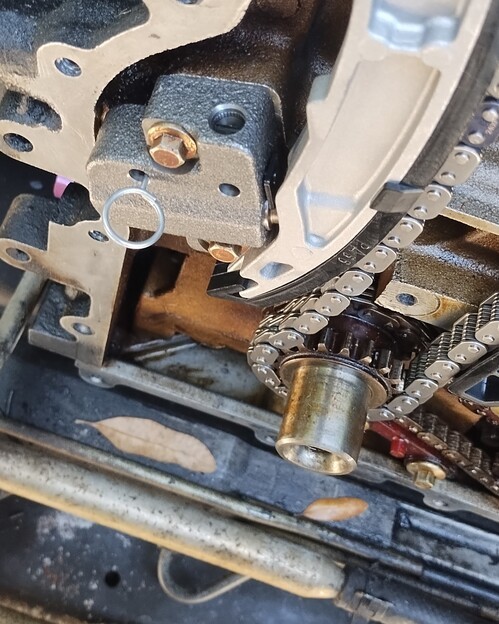
It releases the tensioner spring / ratchet.
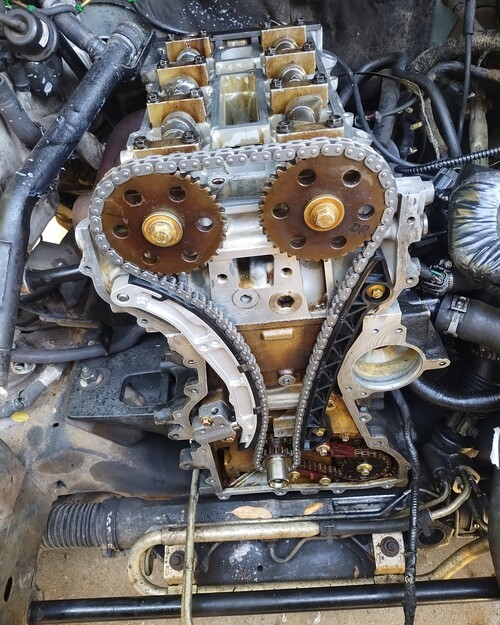
Ready for Timing cover.
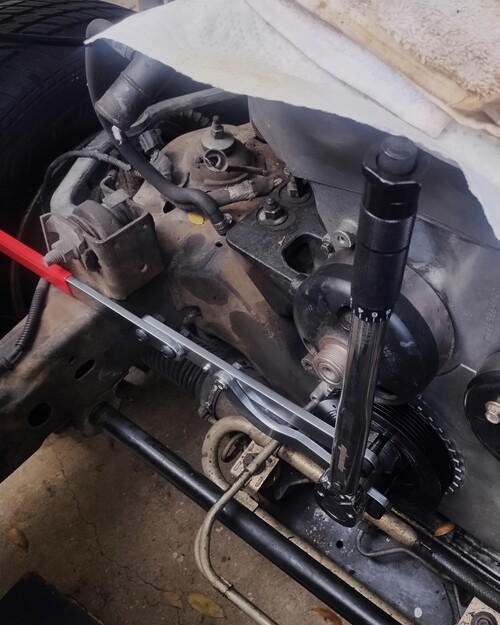
Torqueing the balancer.
Torqueing the balancer.
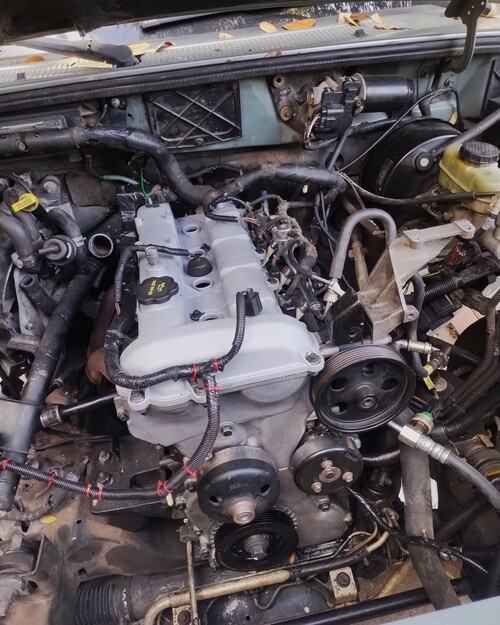
valve cover, Fuel rail/injectors/routing wiring.
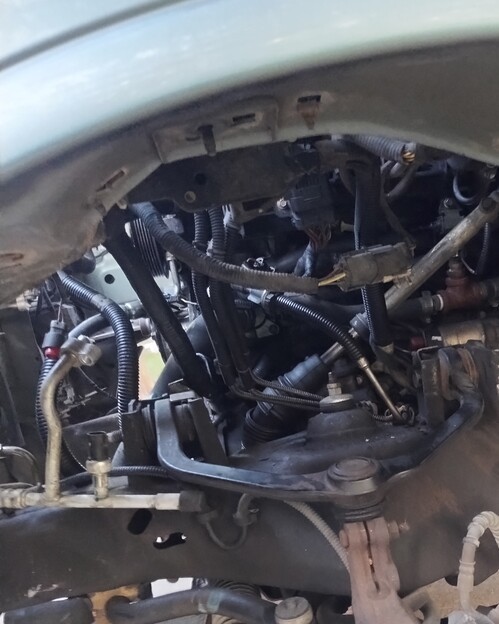
All elec/vacuum/intake bolts done.
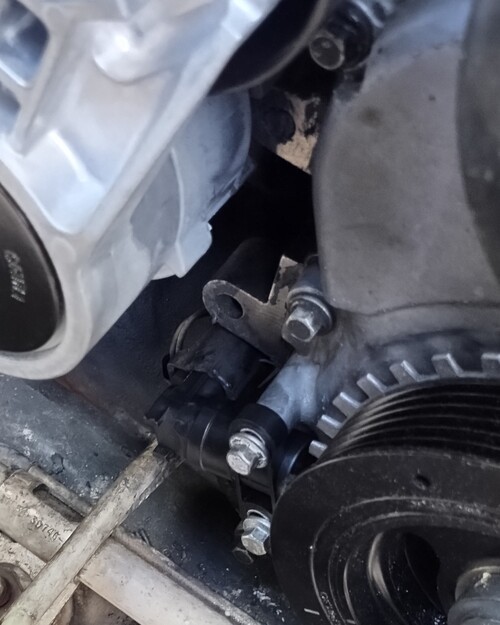
Crank position sensor timed.
Final sequence 8-14-26
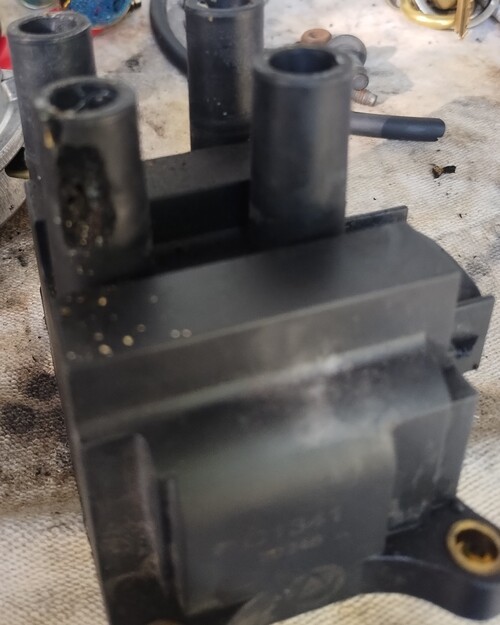
Time for a coil as well.
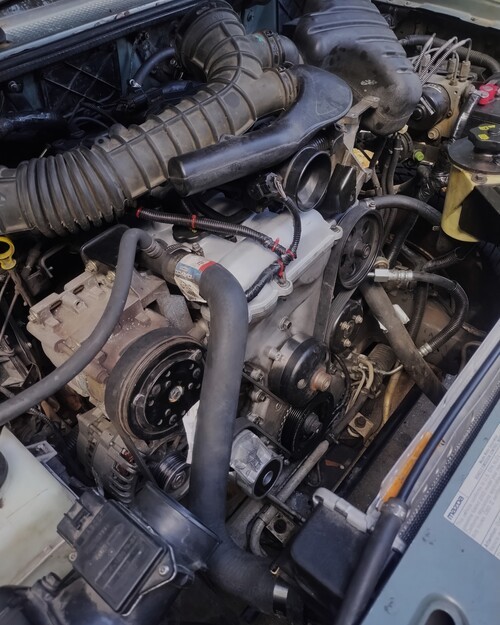
Belted up and ready for the "Shroud of Tour-Vin"
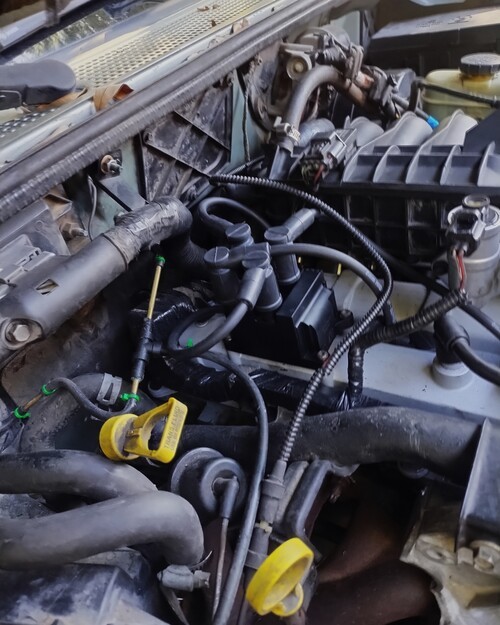
And wires.
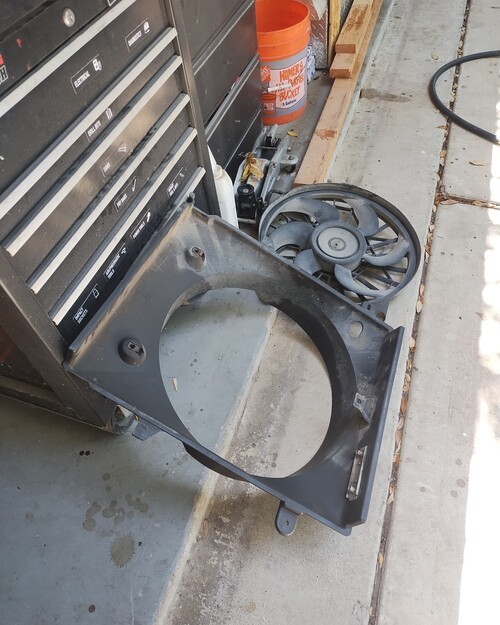
No need for condenser fan until I redo all A/C
OK, lets light this candle!
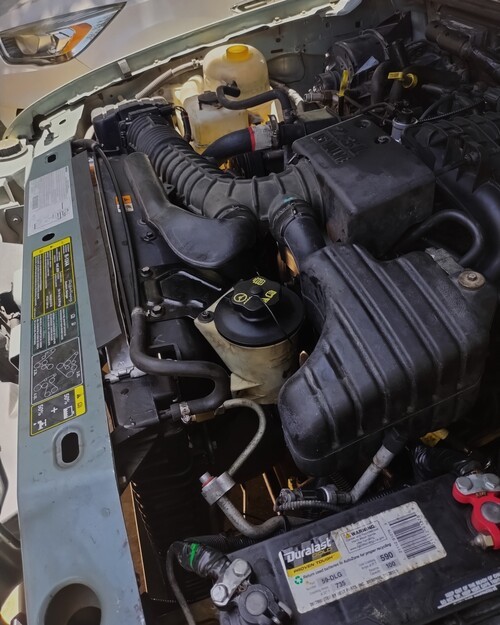
Click here:
VIDEO of 1st test run
VIDEO of 1st test run
The CE light is only on because I broke my CHT installing it, and one is on the way from Rock Auto.
Other than that, it is still running VG, better than it ever did.
I know I corrected the Swirl butterfly operation because prior owners had unhooked the vacuum, hence all of the blowby crap in my intake that I got cleaned out.
Other than that, it is still running VG, better than it ever did.
I know I corrected the Swirl butterfly operation because prior owners had unhooked the vacuum, hence all of the blowby crap in my intake that I got cleaned out.
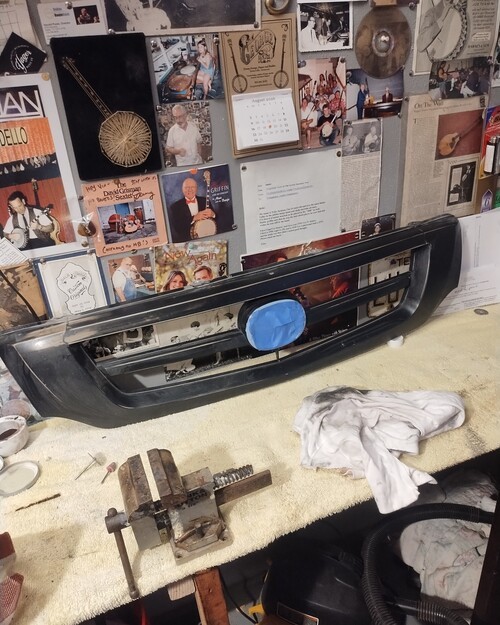
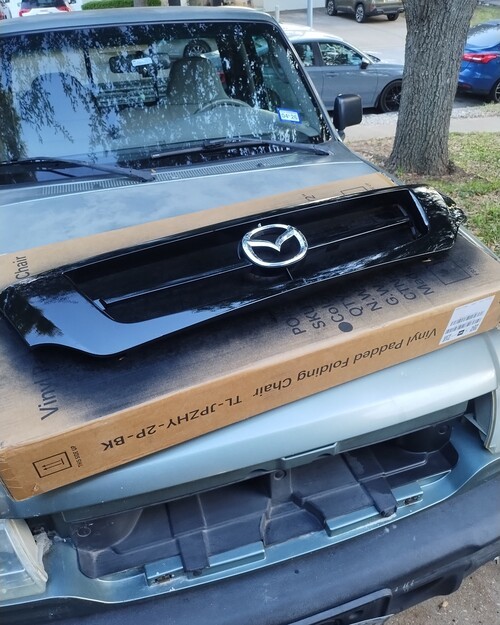
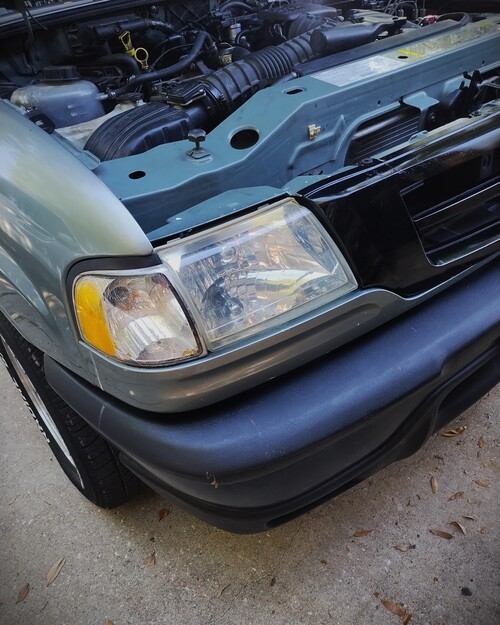
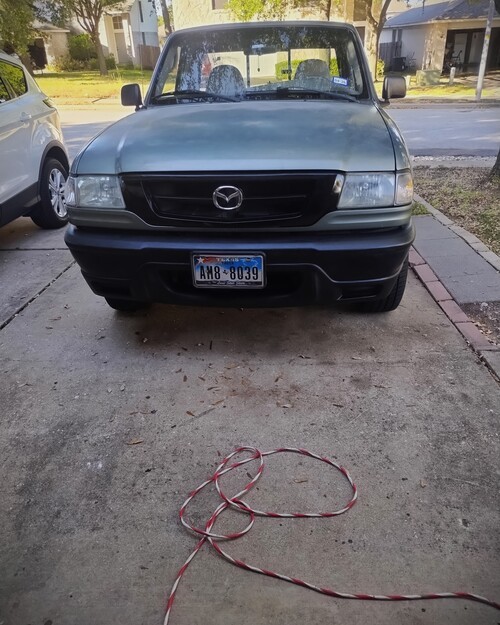
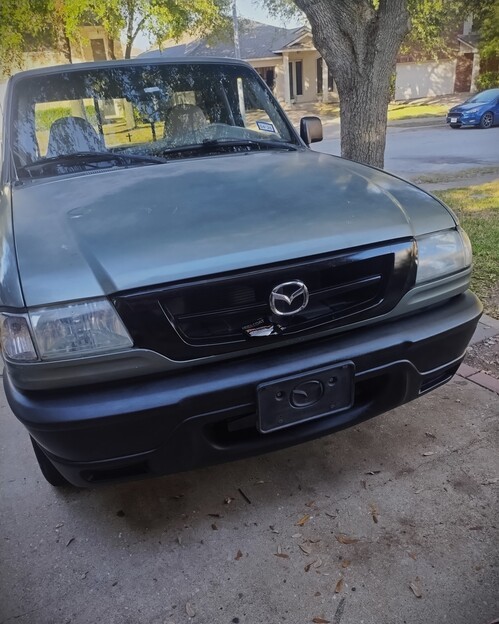
GRILLE - HEADLIGHTS
I will wait to replace them with new parts until I finally get around to the bodywork-paint.
So for now, I will just restore the headlights and grille to be "nicer"
So for now, I will just restore the headlights and grille to be "nicer"
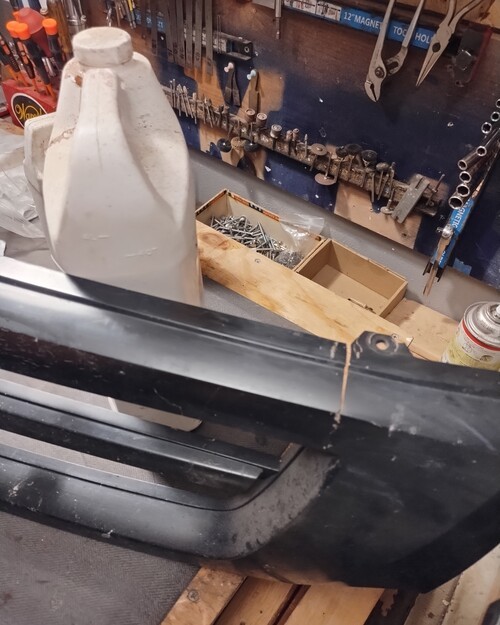
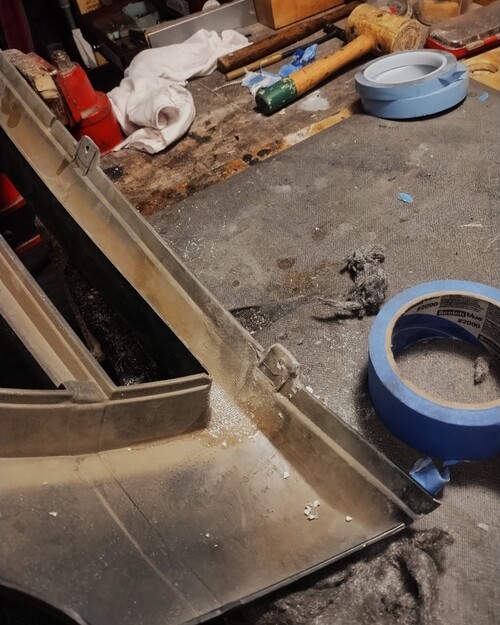
Smoothing out the cured repairs
All scuffed and prep wiped.
Ready for Cerakote on lights and bumper cover.
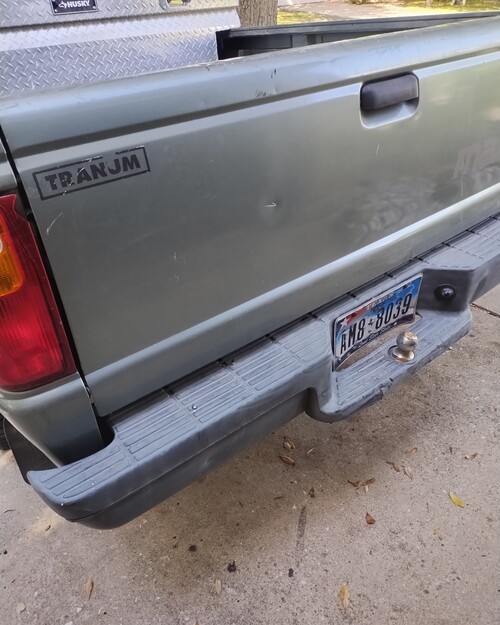
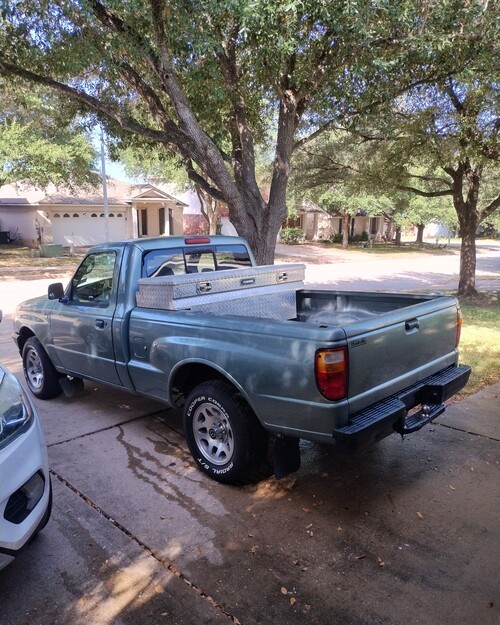
Washed and prepped.
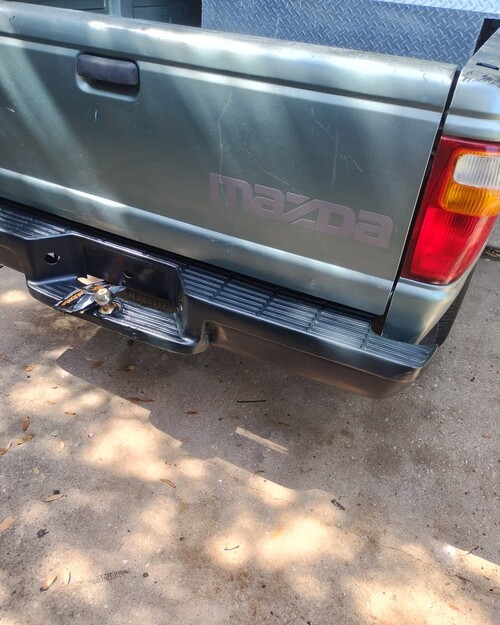
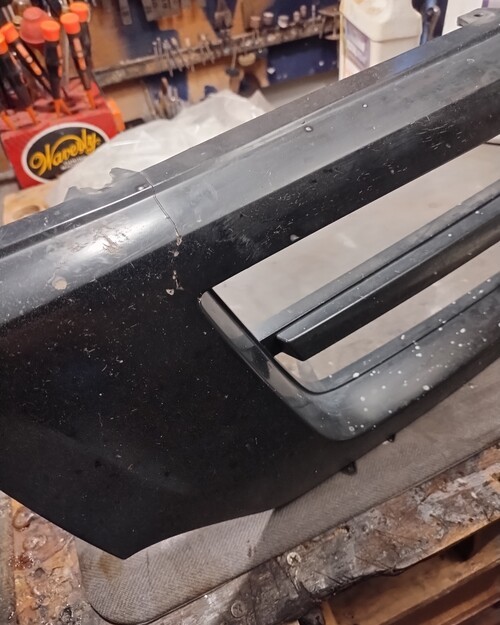
I will repair cracks and broken ear with fiberglass.
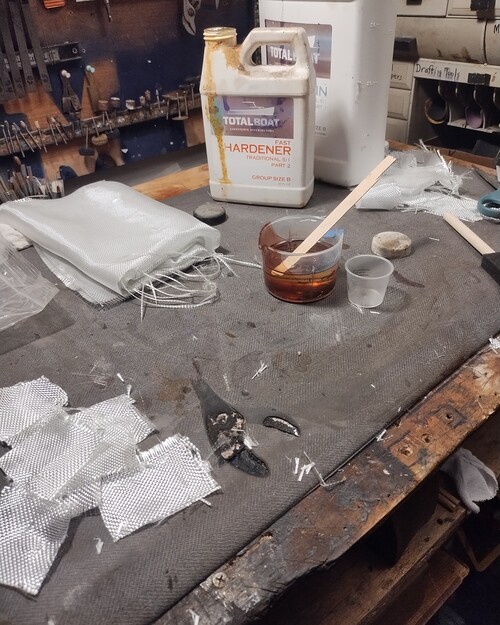
5:1 Marine Epoxy - fast cure.
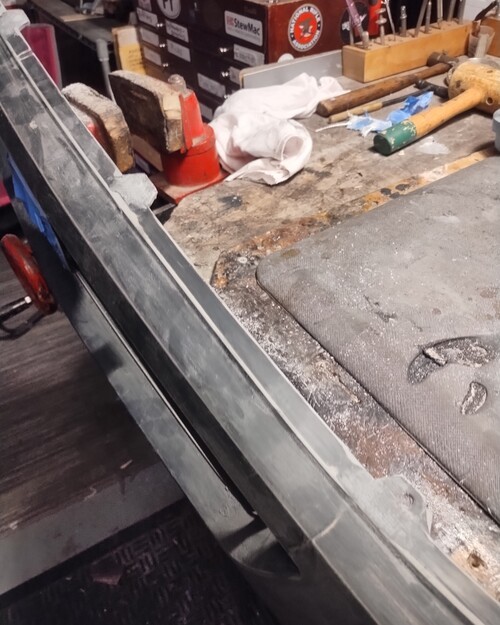
I will drill a hole in the new ear.
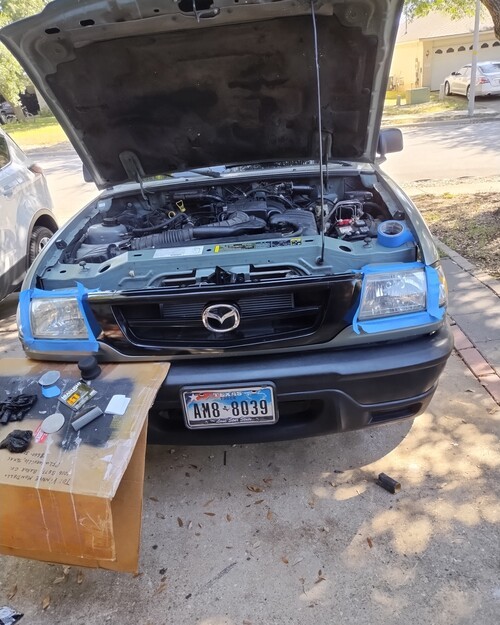
Cerakote for headlights and bumper covers next.
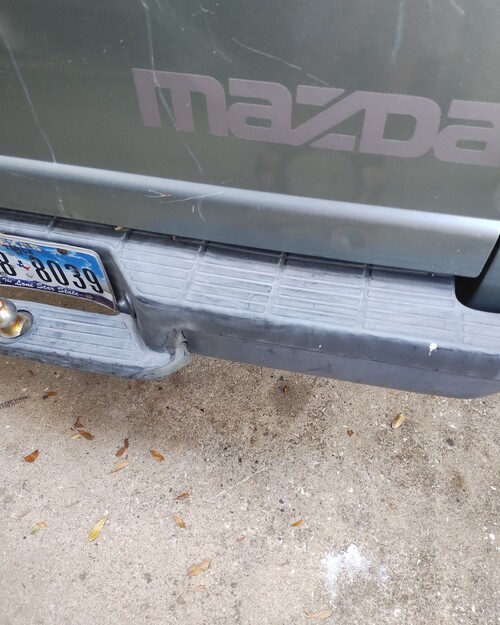
Now for the back cover.
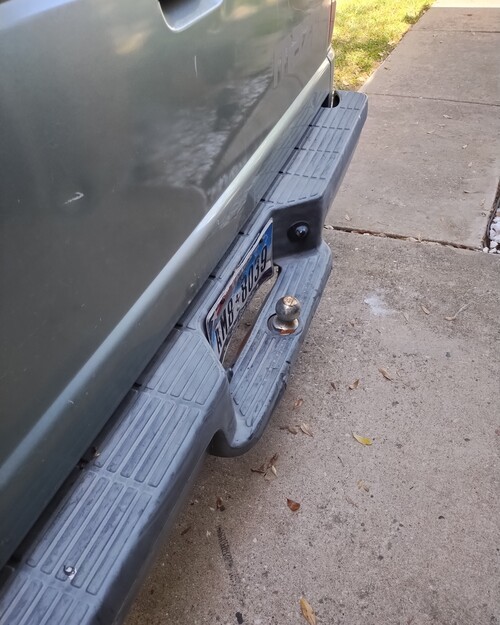
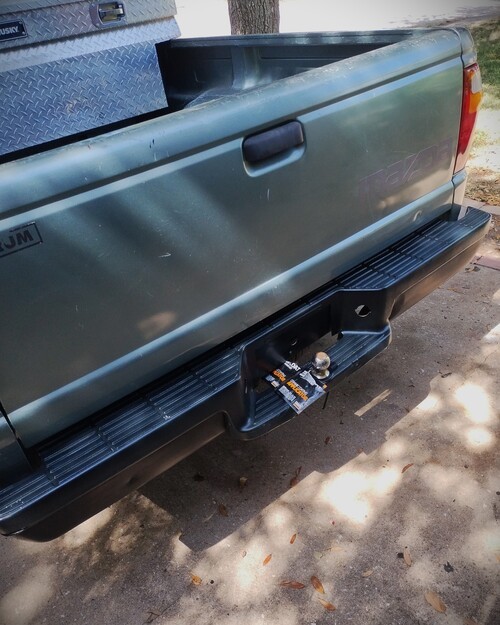
Product applied.
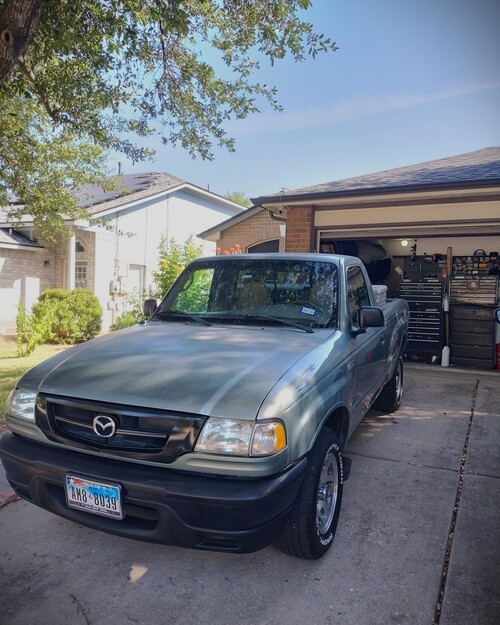
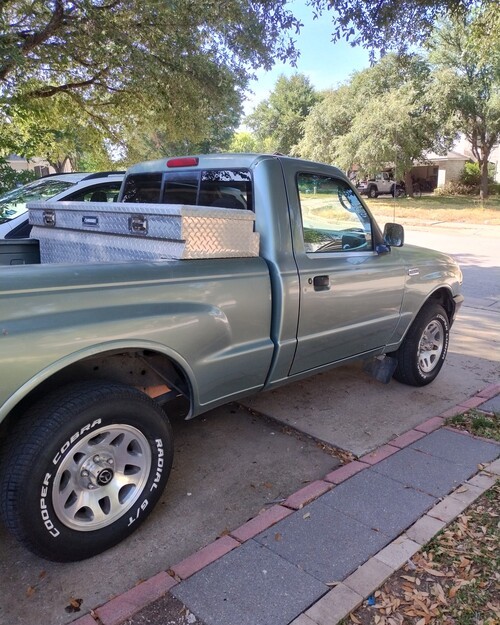
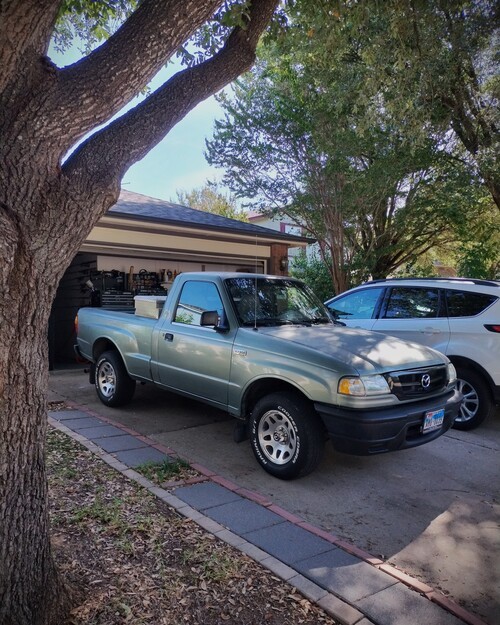
Gallery shots - 8-2026
215,611 miles
2 years away from Antique License Plates!
Then my Cooper "Cobra" tires will be legit :)
215,611 miles
2 years away from Antique License Plates!
Then my Cooper "Cobra" tires will be legit :)
Next phase - Running Gear (suspension- bushings, etc.)
Thanks for following along!
VM
Thanks for following along!
VM