Work Page 4-26
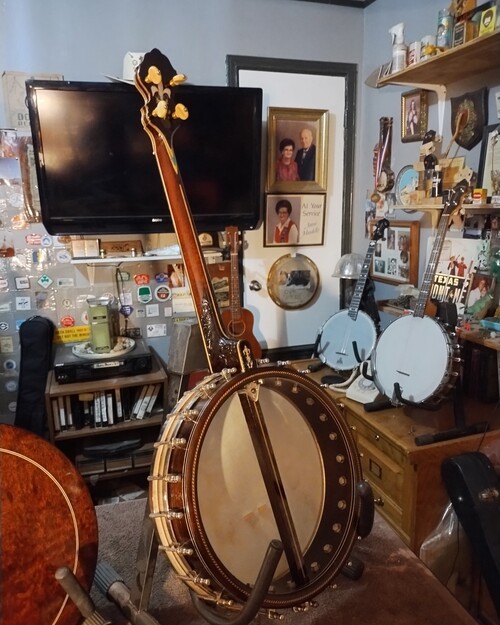
1920s Wm. Lange's
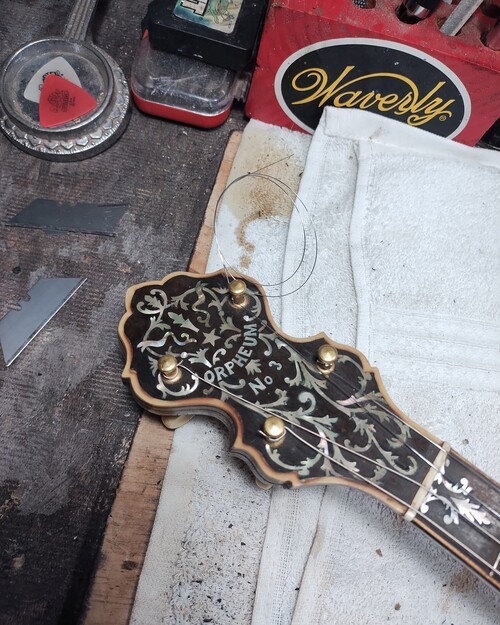
Orpheum No.3
17 fret tenor
12-1/4" head
Restore as per customers instructions.
Re-fret
Refinish
Clean hardware
Retain original friction pegs
Install new neck wedges
Heat neck- slight forward bow
Replace missing inlay pieces
Install new skin head
Install downforce tailpiece
Setup GDAE - 9/16" bridge
40-30-20 wound - 13 steel
12-1/4" head
Restore as per customers instructions.
Re-fret
Refinish
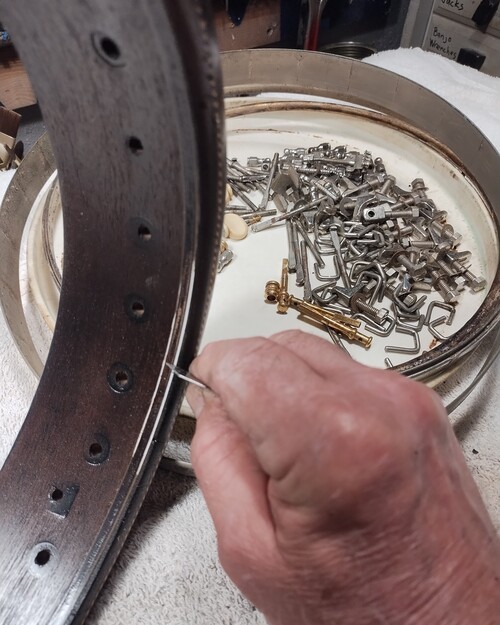
Clean hardware
Retain original friction pegs
Install new neck wedges
Heat neck- slight forward bow
Replace missing inlay pieces
Install new skin head
Install downforce tailpiece
Setup GDAE - 9/16" bridge
40-30-20 wound - 13 steel
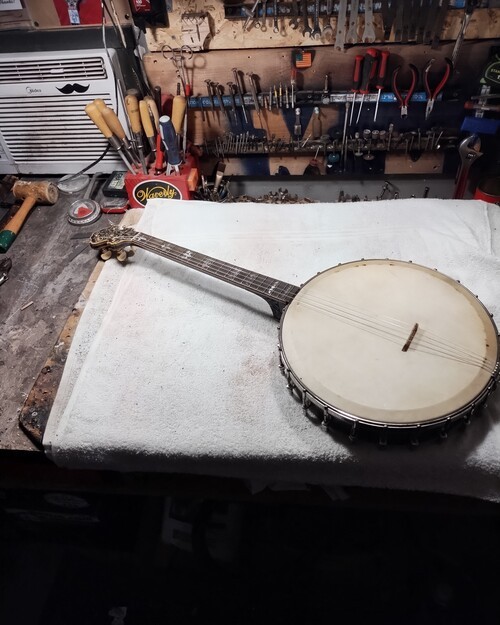
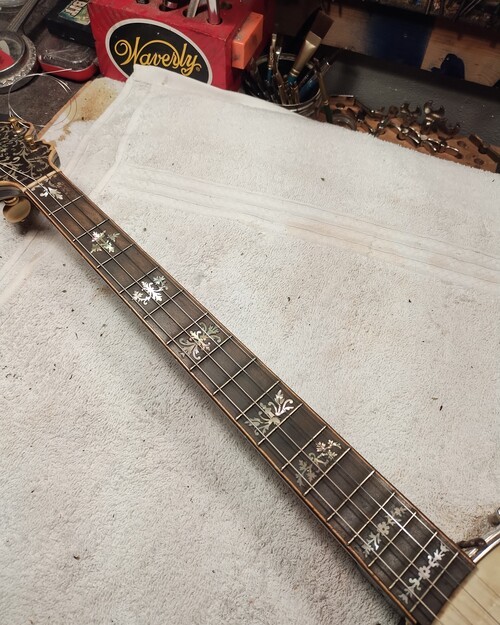
Normal fret /fingerboard wear.
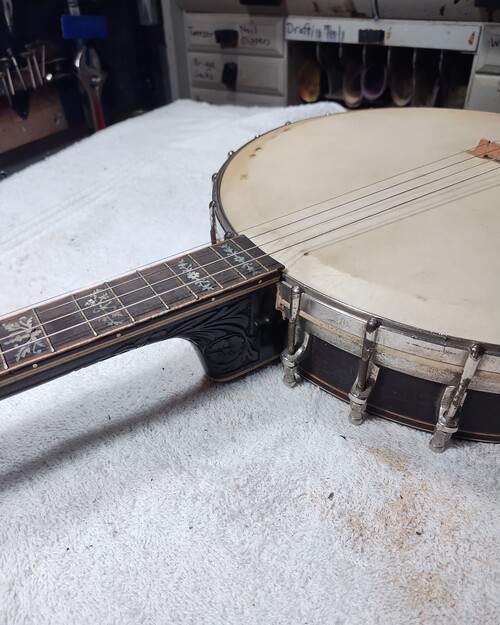
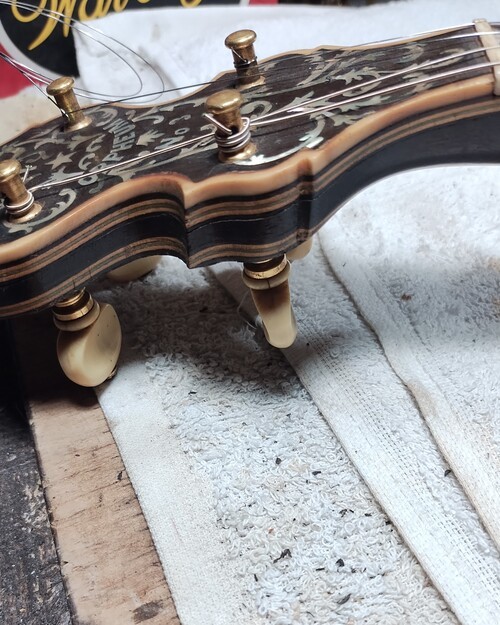
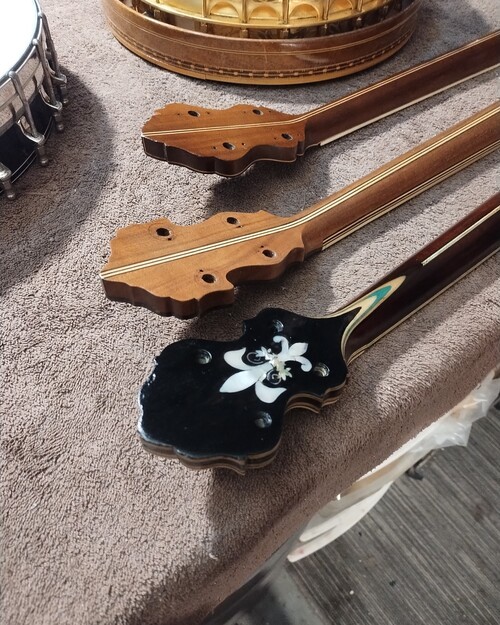
Many laminates, all with glue joints.
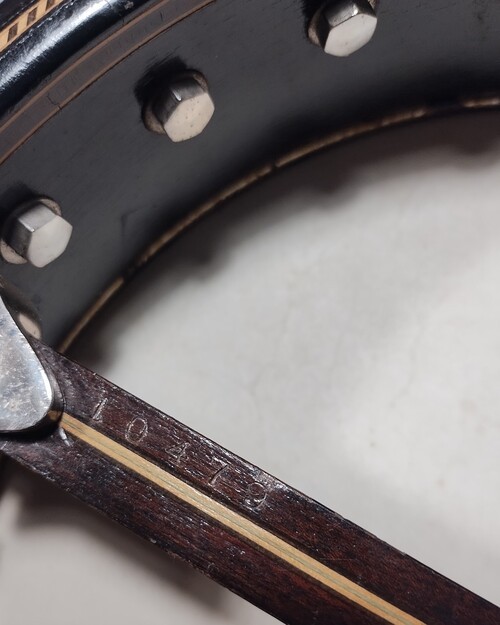
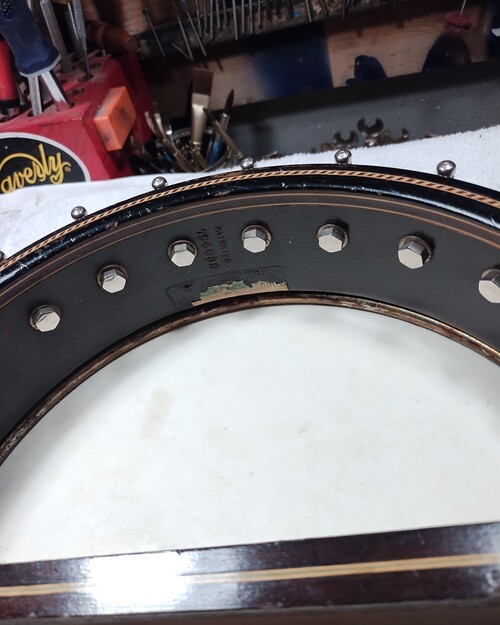
No plastic logo plate.
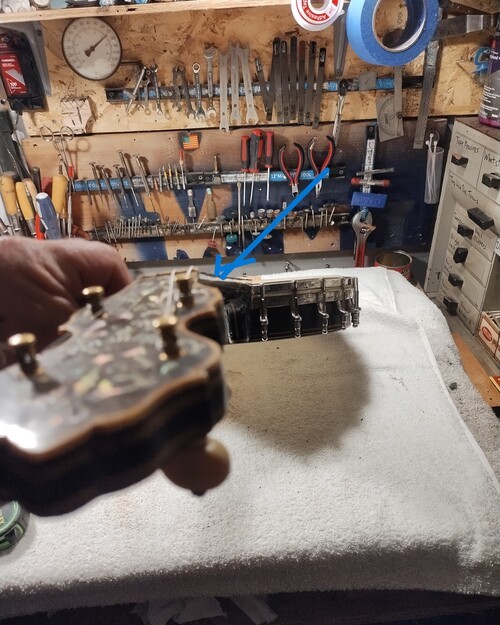
Uplift in neck shown.
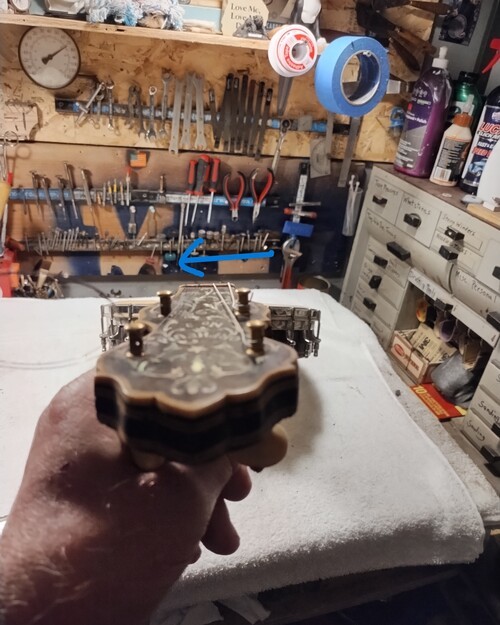
Slight twist to treble, behind the nut.
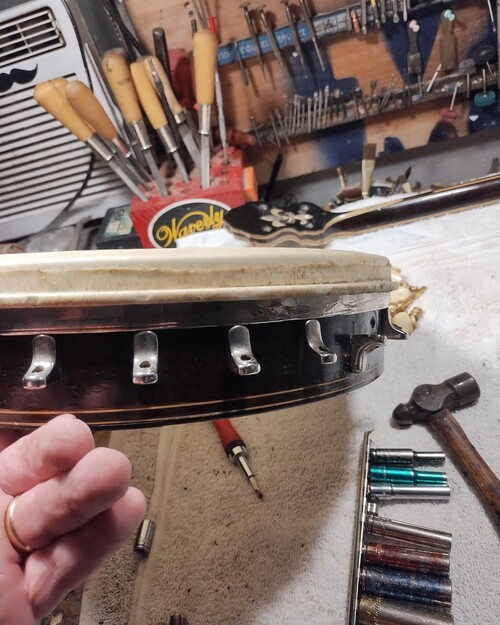
Pulled to at least 5/8" crown, it did its job.
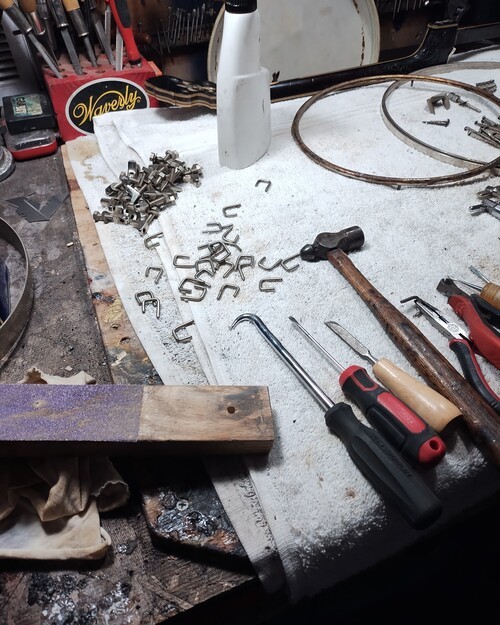
All of the ring spacers pulled.
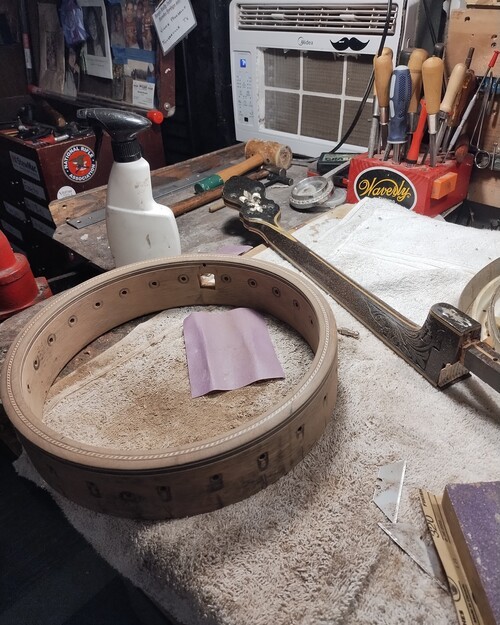
Finish stripped.
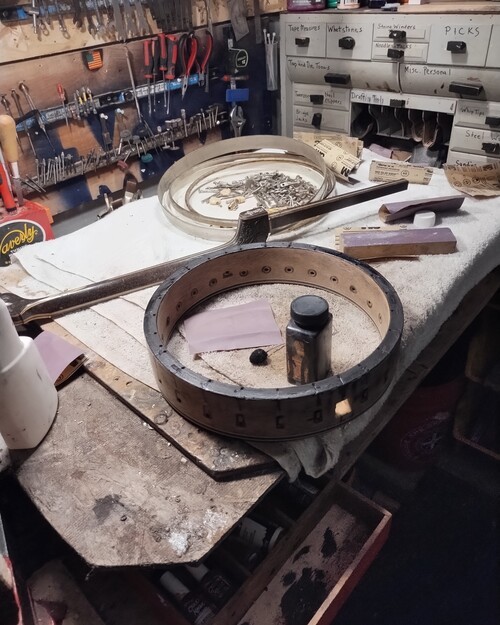
Top of rim dyed.
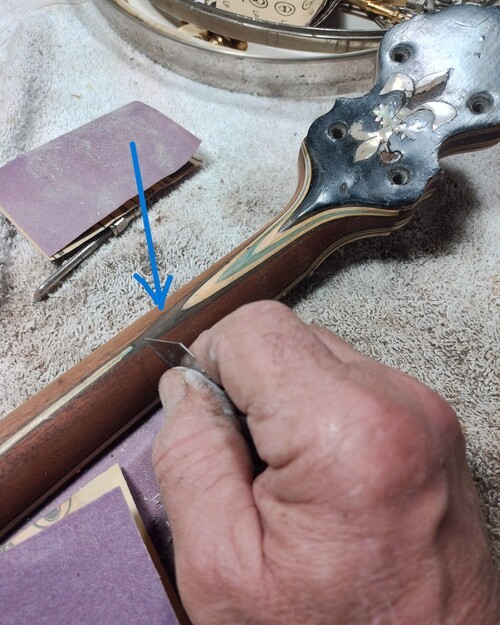
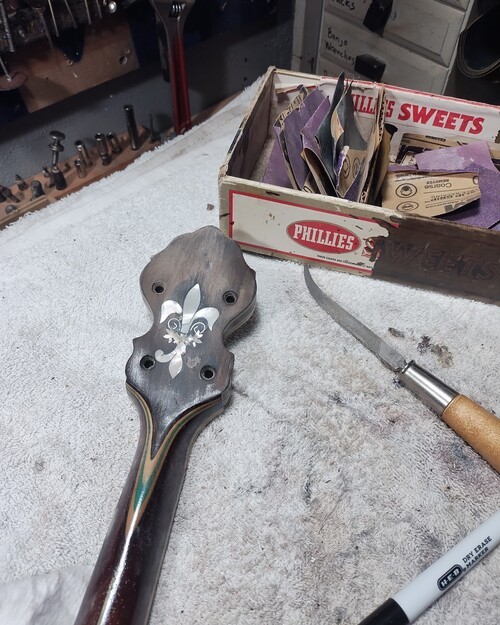
Factory error
White laminate on peghead shoud have been the bottom layer.
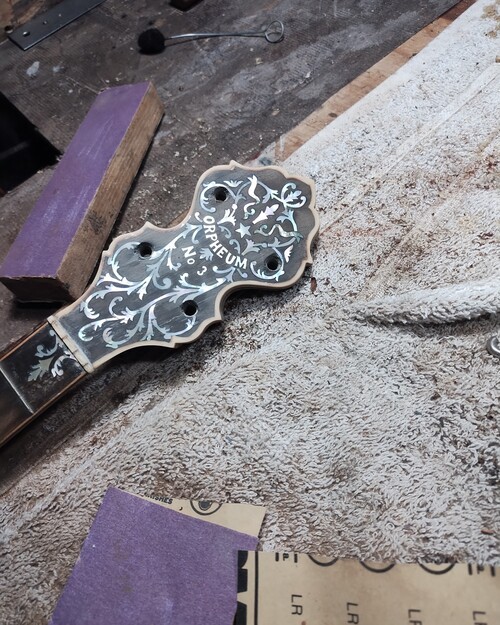
Stripped, ready for dye.
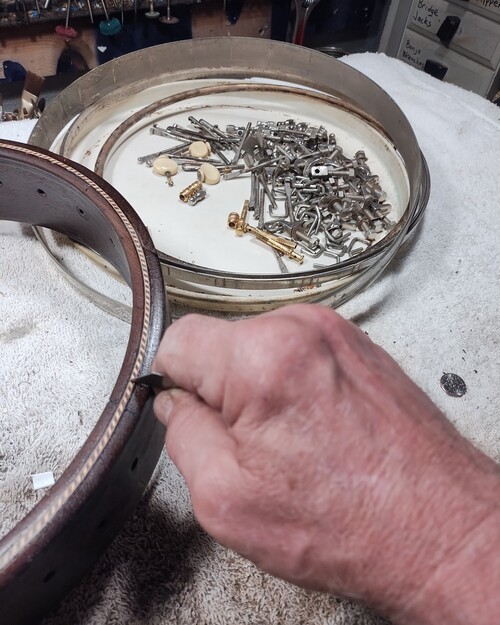
Tedious but necessary.
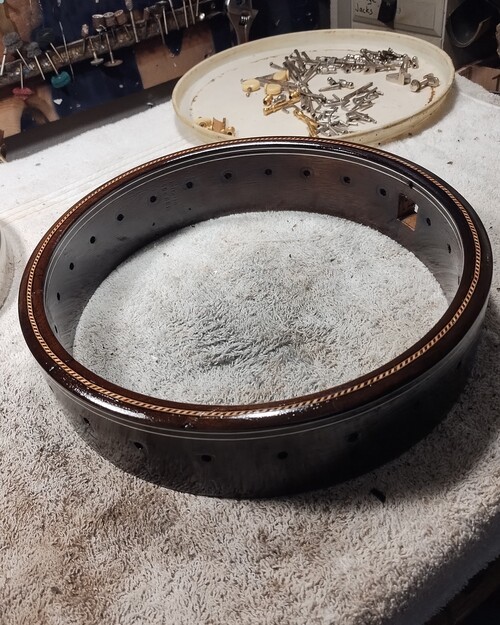
Finish completed.
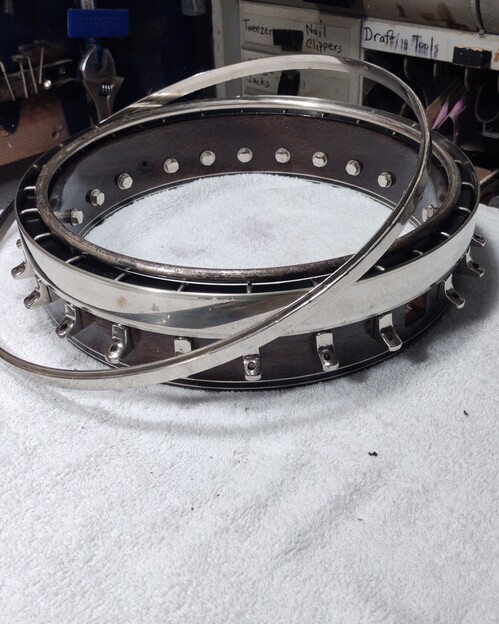
Ready for skin.
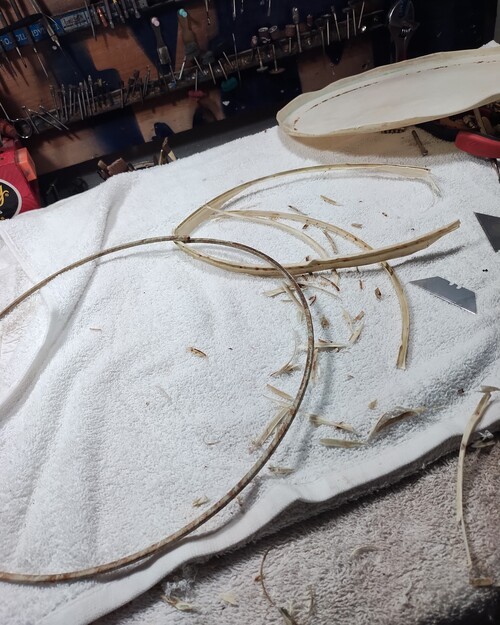
Removing old flesh ring from old head to re-use.
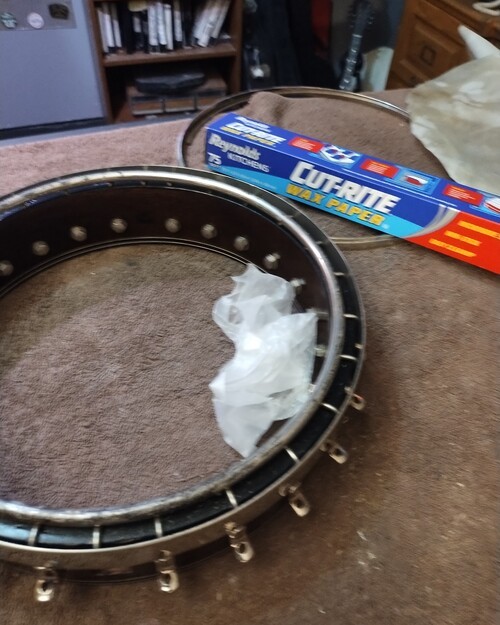
I use parrifin wax on the arch ring and side skirt.
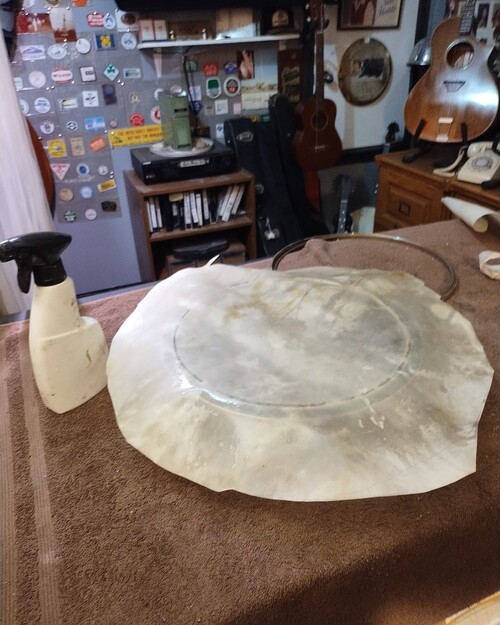
Ready to mount.
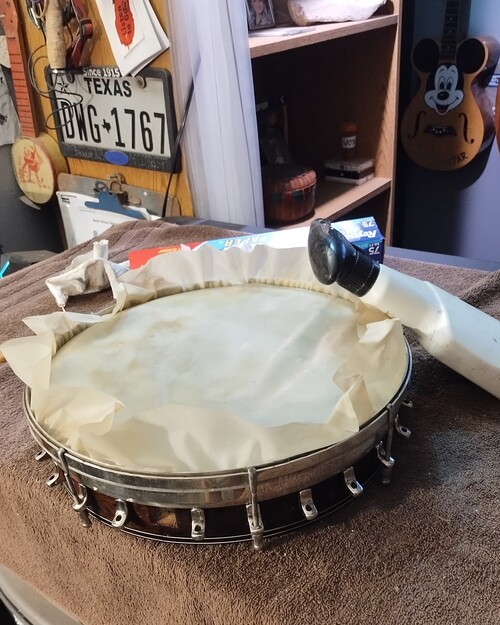
After the tuck.
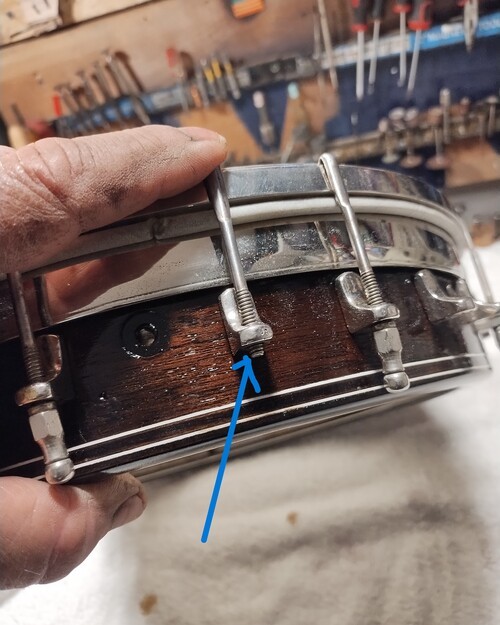
Only this much thread should be used until cured.
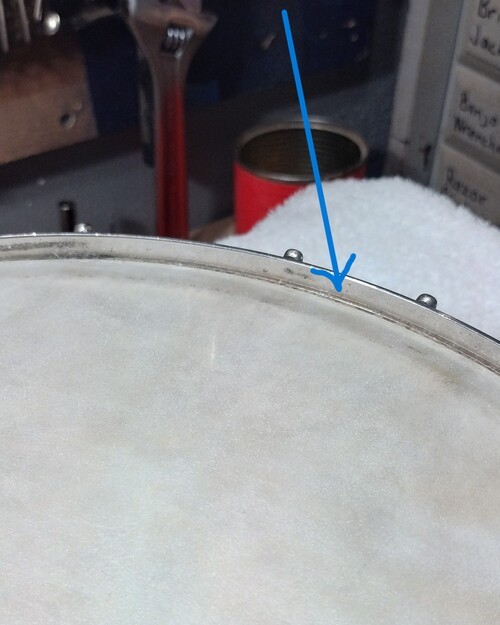
My score line is in the original one. Good as it gets.
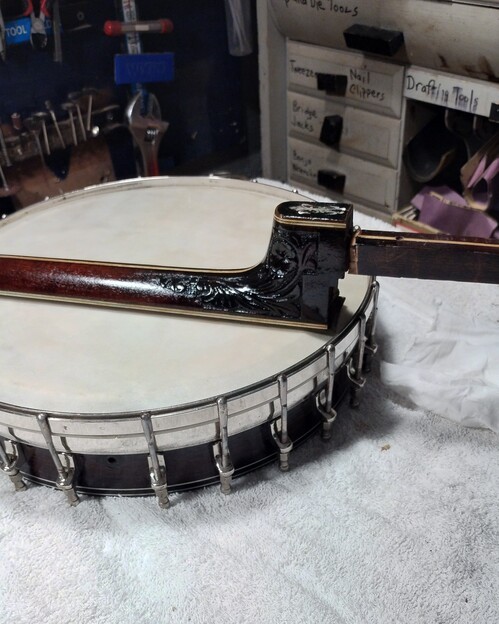
Will stop here and heat neck, re-fret.
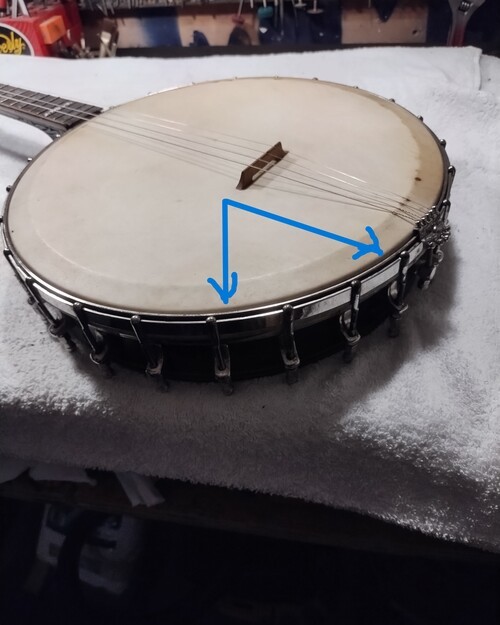
Head pulled past maximum.
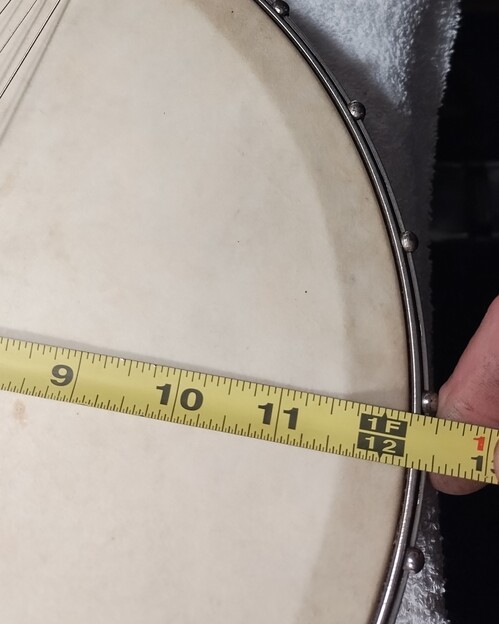
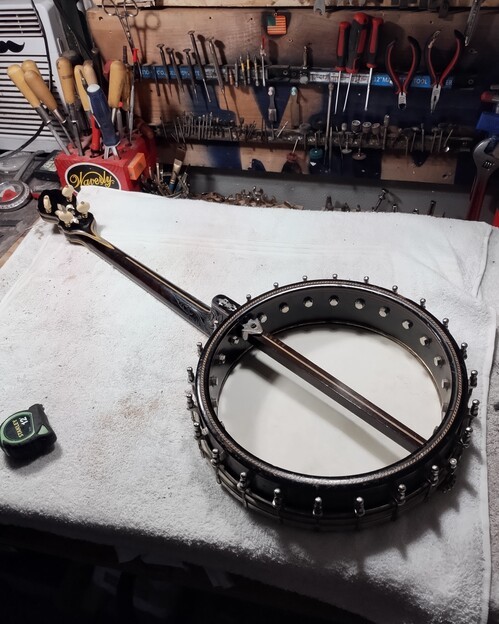
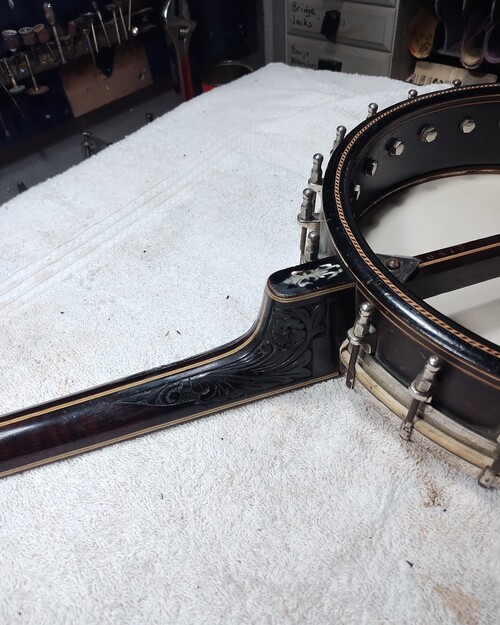
No heel issues.
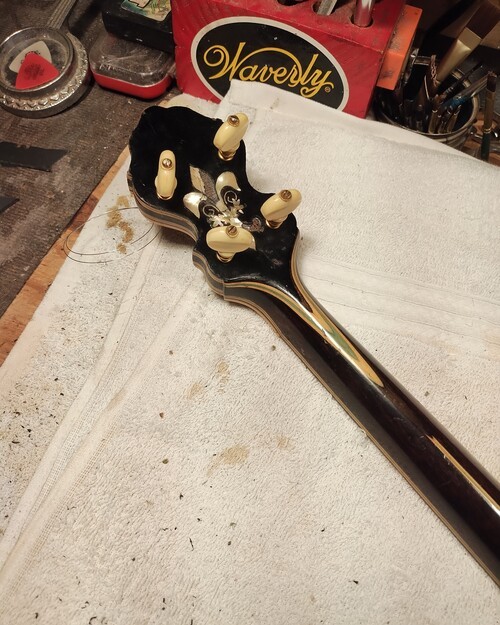
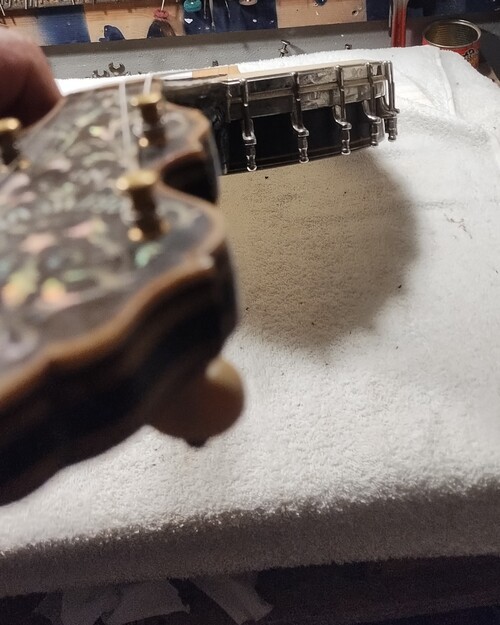
Again, without the arrow.
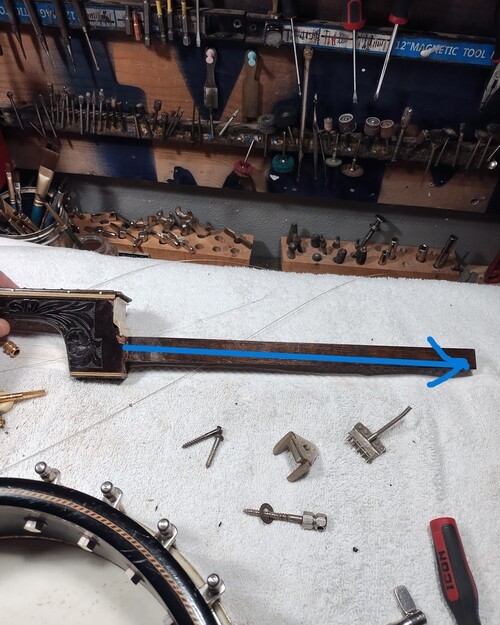
Angle is too high on the dowel, needs re-set.
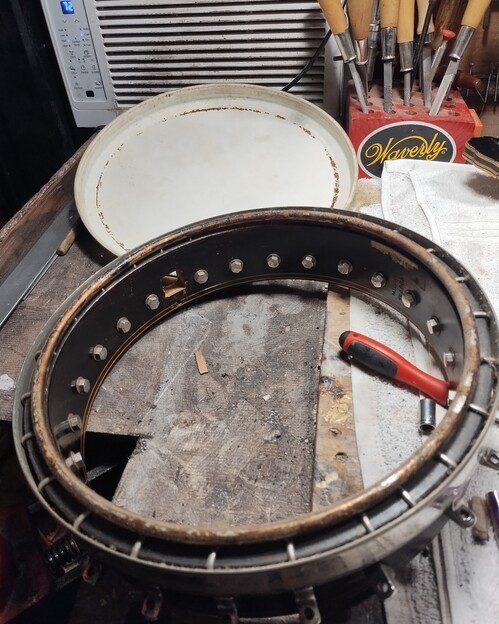
Heavy oxidation, pitting on arch ring, normal.
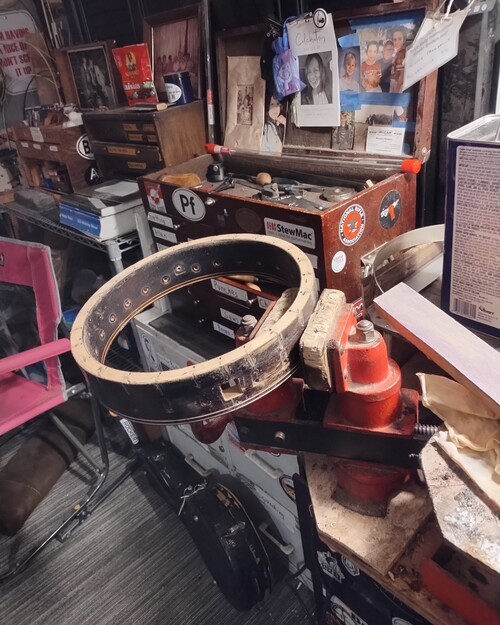
Leveled, sealed laminations, ready for stain.
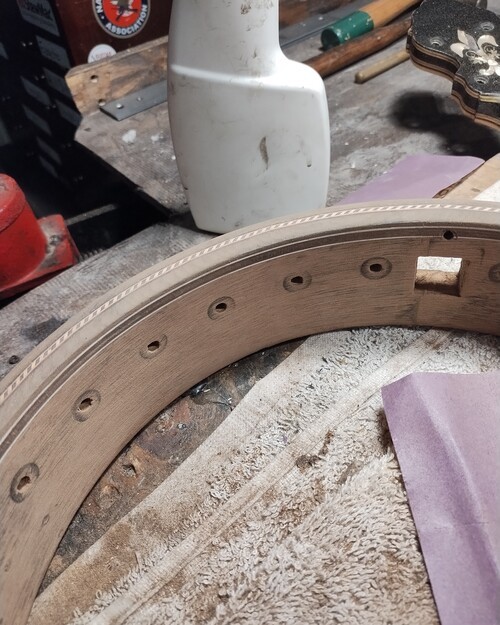
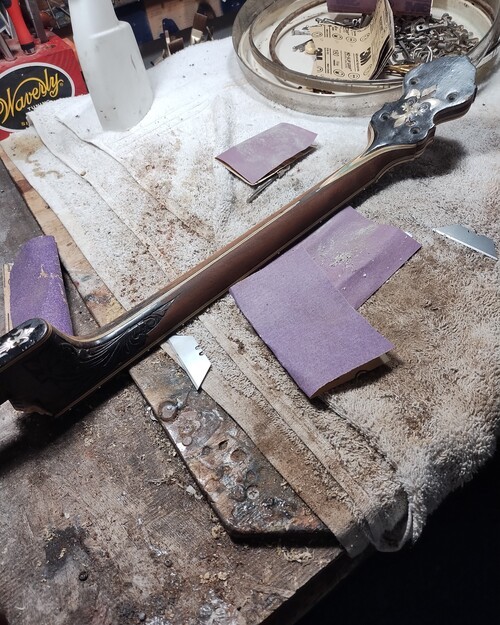
Removing finish.
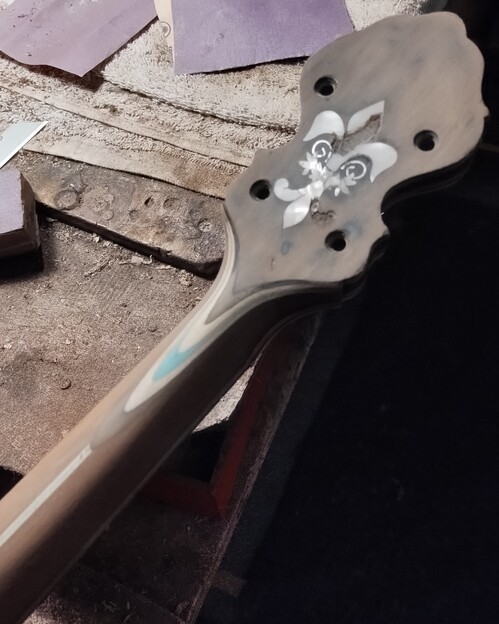
I almost want to pinstripe that area :(
Tint applied, cleaning marquetry.
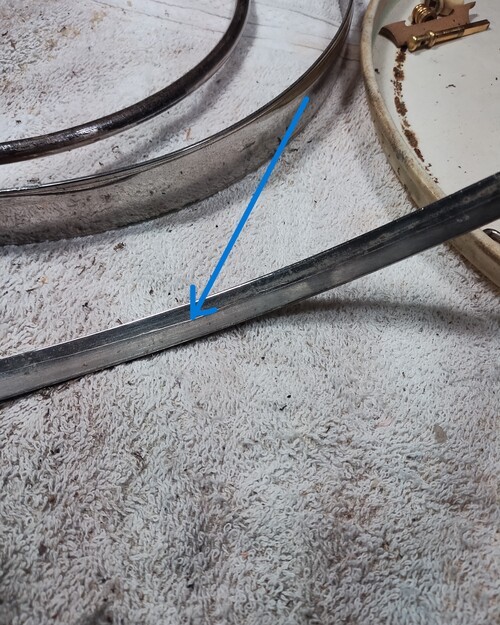
This is the original score line from the orig. head install.
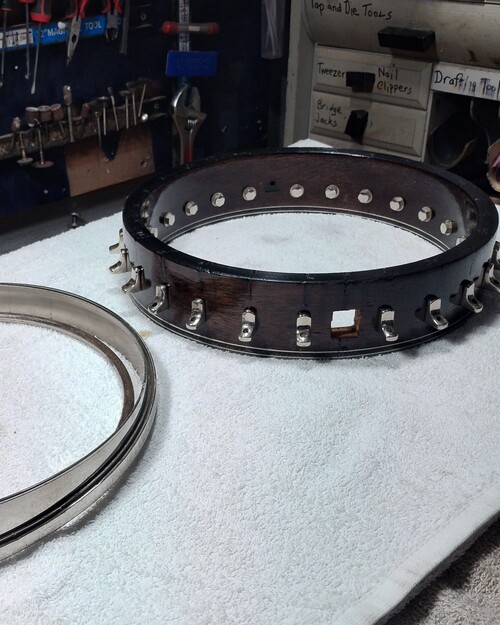
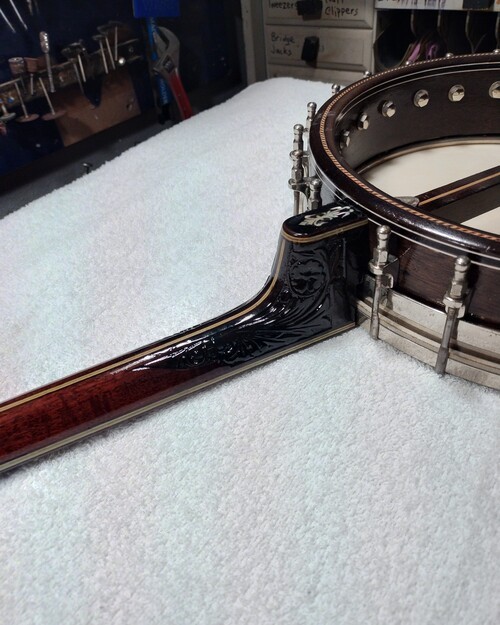
Cleanedhardware re-installled.
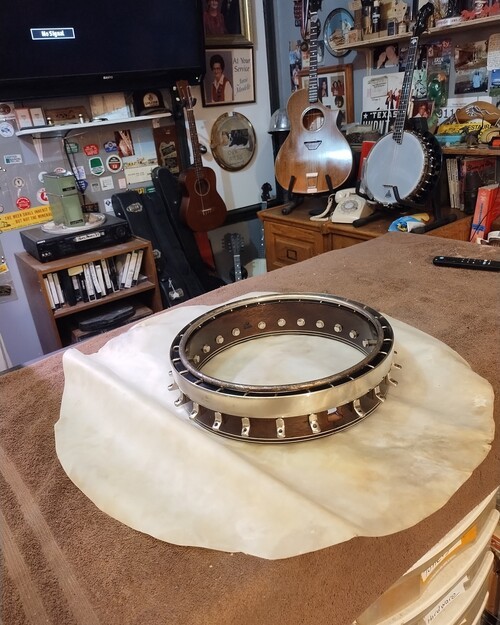
Vintage hide from older floor tom. Thick enough.
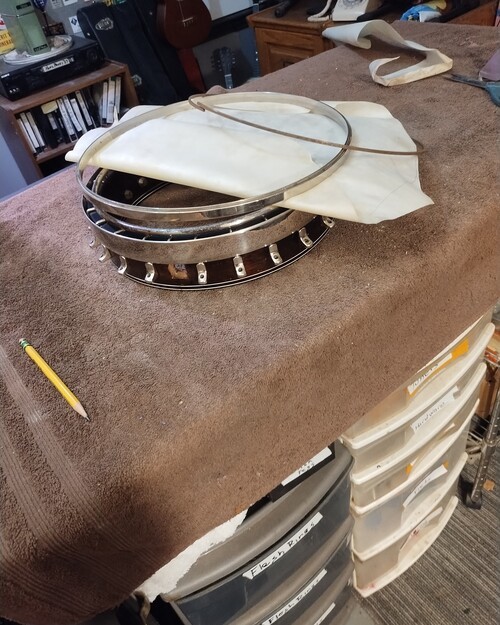
Ready to wet down.
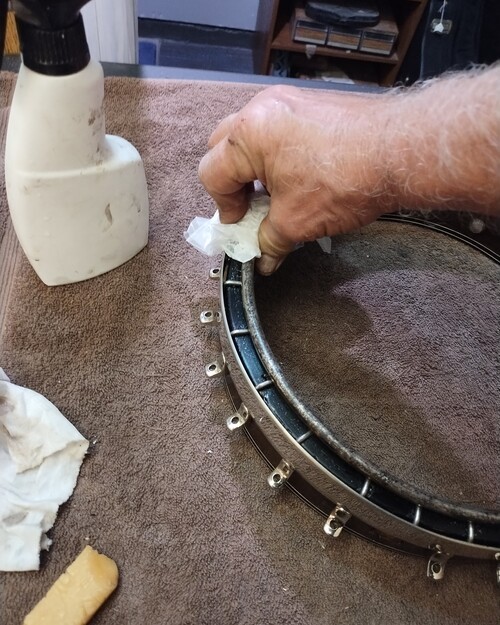
Anyone ever use a wax coated cup to slick down a handrail at school?
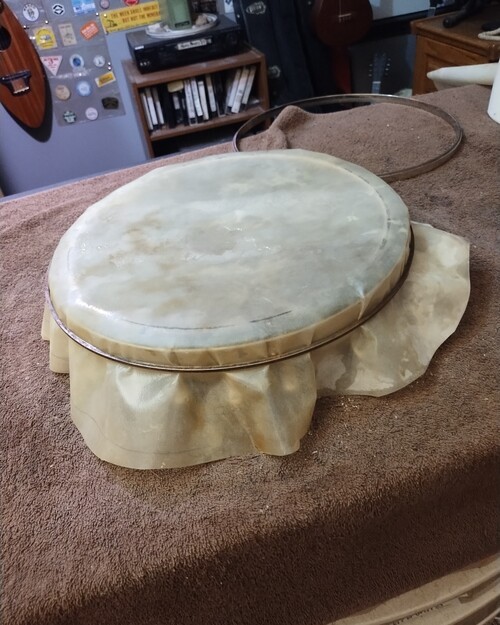
Flesh ring on first.
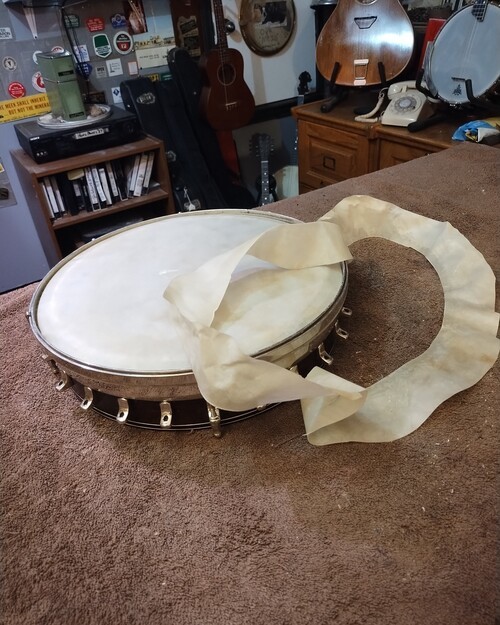
After 20 min dry time, ready for all hooks.
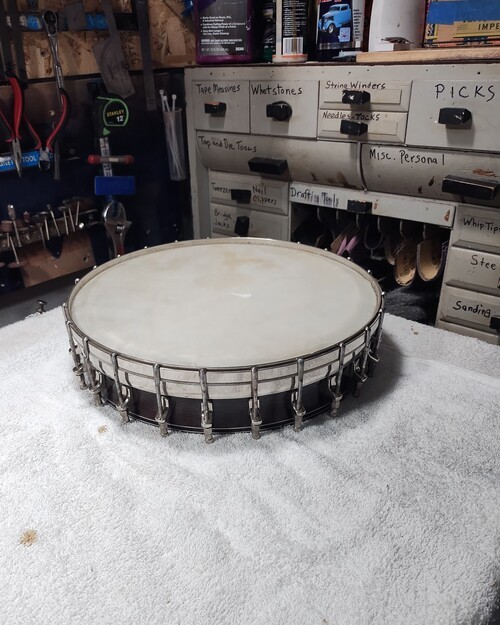
All hooks loosely installed, curing overnight.
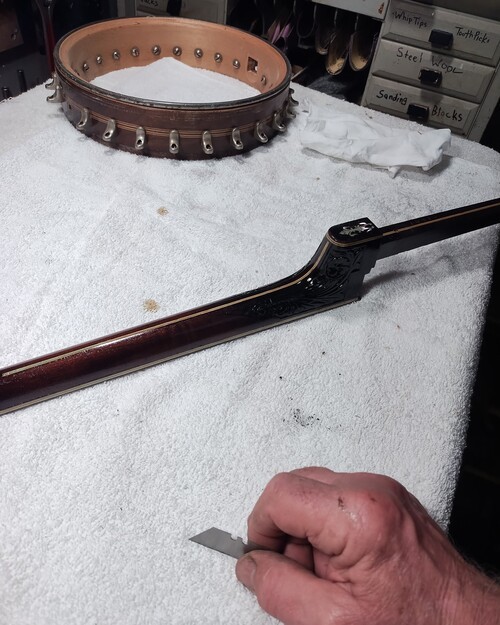
Marquetry cleaned after neck tint.
Neck Work
This explanation is to inform anyone that wants to learn vintage banjo repair.
No 2 necks are the same, even if they are made consecutively.
No 2 companies designed or assembled them the same.
This particular design is "multi-laminate" and uses laminations to achieve rigidity in the absence of a mechanical or fixed truss rod/bar.
Over time if they experience issues it can be from a multitude of factors, excessive heat softening the glue joints under tension is the main concern.
Laminate necks also allowed a builder to use smaller pieces of the main wood versus a full billet and in this example, multi-colored laminates for an embellishment seen on instruments that are higher up the line and No.3 was the highest of the number series for Orpheum which then went on to Super Orpheum to market the highest level of Lange banjos.
Dealing with the forward pull by flattening/leveling is very tricky on a very thin vintage pearwood fingerboard, with delicate ultra thin MOP.
There is no real "Leveling" that can be done even if one is perfectly flat.
And too much heat will affect the MANY glue joints in a multi-laminate neck.
So I will use some heat, some light leveling, and compression fretting which will build rigidity and the rest of the leveling must be done in the fret leveling process so it is really several stages.
Also you are facing wood side bindings that would be destroyed on attempted removal, so the frets must be installed with the binding ON.
That means cleaning the slots and widening for new fret wire is a labor intensive process. You do gain a bit of width by fretting "over the binding"
This explanation is to inform anyone that wants to learn vintage banjo repair.
No 2 necks are the same, even if they are made consecutively.
No 2 companies designed or assembled them the same.
This particular design is "multi-laminate" and uses laminations to achieve rigidity in the absence of a mechanical or fixed truss rod/bar.
Over time if they experience issues it can be from a multitude of factors, excessive heat softening the glue joints under tension is the main concern.
Laminate necks also allowed a builder to use smaller pieces of the main wood versus a full billet and in this example, multi-colored laminates for an embellishment seen on instruments that are higher up the line and No.3 was the highest of the number series for Orpheum which then went on to Super Orpheum to market the highest level of Lange banjos.
Dealing with the forward pull by flattening/leveling is very tricky on a very thin vintage pearwood fingerboard, with delicate ultra thin MOP.
There is no real "Leveling" that can be done even if one is perfectly flat.
And too much heat will affect the MANY glue joints in a multi-laminate neck.
So I will use some heat, some light leveling, and compression fretting which will build rigidity and the rest of the leveling must be done in the fret leveling process so it is really several stages.
Also you are facing wood side bindings that would be destroyed on attempted removal, so the frets must be installed with the binding ON.
That means cleaning the slots and widening for new fret wire is a labor intensive process. You do gain a bit of width by fretting "over the binding"
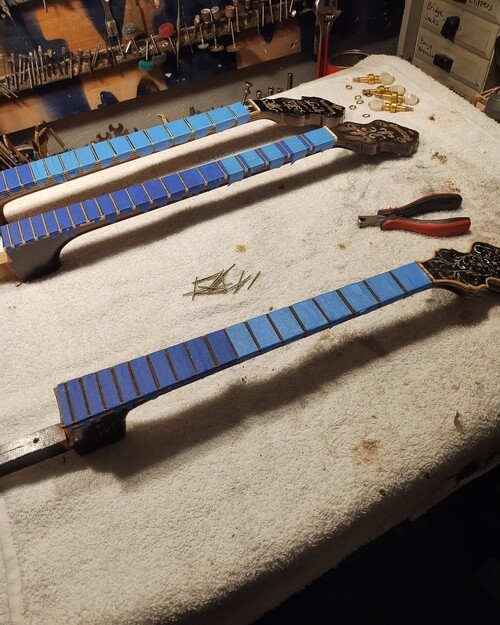
Taped off to impede slot breakage.
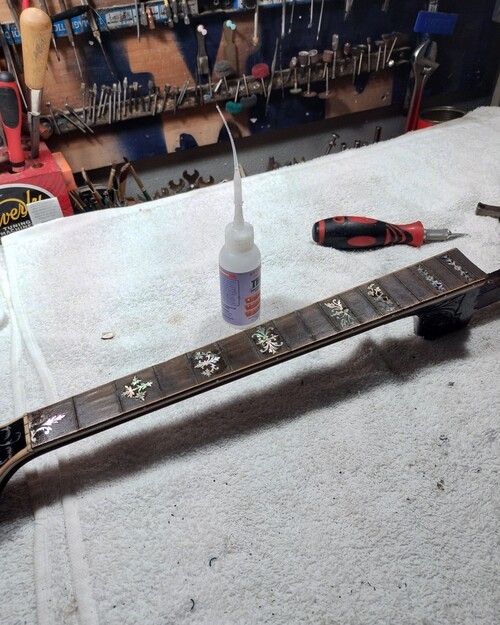
All inlay sealed.
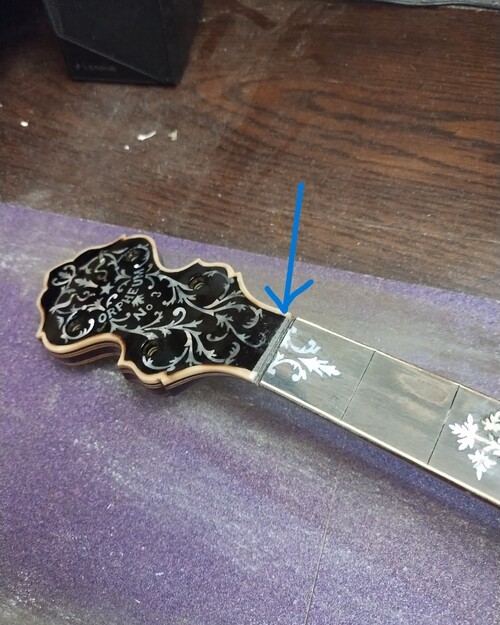
Even with less than .010" it already touched the overlay so thats all it can handle,
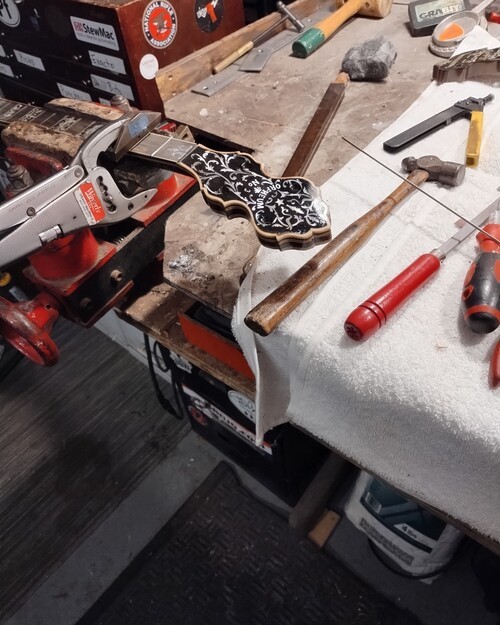
Compression fretting. 147 Stew Mac wire.
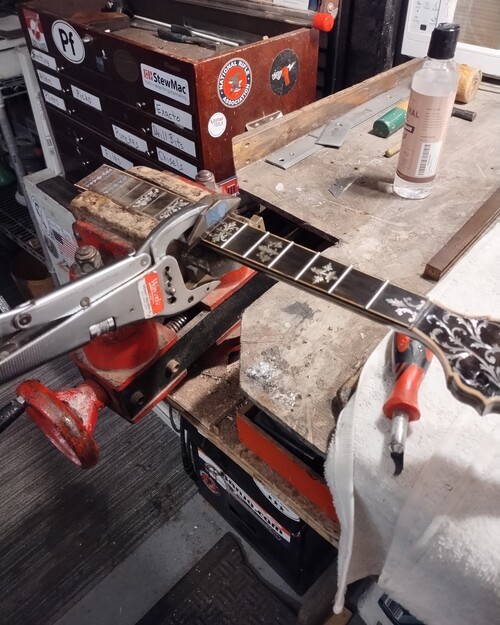
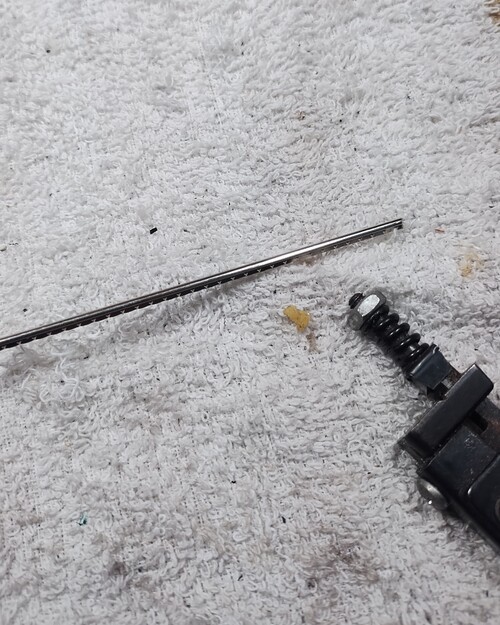
Tool that relieves the fret tang.
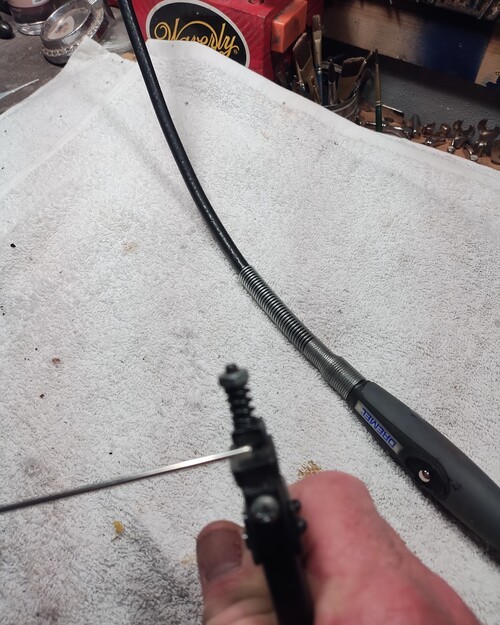
Shearing the tang.
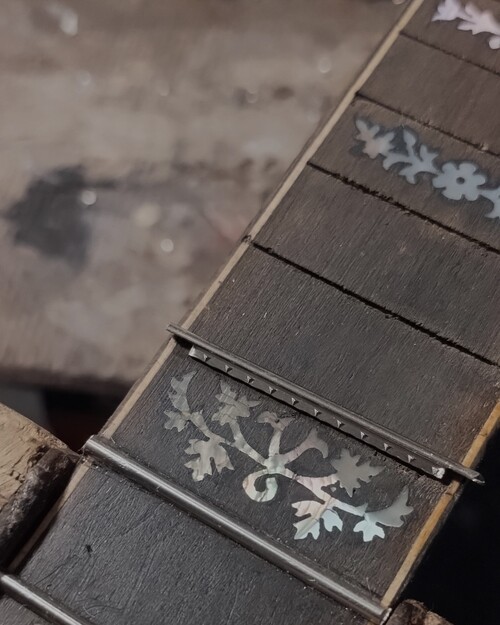
Now it can go inside of the binding.
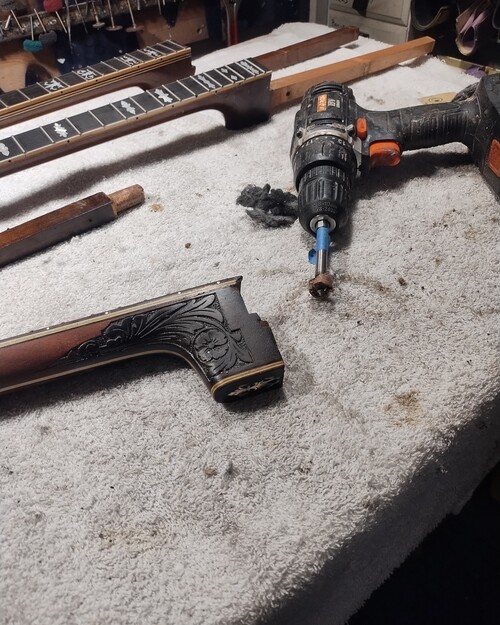
After dowel removal, cleaning non-orig. glue.
Slight pressure on the neck to keep the angle down.
Top piece installed.
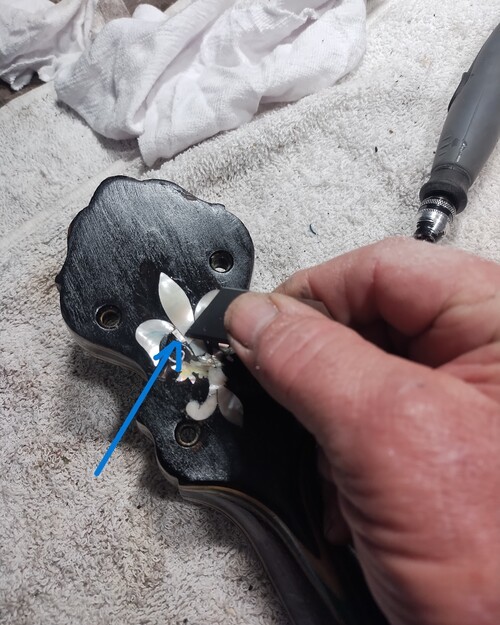
Small chip installed.
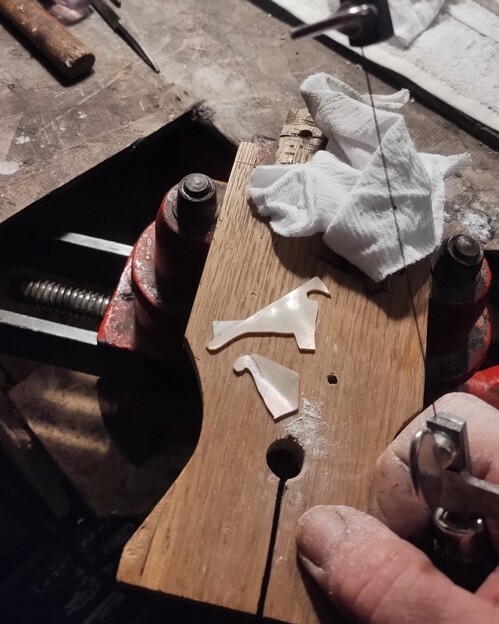
Starting the cut.
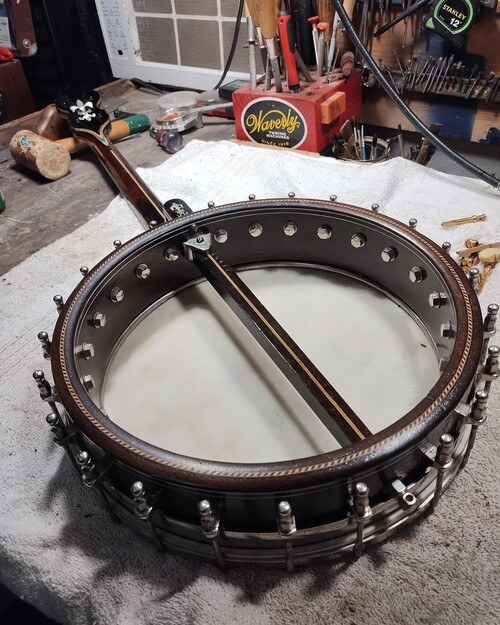
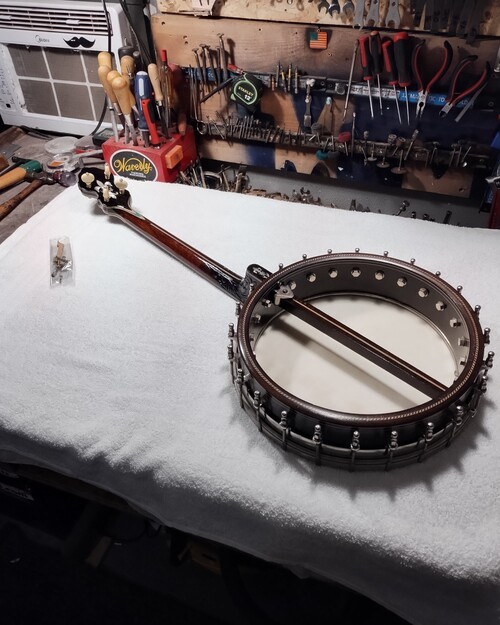
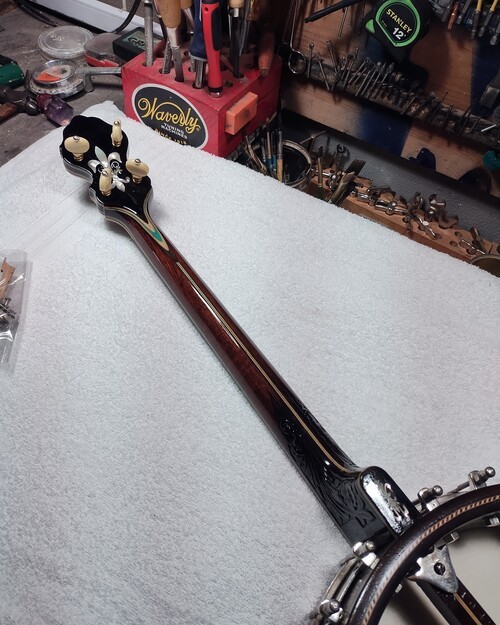
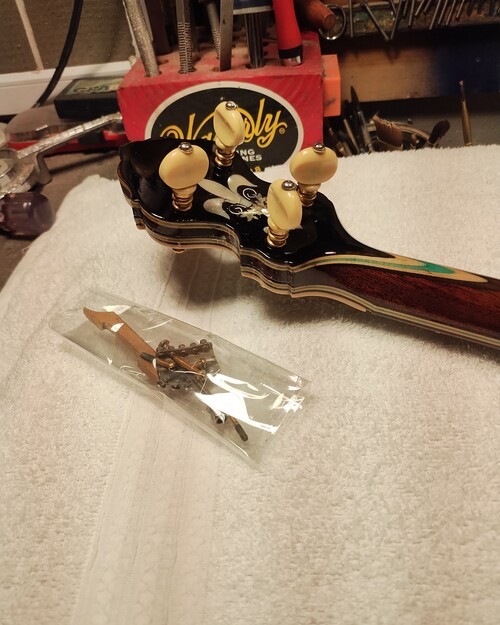
All new button screws, orig's are in the bag.
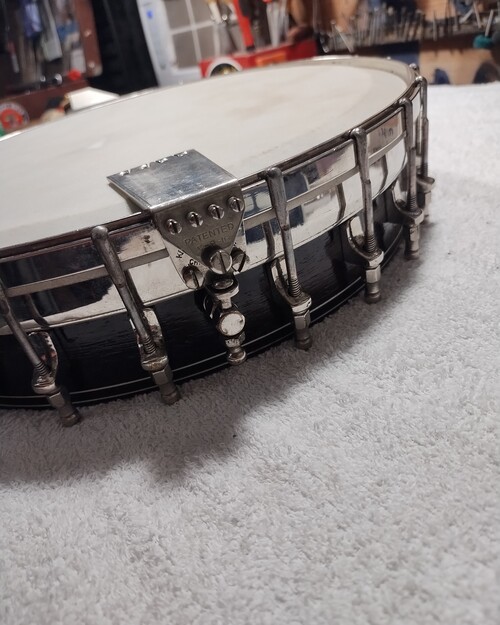
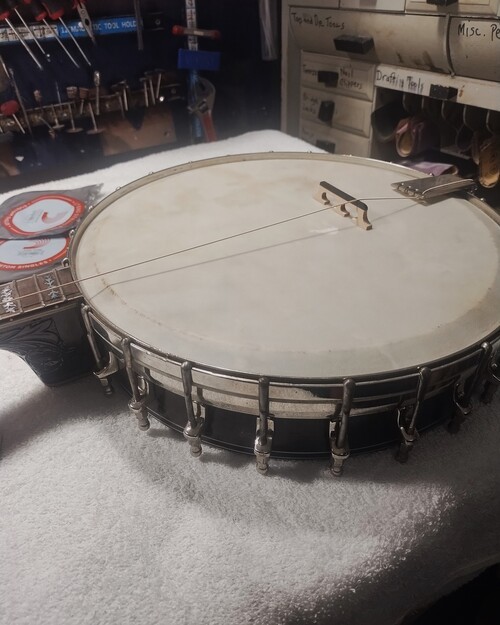
It accepts a 5/8" bridge now.
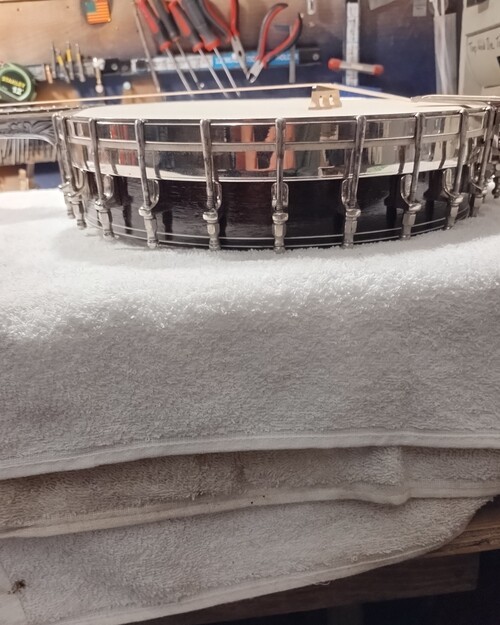
Good angle, string angle and downforce.
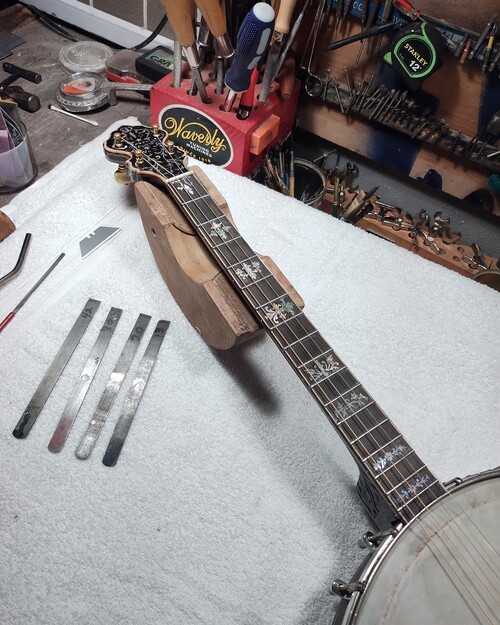
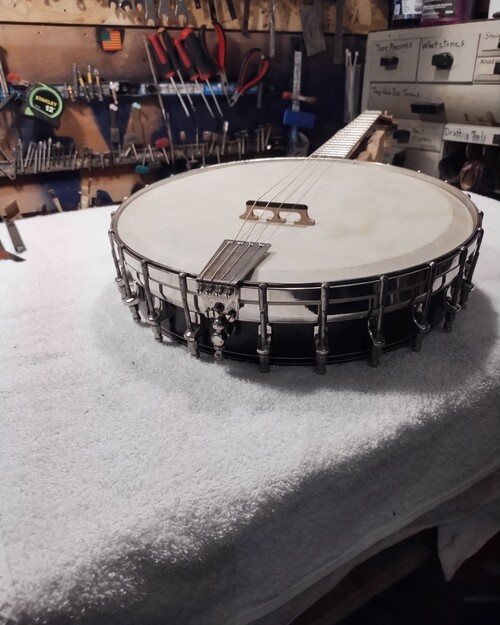
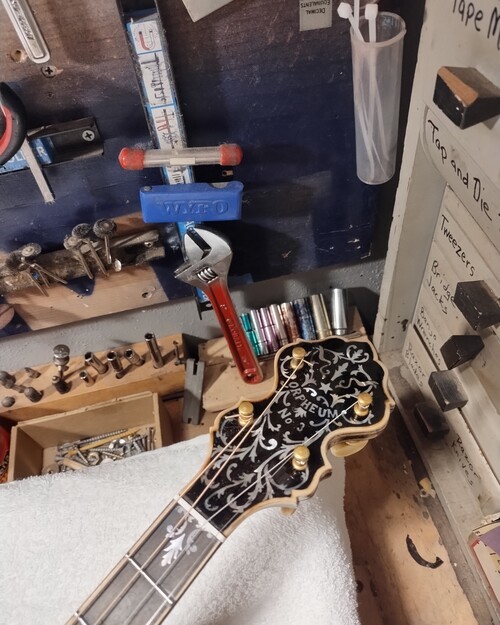
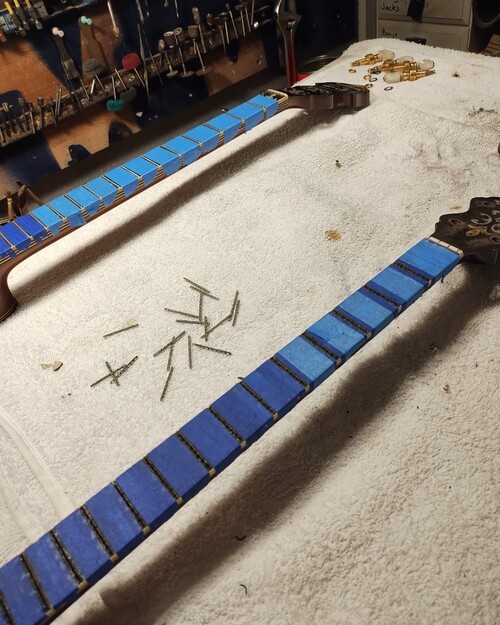
Tape is pulled slowly to look for chips that can be sealed.
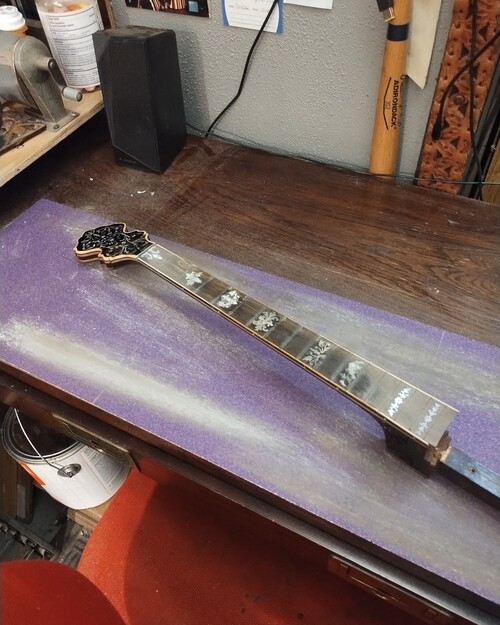
A slight leveling to see where the relief is.
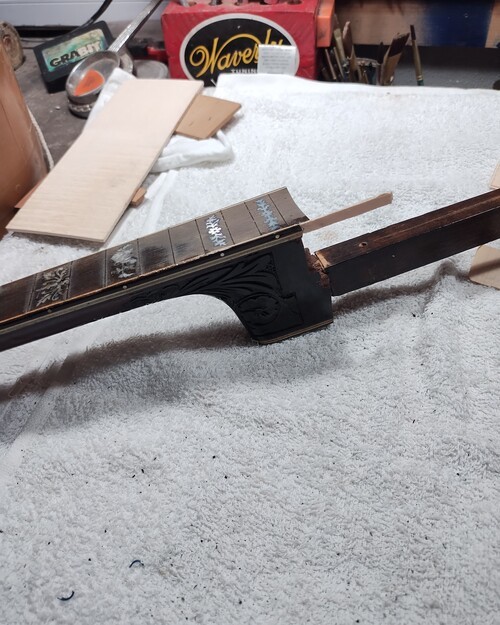
Starting the binding repair.
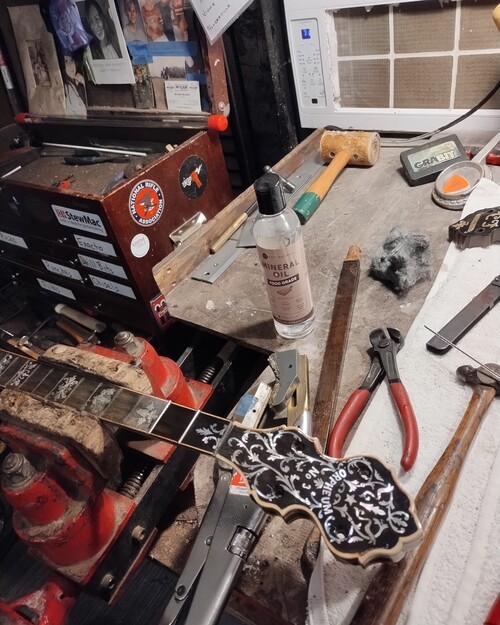
Mineral oil as i go, after fret sealing.
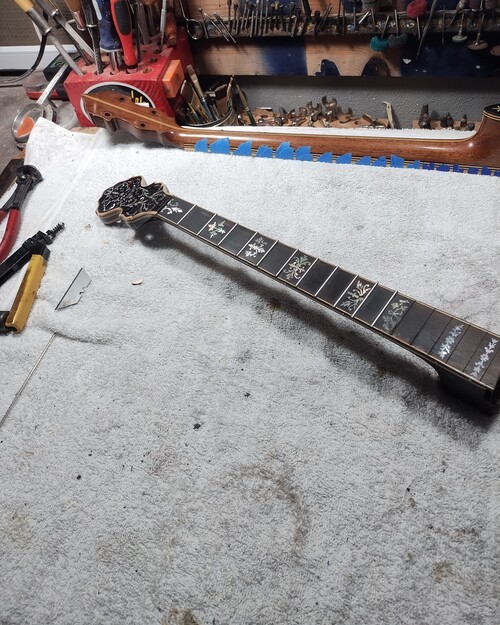
Now for low compression fretting over the heel.
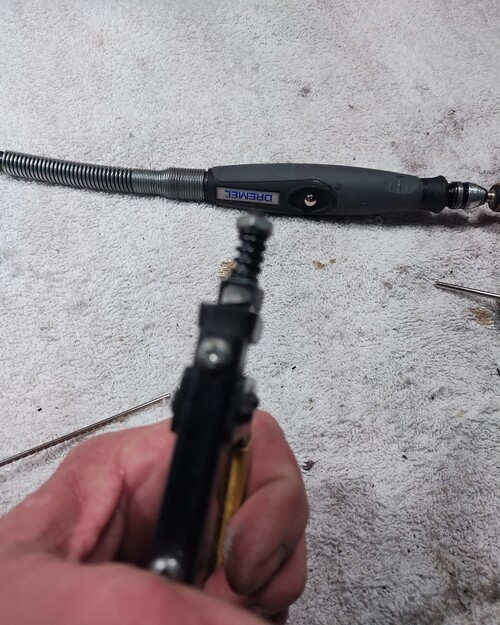
It is a shear blade and arbor.
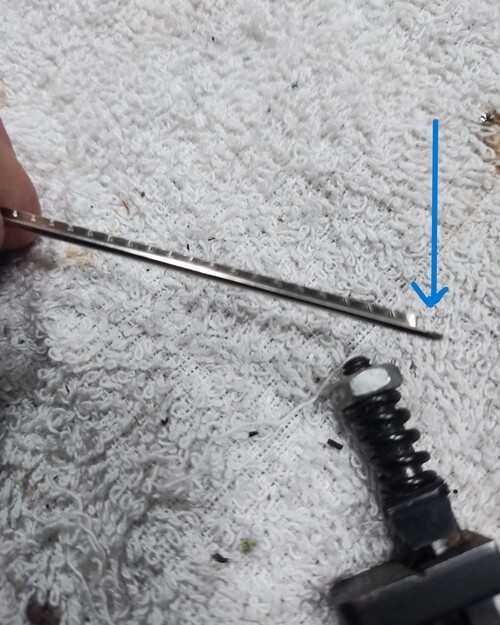
After shearing.
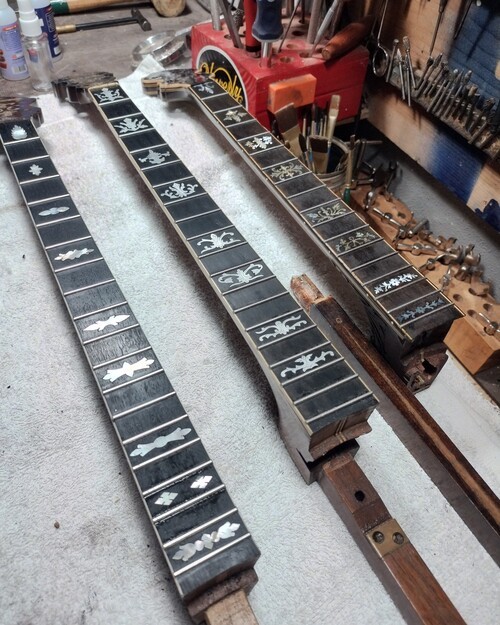
Ready for final level/crown/polish.
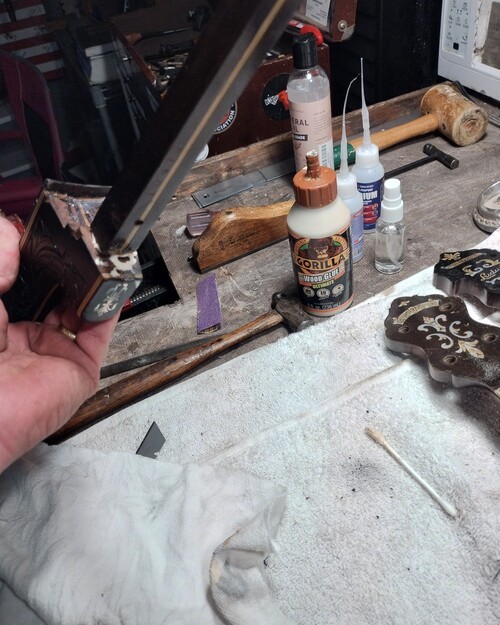
The squish is complete, ready to wipe and cure.
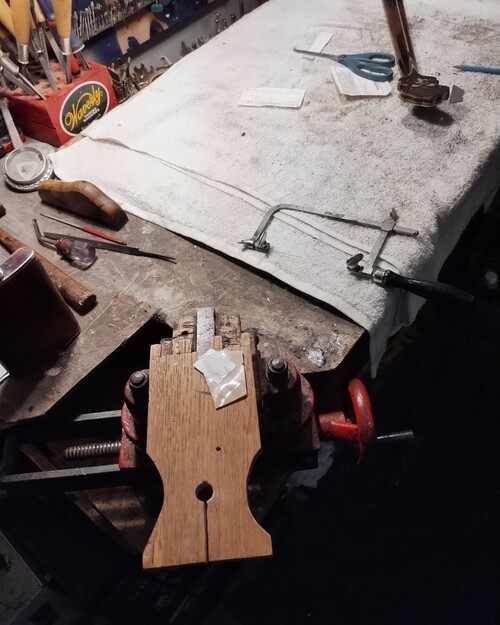
Cutting MOP for missing pieces.
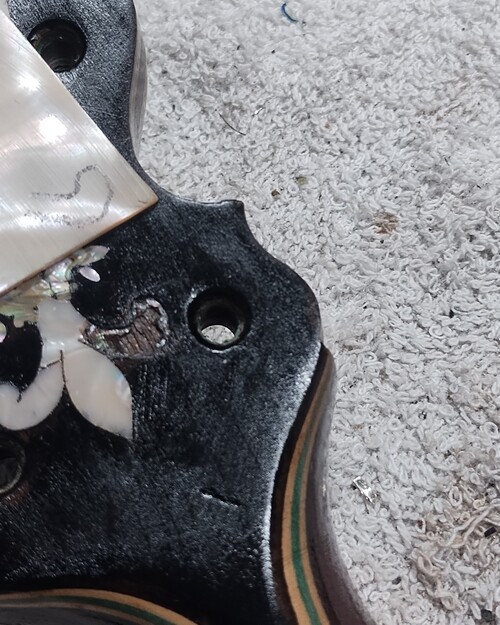
Ready to clean cavity.
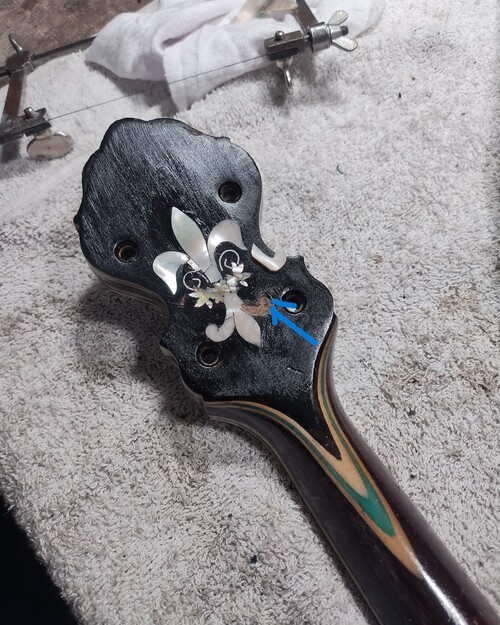
Cavity routed.
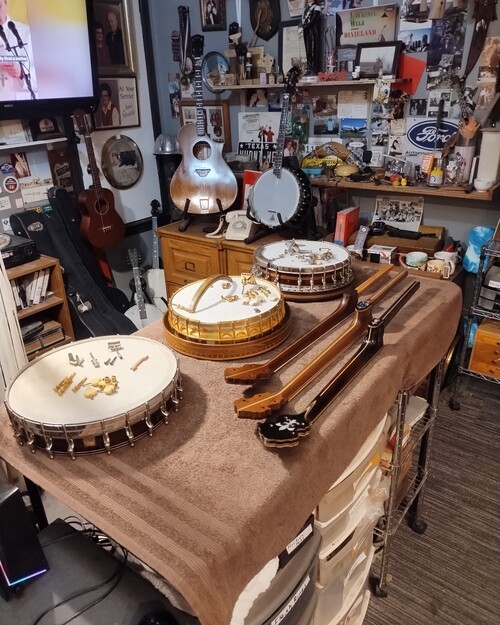
Taking on clear coats.
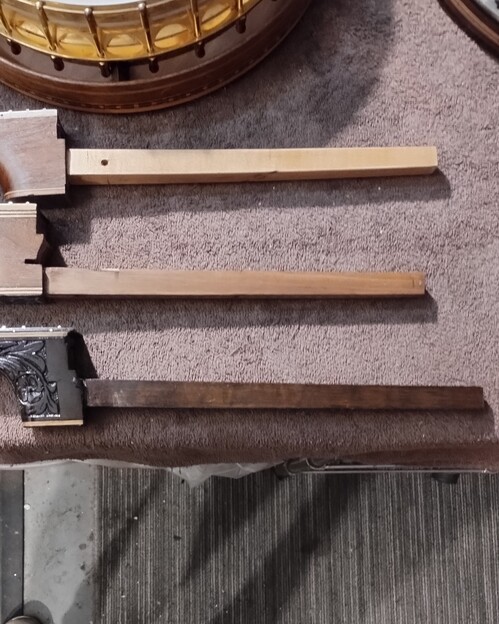
Correct dowel angle.
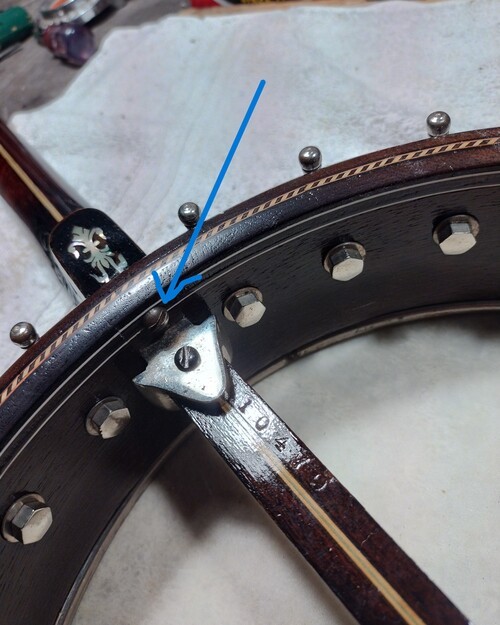
This was the reason for no wedges, factory heel screw. My eye did not catch it when I looked down upon arrival.
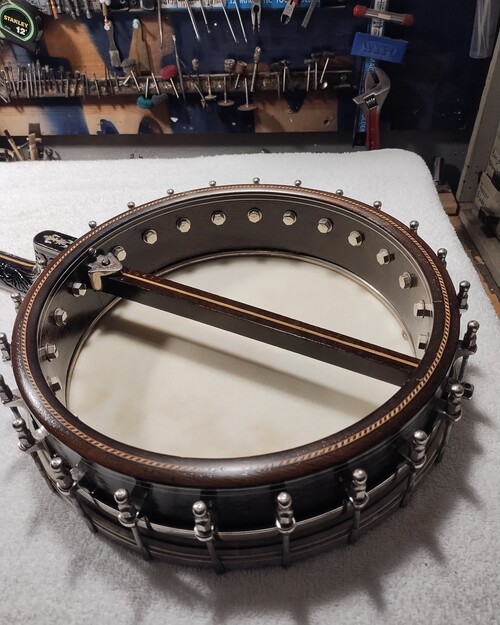
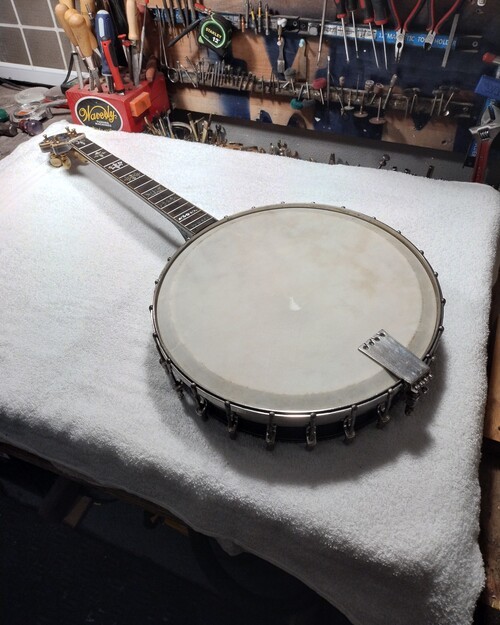
1920's Kershner Unique long arm tailpiece.
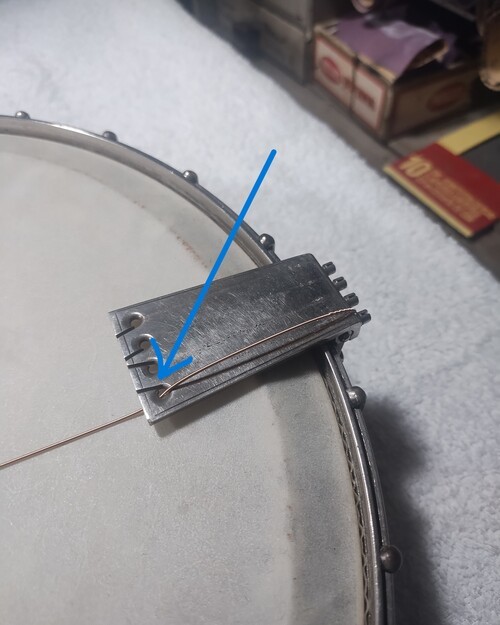
The slot will not accept past 034" so I slipped the string through the hole.
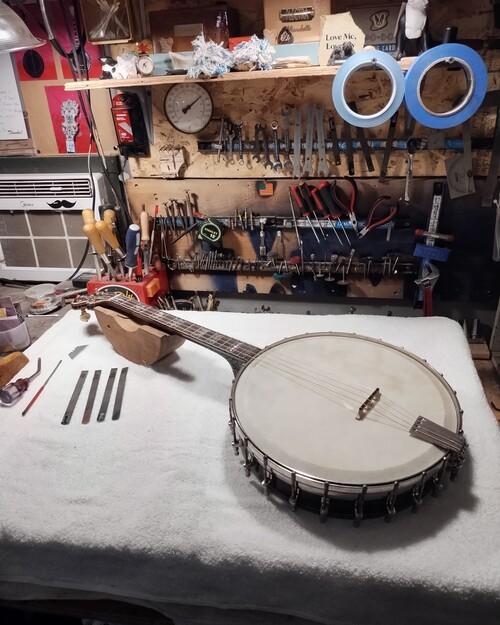
New bone nut, cutting the slots to proper gauge.
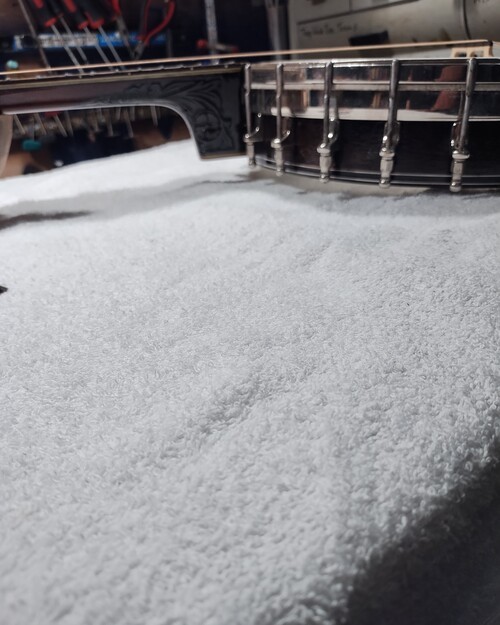
Medium high action as per request.
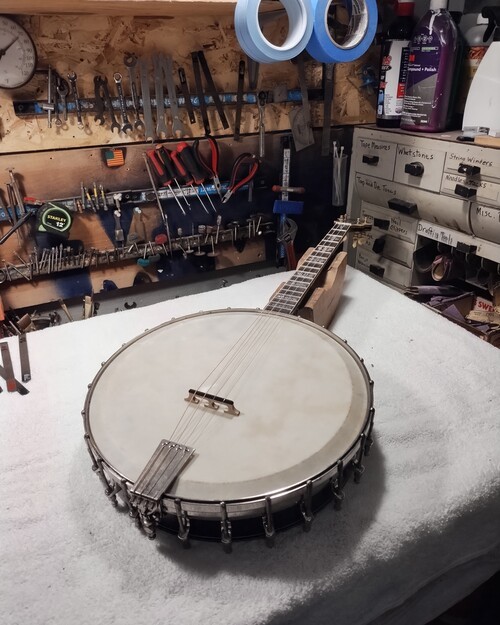
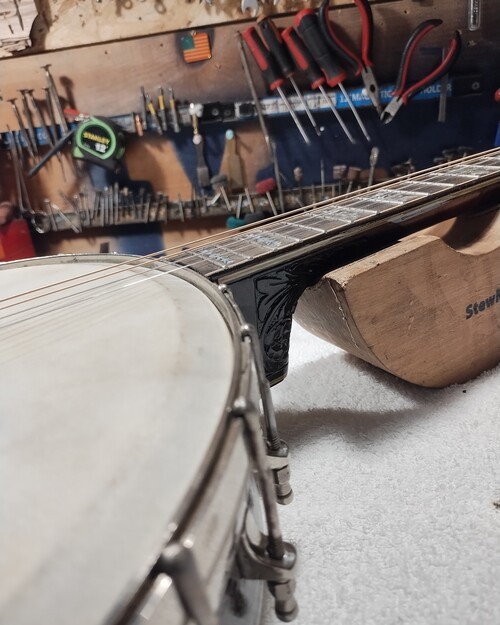
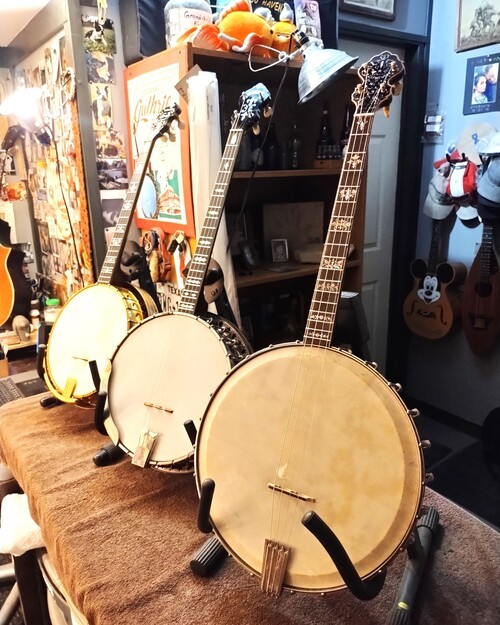
Settling in for final adjustments.
Thanks for looking and sharing,
VM
VM