Work Page 9-25
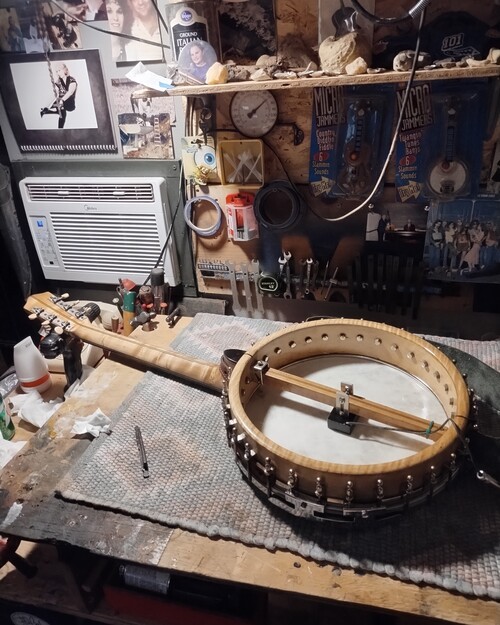
1920's Orpheum No.1
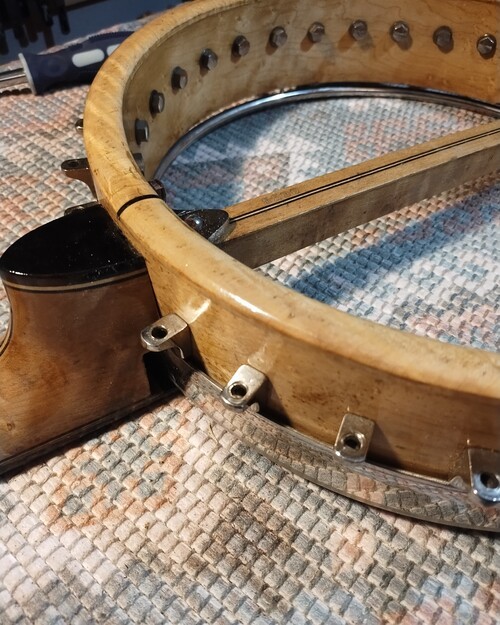
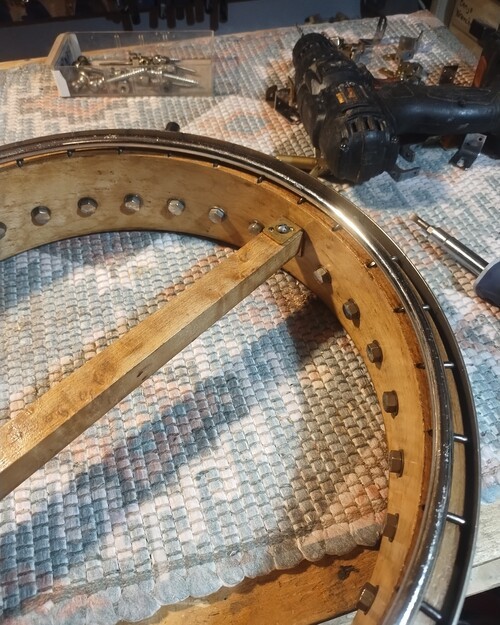
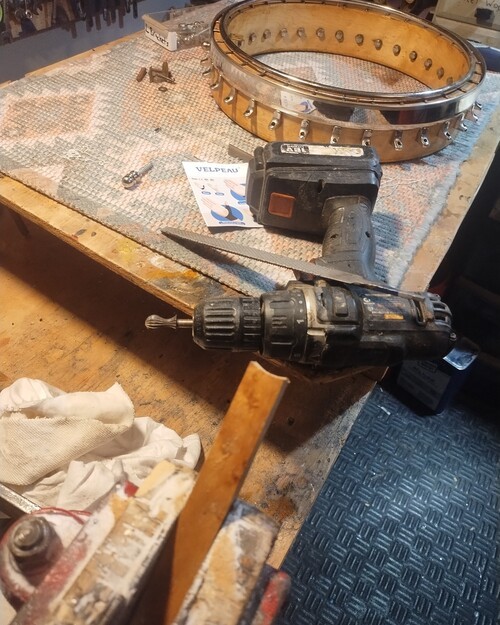
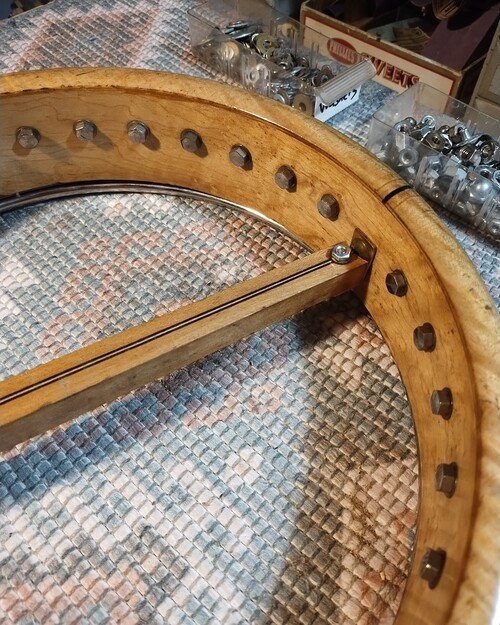
14" rim assembly
Repair as per customer instructions
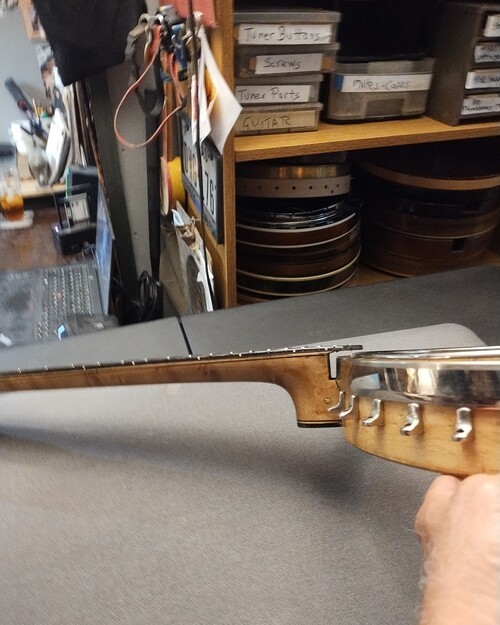
Neck warped (forward pull)
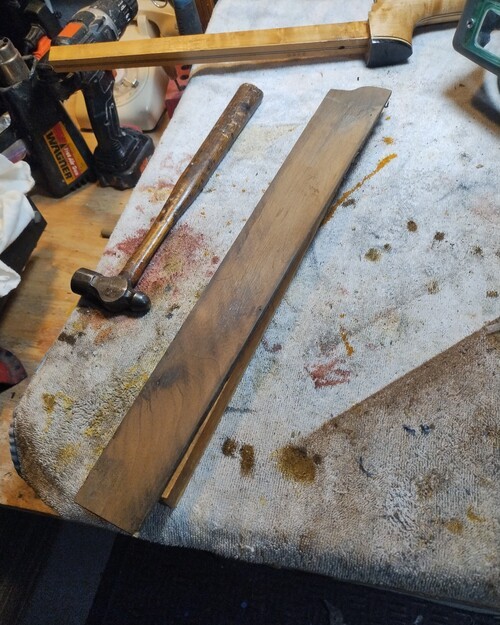
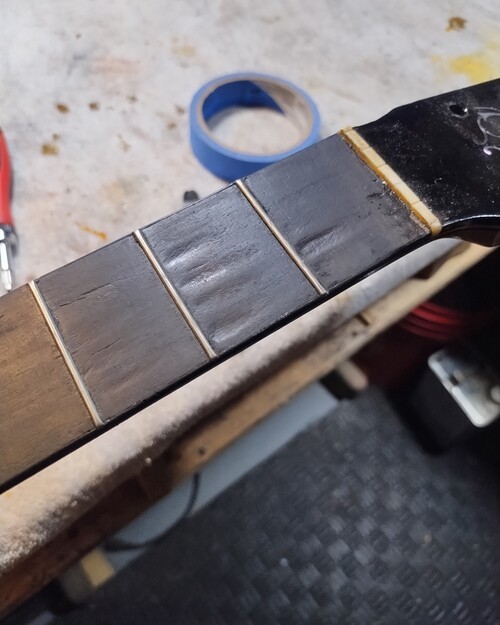
Remove fingerboard
Install bar truss, non adjustable
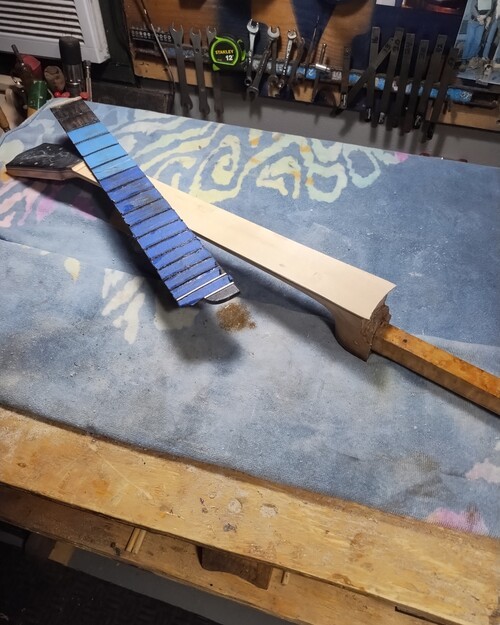
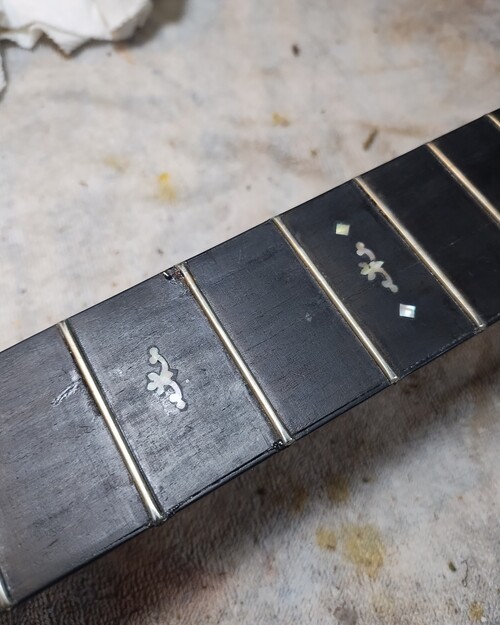
Instal1 new frets
Add finish on neck (from repairs)
Setup to play (Lefty)
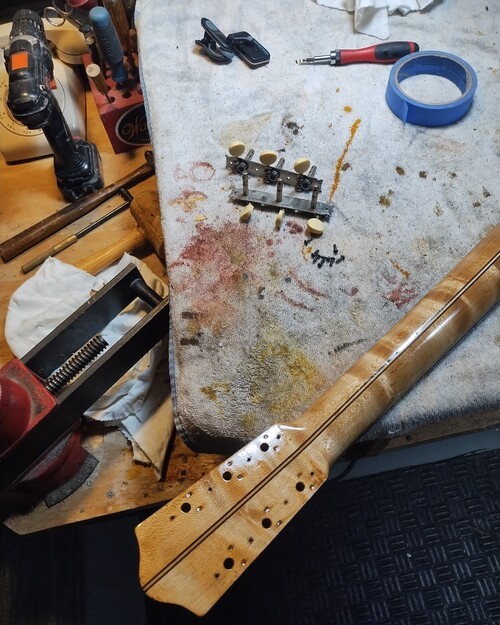
Install newer pickup
Install new spike
Repair as per customer instructions
Neck warped (forward pull)
Remove fingerboard
Install bar truss, non adjustable
Instal1 new frets
Add finish on neck (from repairs)
Setup to play (Lefty)
Install newer pickup
Install new spike
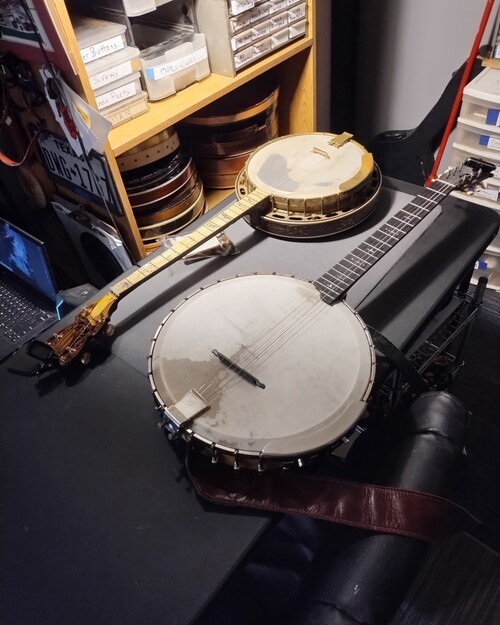
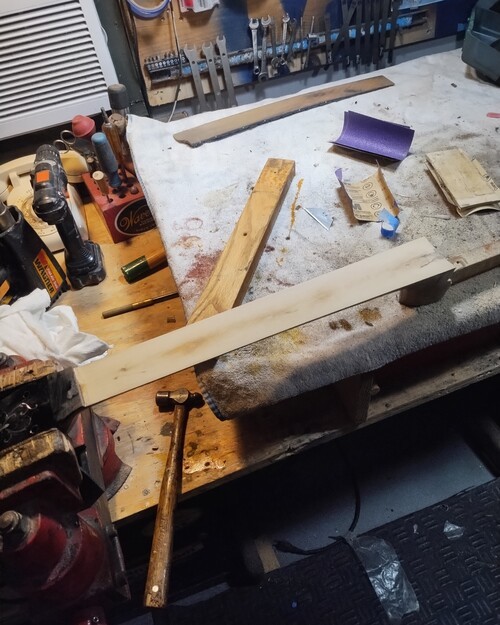
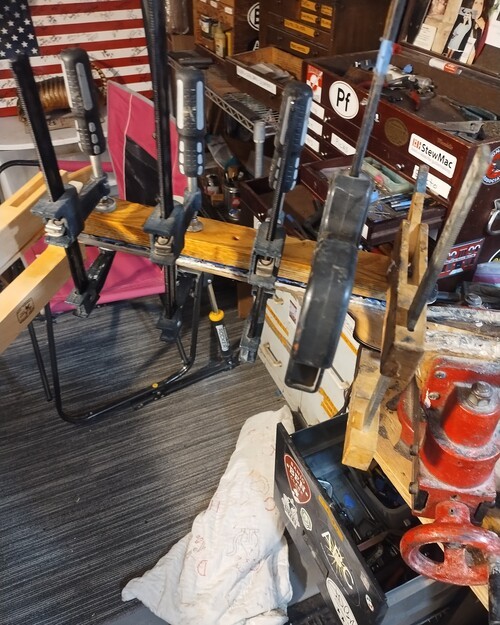
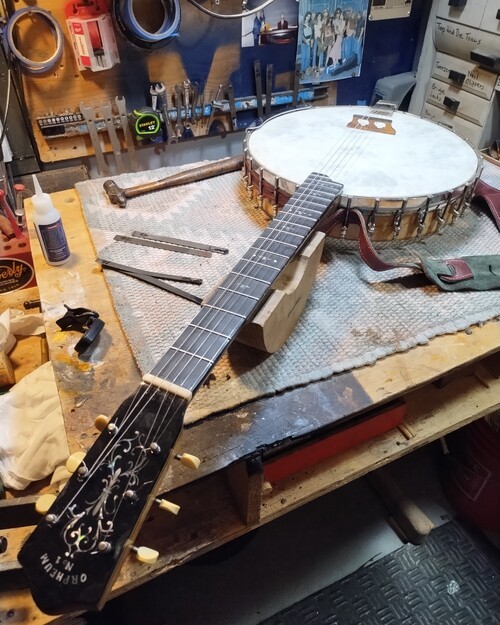
I need a bigger bench!

Neck warp visible even with no tension.
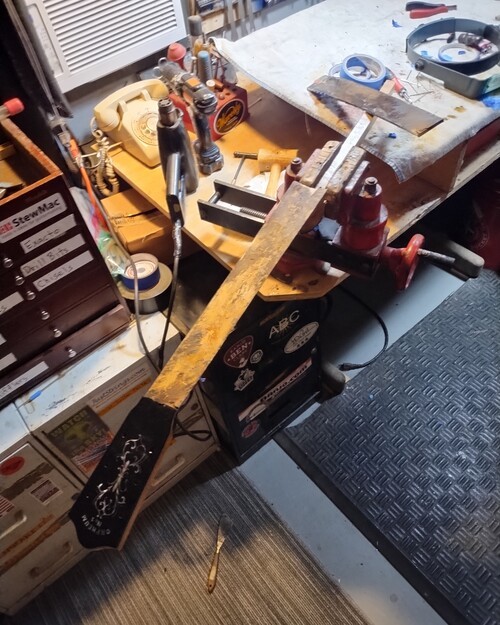
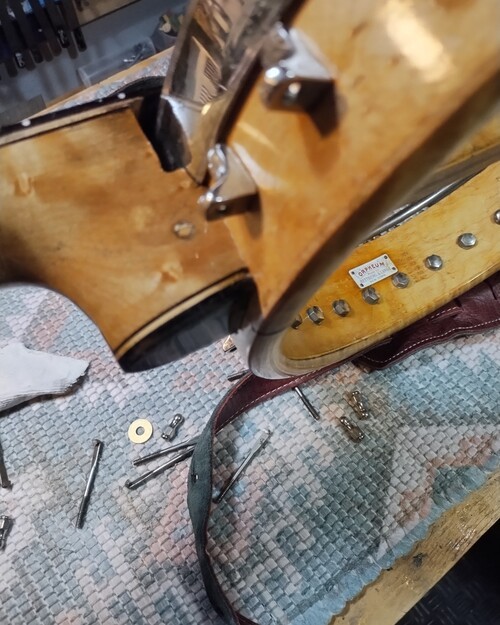
Fairly clean removal.
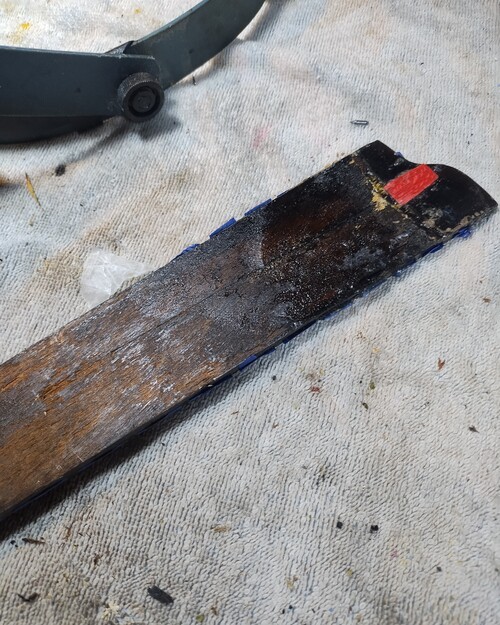
Red tab holding split as a band-aid for now.
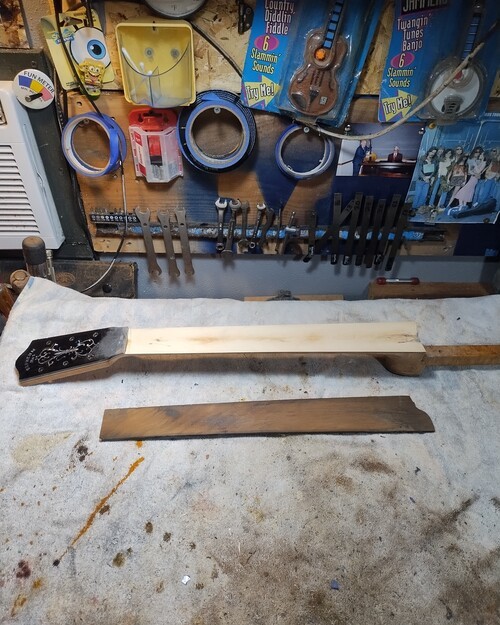
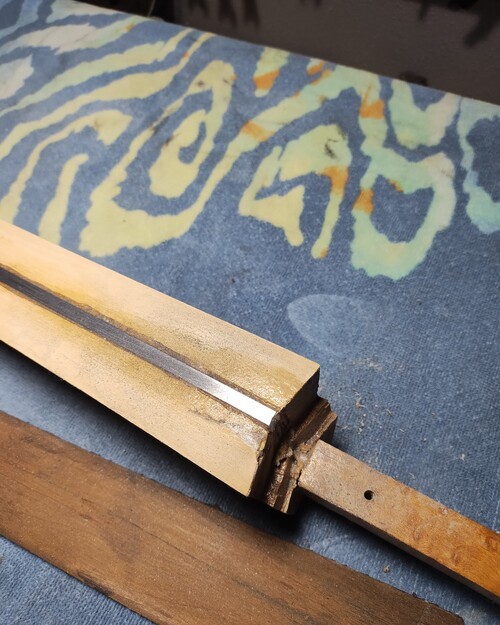
All bedded in, leveled for 2 maple laminates.
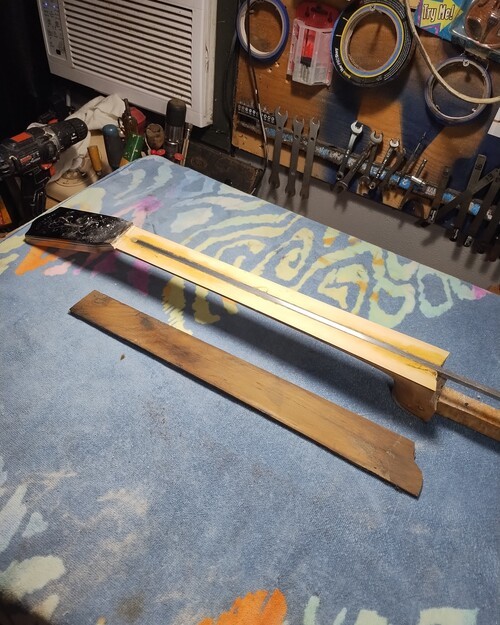
Laminates trimmed.

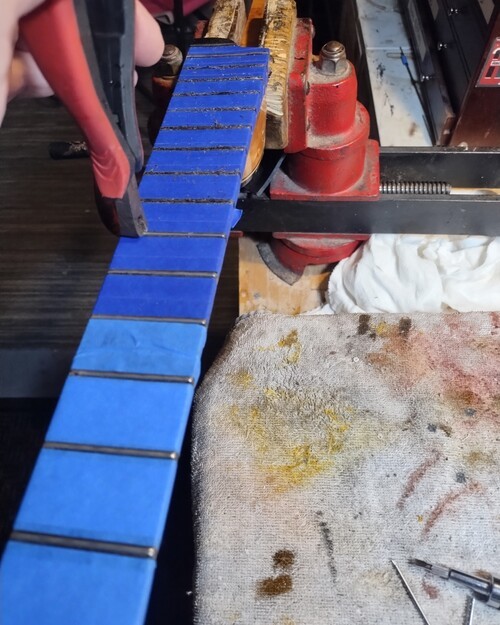
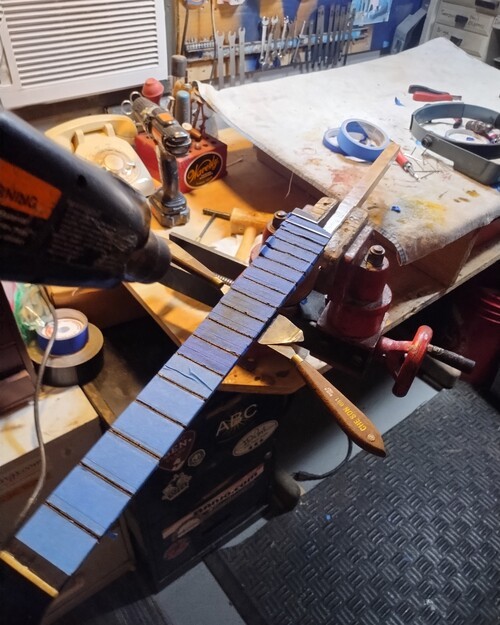
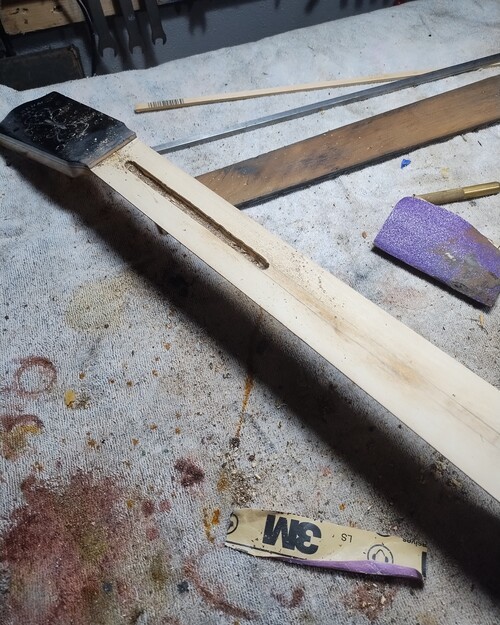
Sawing out the slots for modern wire, compression fretting.
Making a more substantial nut.
I may change the hardware on this end as well.
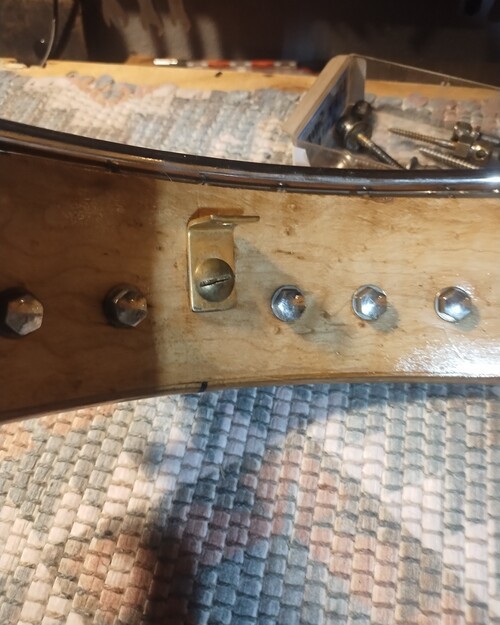
Fill small screw holes, prep for modern pegs.
Malfunctioning spike to be replaced.
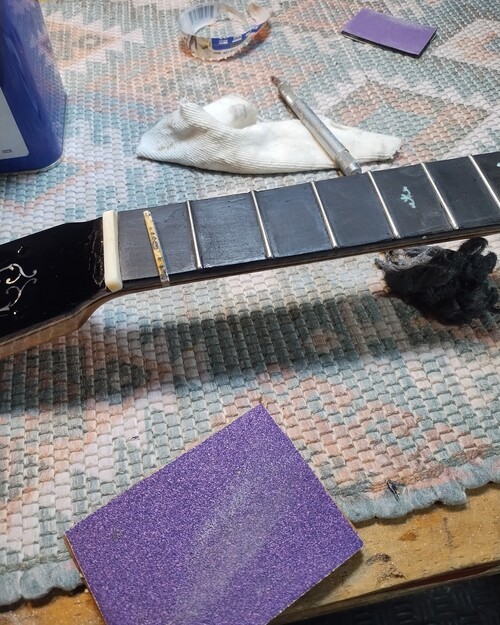
Board protected , pulling frets.
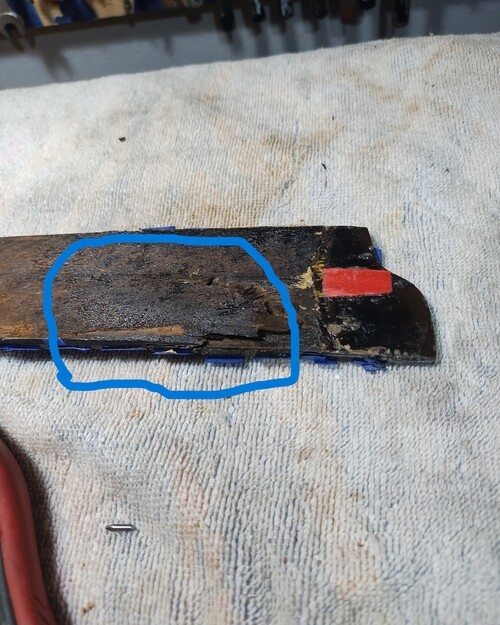
This area split, I will glue/compress.
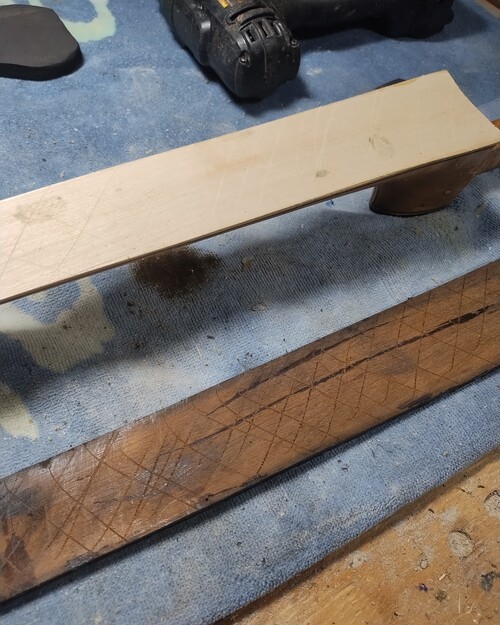
All cleaned up.
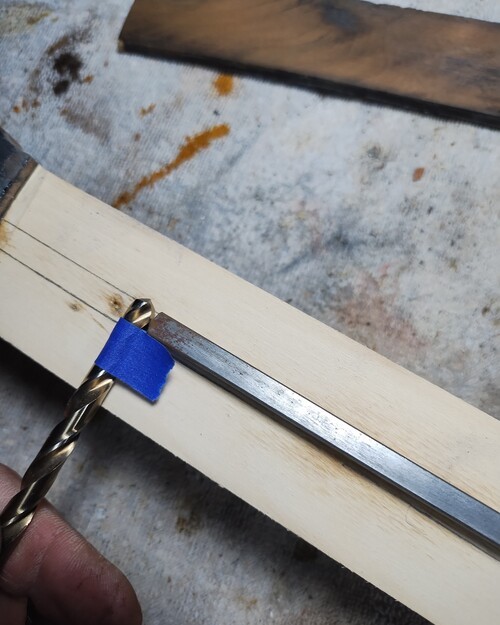
Prepping to drill pilot hole for routing cavity.
Board scored for glue anchor.
Slowly changing neck angle.

Making an L bracket to change dowel angle.
Mounting through dowel with screw/nut,
This is where I will get bridge height I want.

Looking for a pickup.
Some divots in the pear wood.
Heating the board to soften glue.
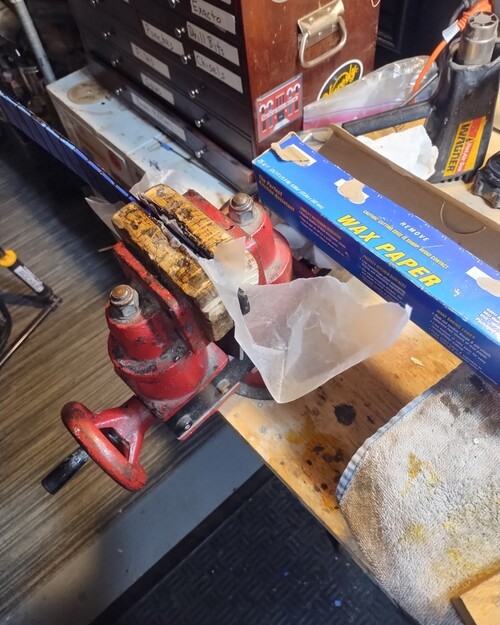
Compressing, wax paper for clean release.
ready for 5/16 square rod.
Going as planned, all laminates are dried out and separating.
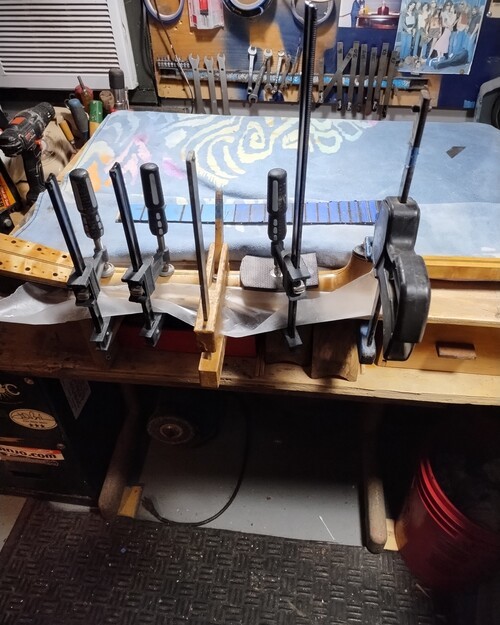
12 hrs in clamps.
F board pinned and glued, in clamps, 8 hrs.
Closer to what I want.
Concavity to accept L bracket screw head.
This raises dowel tip without re-drill or other alterations.
Sequence #2
The 14" REMO Fiberskyn heads came in today from Smakula and I ran into some problems.
****************************************************
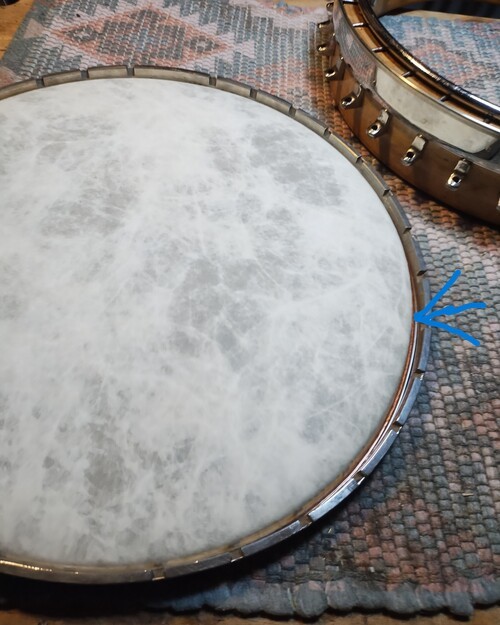
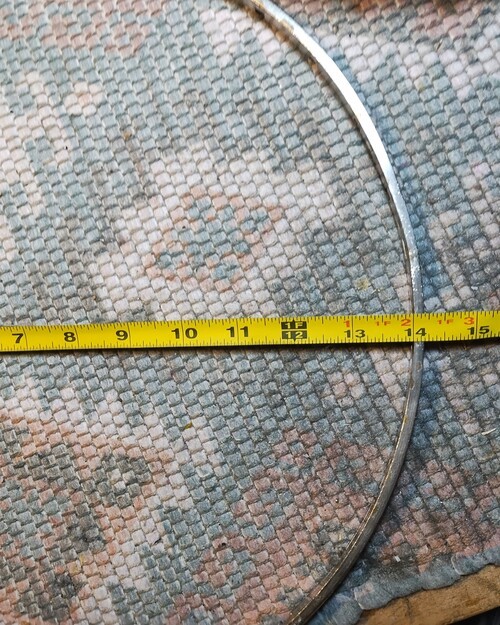
The head indeed does have a 14" aluminum stretcher band, but...
The head TAPERS to the top of the crown where it becomes 13-7/8"
This created a serious issue as the rim's outside rim skirt is a full 14 and maybe 1/64" more so it would not get past the 14" stretcher band by a 1/32" before it started into the taper on the top of the head.
If it was a true 14" it would be 14" ALL THE WAY to the top.
Yes, it pissed me off!
But this , and every banjo that was made in the skin head days where never meant to be held to that exacting of a standard, period.
Skin heads were made to the size necessary to fit the instrument.
This is why Remo always made heads in 1/16" increments back in the day where they could make a dollar doing so, to accommodate all of the older instruments that needed incremental differences.
Now all of that is special order with very long wait time.
This was no different and by design, this Orpheum was nominally larger.
Just enough to cause me misery, so here is the process to make this instrument have the capability from now on to run a synthetic head, 14"- tapered.
ONWARD.
****************************************************
The head indeed does have a 14" aluminum stretcher band, but...
The head TAPERS to the top of the crown where it becomes 13-7/8"
This created a serious issue as the rim's outside rim skirt is a full 14 and maybe 1/64" more so it would not get past the 14" stretcher band by a 1/32" before it started into the taper on the top of the head.
If it was a true 14" it would be 14" ALL THE WAY to the top.
Yes, it pissed me off!
But this , and every banjo that was made in the skin head days where never meant to be held to that exacting of a standard, period.
Skin heads were made to the size necessary to fit the instrument.
This is why Remo always made heads in 1/16" increments back in the day where they could make a dollar doing so, to accommodate all of the older instruments that needed incremental differences.
Now all of that is special order with very long wait time.
This was no different and by design, this Orpheum was nominally larger.
Just enough to cause me misery, so here is the process to make this instrument have the capability from now on to run a synthetic head, 14"- tapered.
ONWARD.
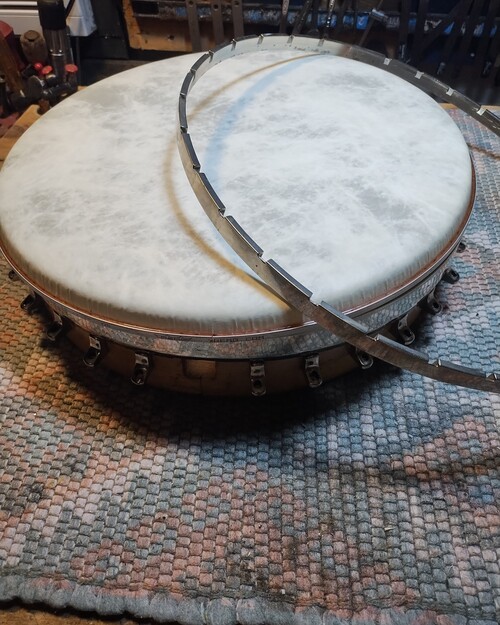
That is the head setting on top of the skirt
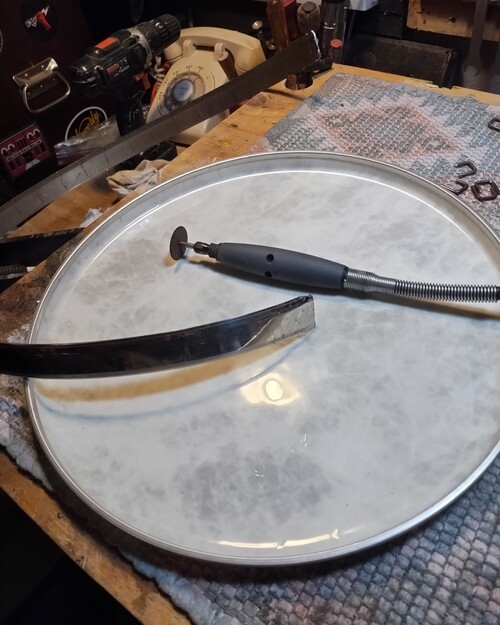
Hoop is bent, I will tap on it there.
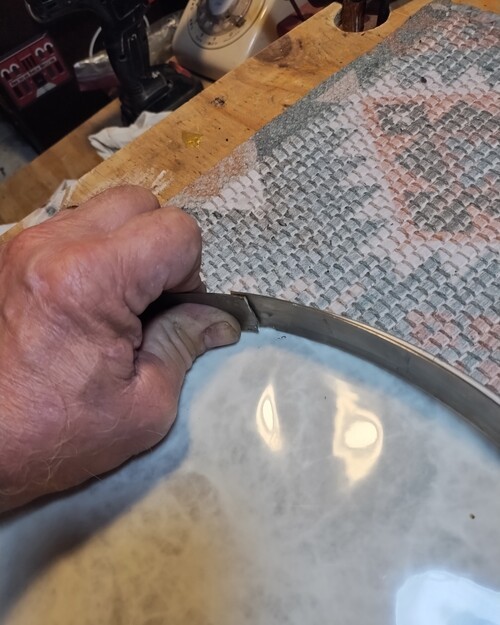
This much has to go.
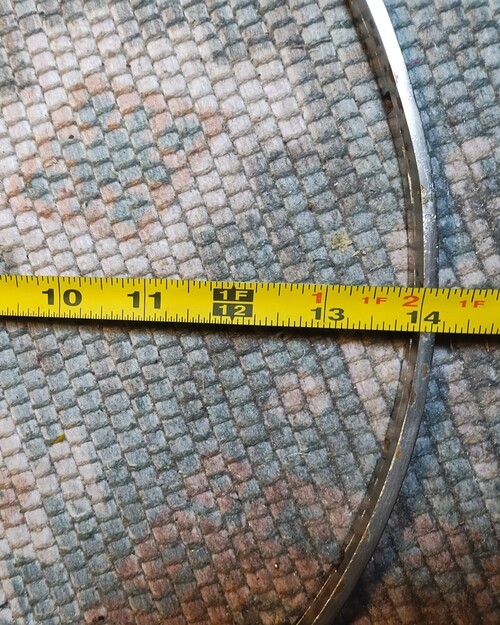
Hoop is a tight 14".
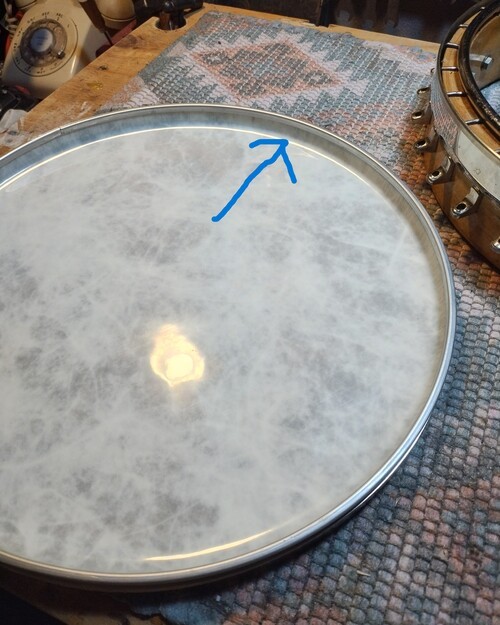
This is showing the taper to the top.

After cut, set in head, all of the way to top.
No turning back now.
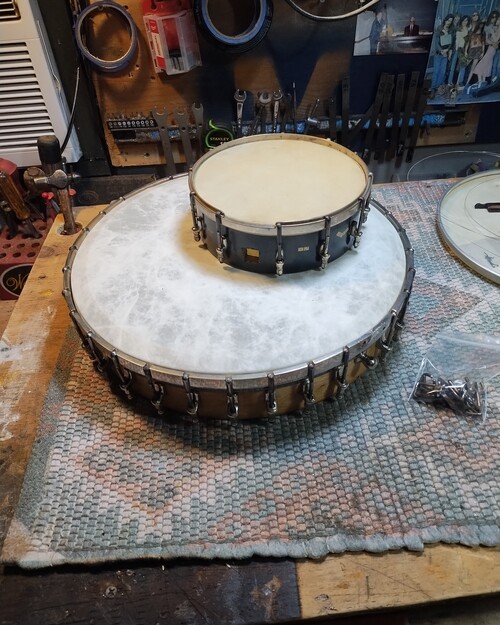
After brazing, head installed.
I did have to remove some of the arch ring stanchions to relieve the pressure on the top of the rim skirt as they wanted to flare it out to 14/-1/16" again, by design. There are still plenty supporting the arch ring and this is a synthetic head, no need for all of that additional support.

Setup and tuned to pitch
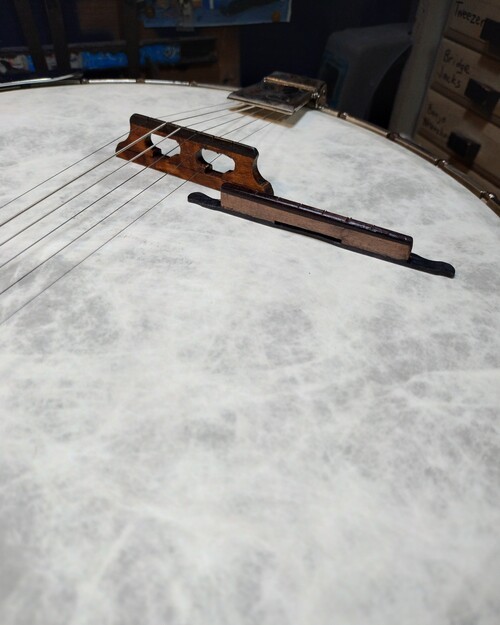
That is the height difference.
String height is where we want to be now.
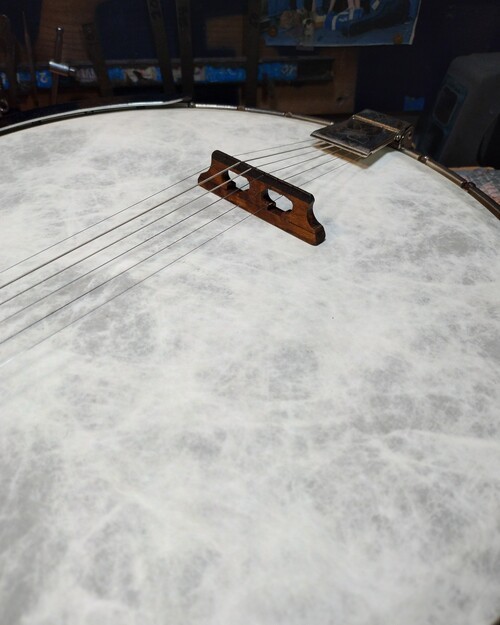
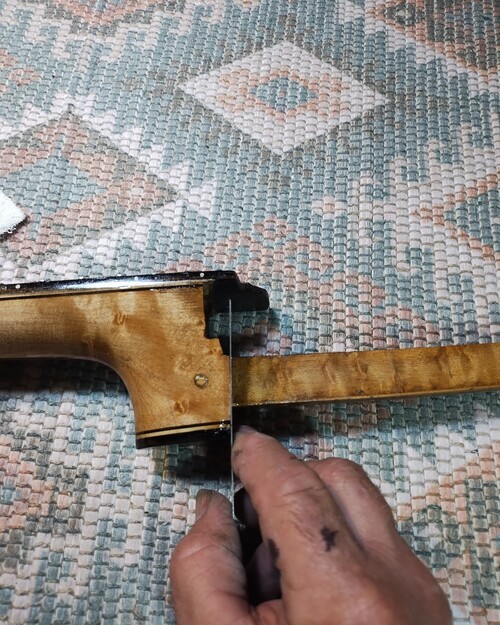
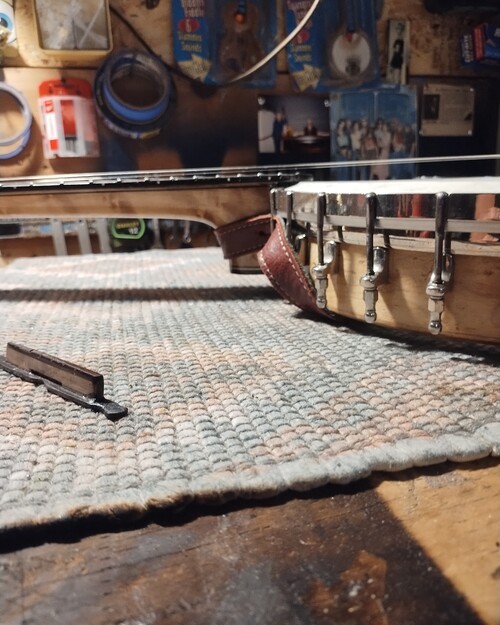
I madea new bridge for the new setup.
Pickup re-installed, ready for a test drive with the owner.
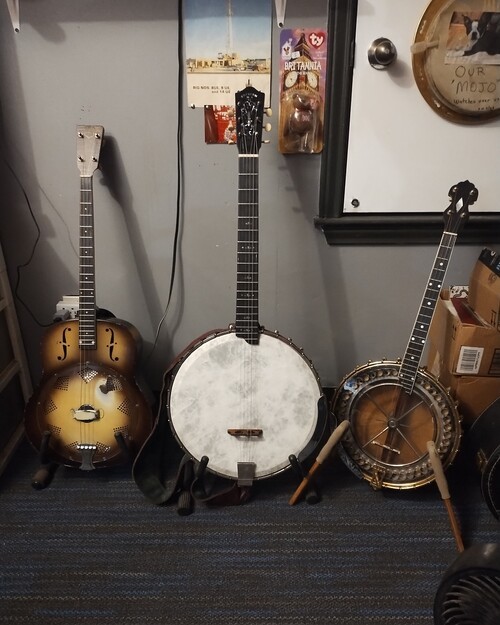
Taking up space! LOL
This was a good challenge and I hope that I made it into something that the customer is happy with.
We will soon see if it is good to go, or needs more tweaking.
Thanks for looking and sharing.
VM
We will soon see if it is good to go, or needs more tweaking.
Thanks for looking and sharing.
VM