Work Page 11-25
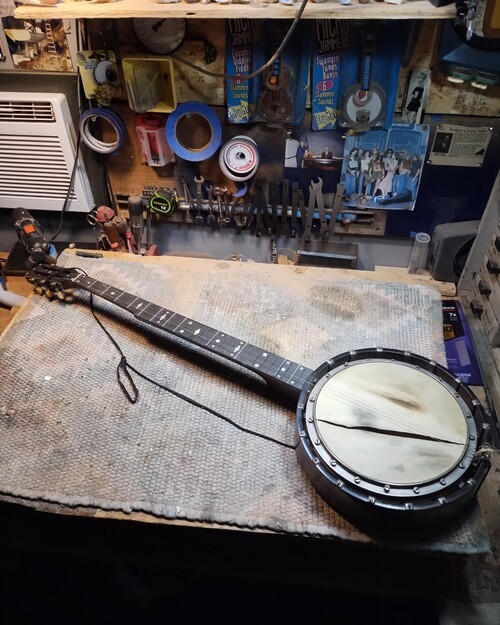
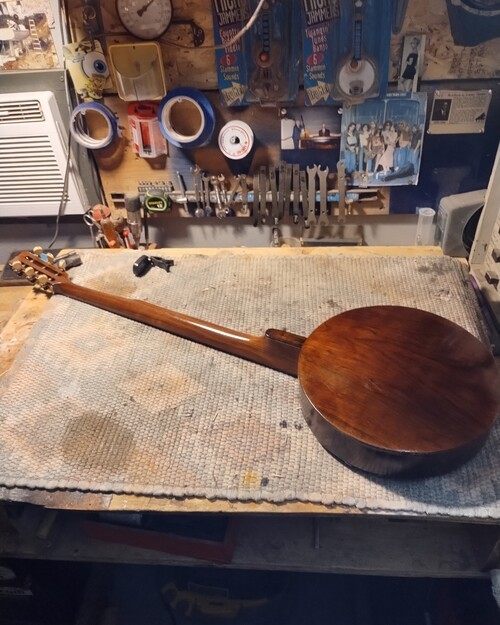
English Zither Banjo
Circa 1900s
U.K
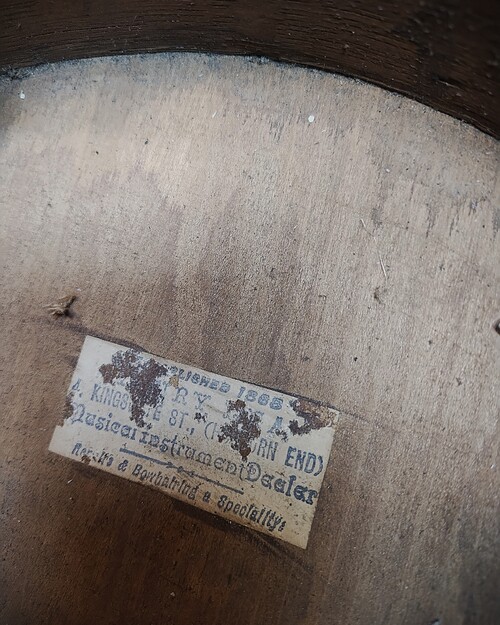
Maker unknown for now, I will ask my British counterparts about it.
8" head
24-1/8" scale length
English Walnut
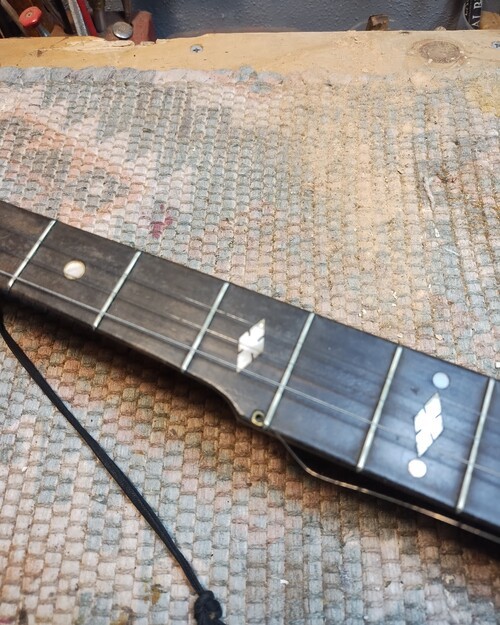
Rosewood Fingerboard
Orig. Front loading case (With no door, as usual)
The difference between a regular banjo from a zither is that the zither has a tunnel for the 5th string, not the side peg.
This instrument is an heirloom, and belonged to the customer's grandfather.
When I examined it I thought that it had most of the problems common to these styles of construction.
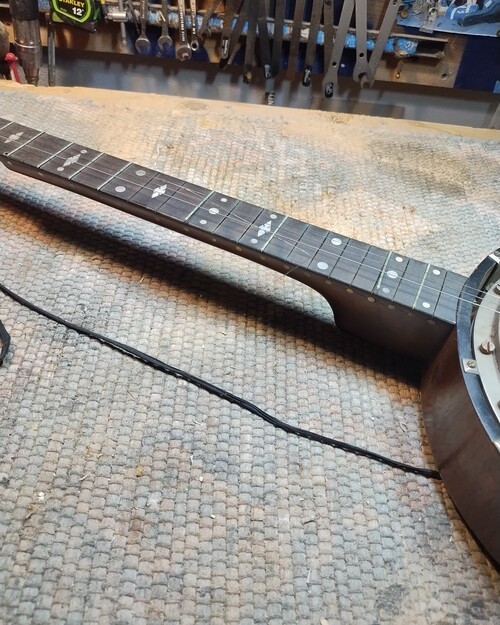
The neck was canter upwards and appeared to be stressed over time in the heel to rim connection.
Also, being partially strung many years it also exhibited a slight twist and an upward bow.
I told the customer it may only be able to be a wall hanger.
In the sequences below, it will describe how the repair sequence evolved as did my expectations of it becoming playable again so I decided to go the extra mile and see if in fact, I was right in my assumptions.
These banjos many times get overlooked and ridiculed for whatever reason but when I do see one that can be made to play, I try to make that happen because the world needs examples of it just as it does all others.
And when someone like Jenna cares about it's history and made the effort to find me and get it to me. (She lives 7 min away!) I will do my part as well, to make her Grandfather and mine as well, smile down upon us.
Hip Hip, Hooray!
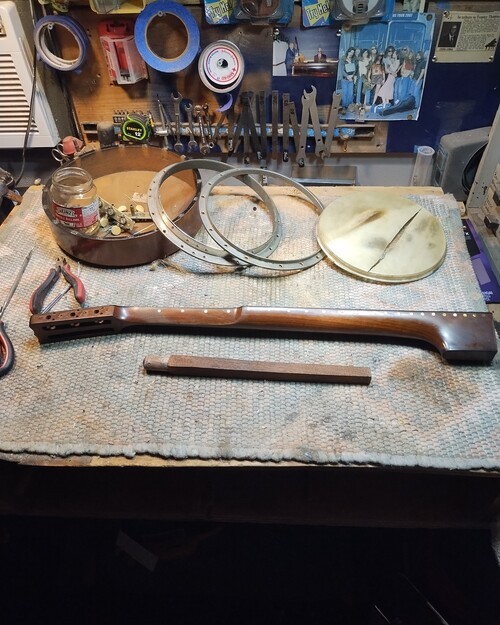
Sequence #1
Disassembly
U.K
Maker unknown for now, I will ask my British counterparts about it.
8" head
24-1/8" scale length
English Walnut
Rosewood Fingerboard
Orig. Front loading case (With no door, as usual)
The difference between a regular banjo from a zither is that the zither has a tunnel for the 5th string, not the side peg.
This instrument is an heirloom, and belonged to the customer's grandfather.
When I examined it I thought that it had most of the problems common to these styles of construction.
The neck was canter upwards and appeared to be stressed over time in the heel to rim connection.
Also, being partially strung many years it also exhibited a slight twist and an upward bow.
I told the customer it may only be able to be a wall hanger.
In the sequences below, it will describe how the repair sequence evolved as did my expectations of it becoming playable again so I decided to go the extra mile and see if in fact, I was right in my assumptions.
These banjos many times get overlooked and ridiculed for whatever reason but when I do see one that can be made to play, I try to make that happen because the world needs examples of it just as it does all others.
And when someone like Jenna cares about it's history and made the effort to find me and get it to me. (She lives 7 min away!) I will do my part as well, to make her Grandfather and mine as well, smile down upon us.
Hip Hip, Hooray!
Sequence #1
Disassembly
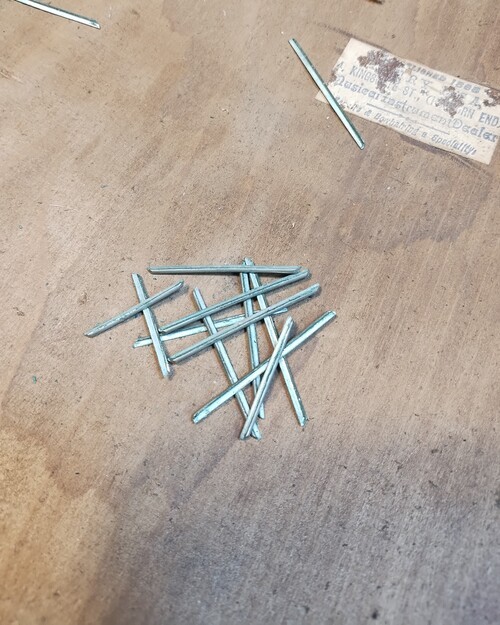
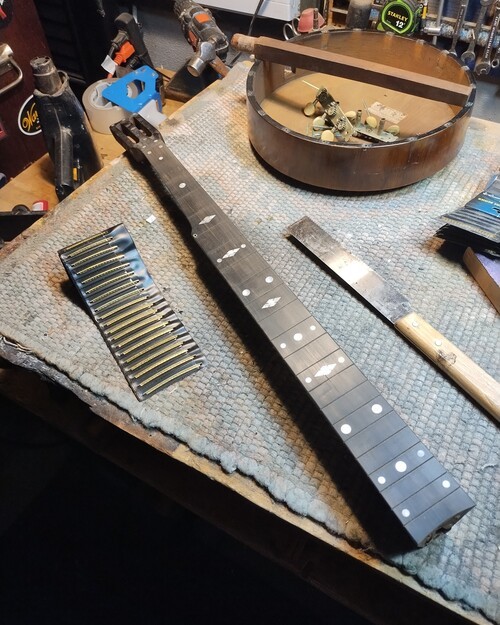
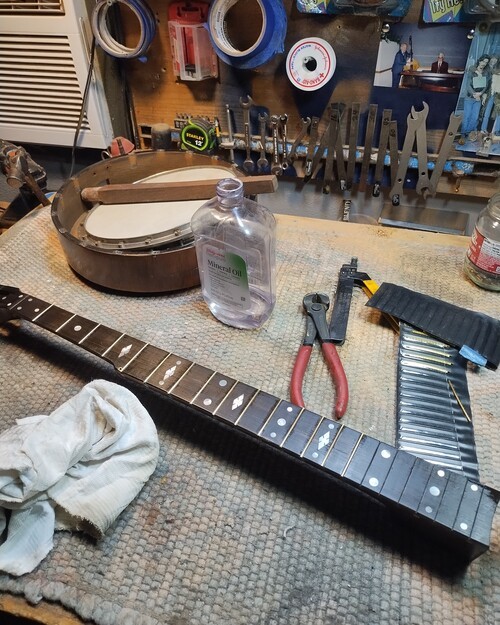
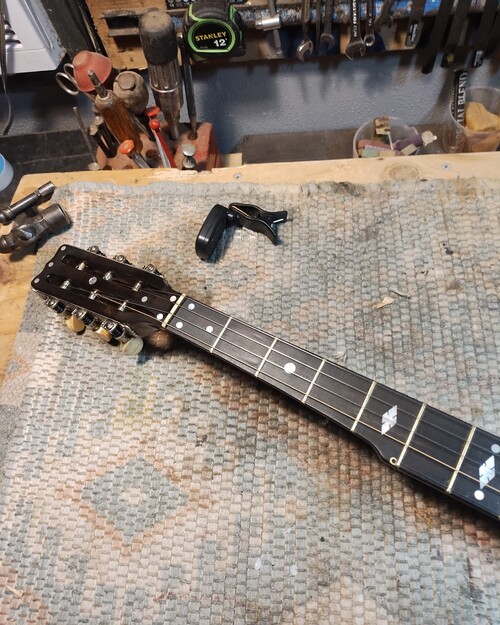
Barbless fret wire, came out with my fingernails.
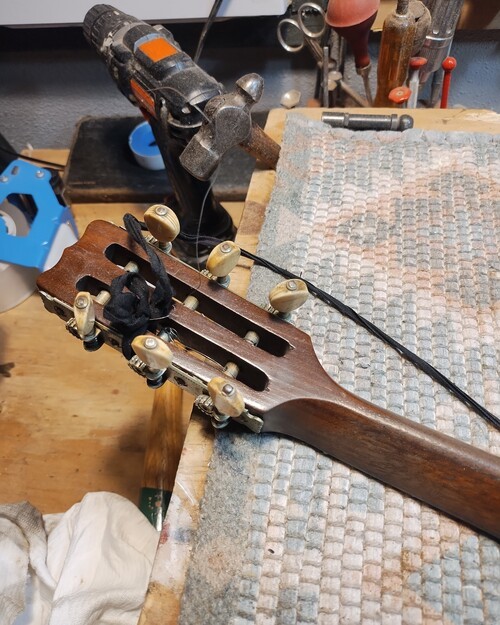
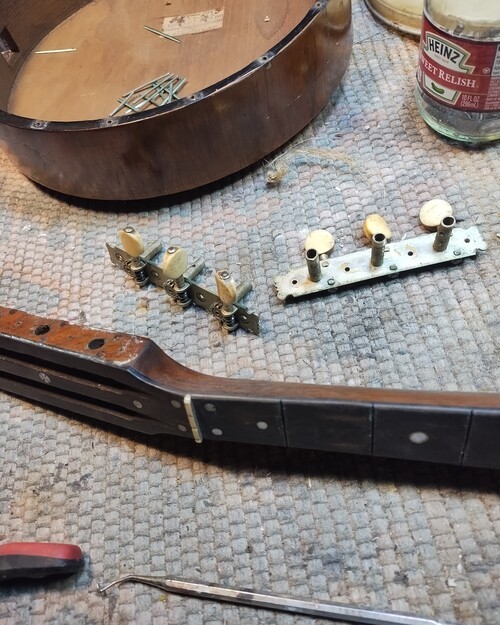
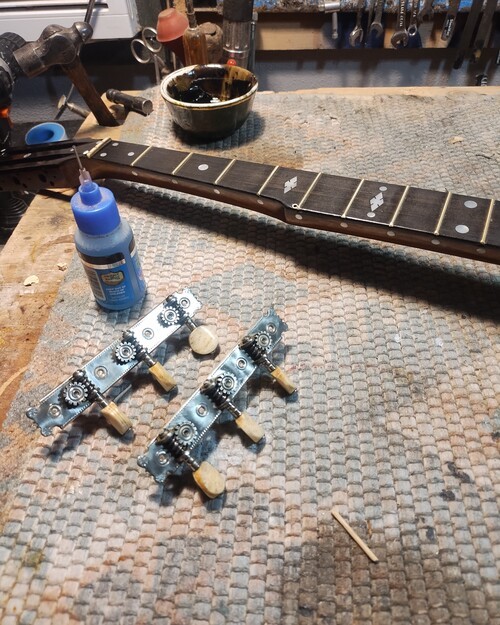
Machines removed for clean/oil
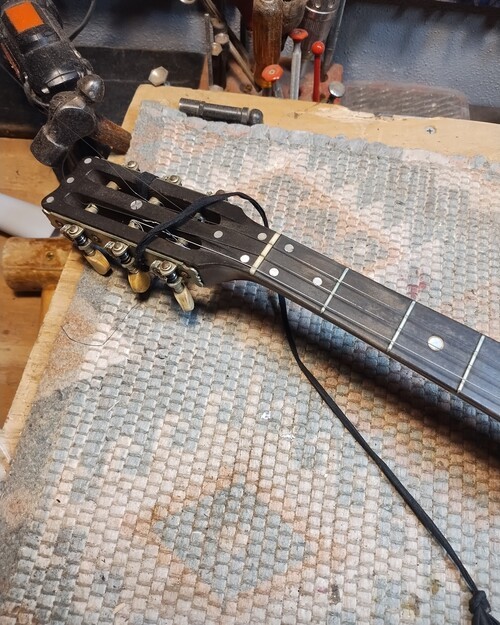
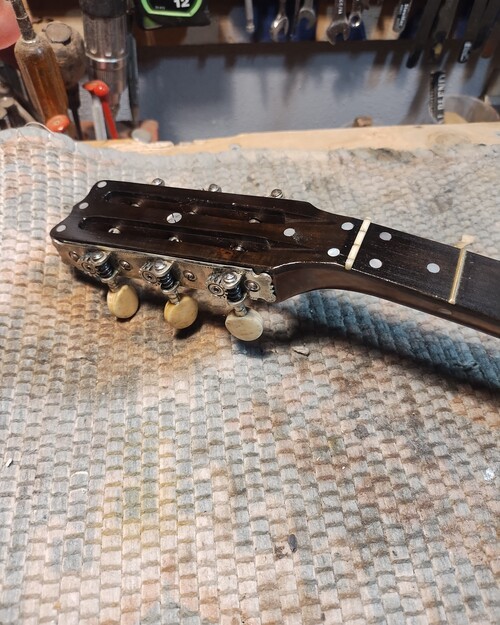
6 string pegheads are common on these.

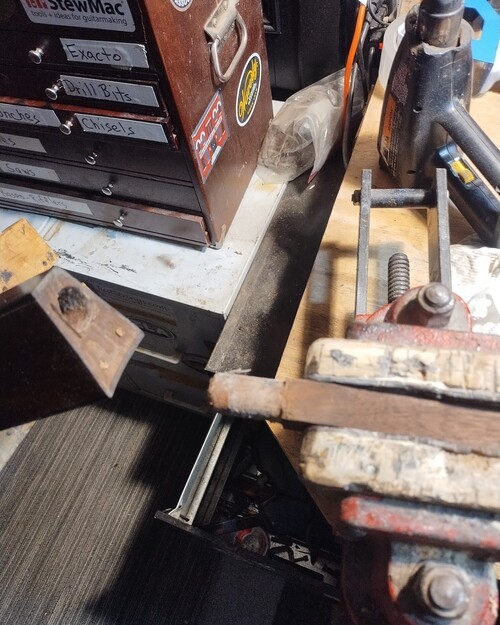
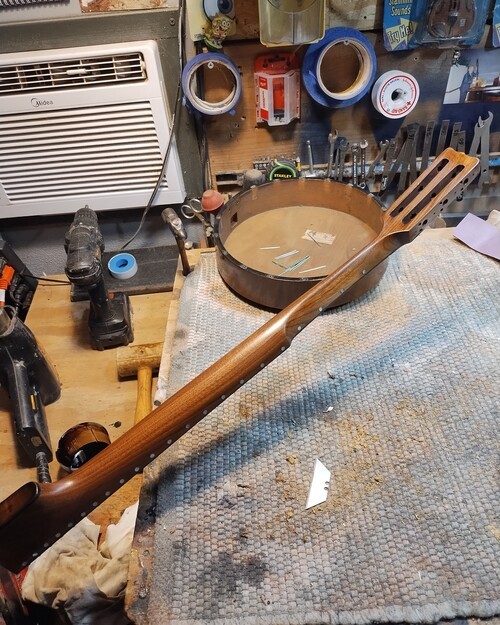
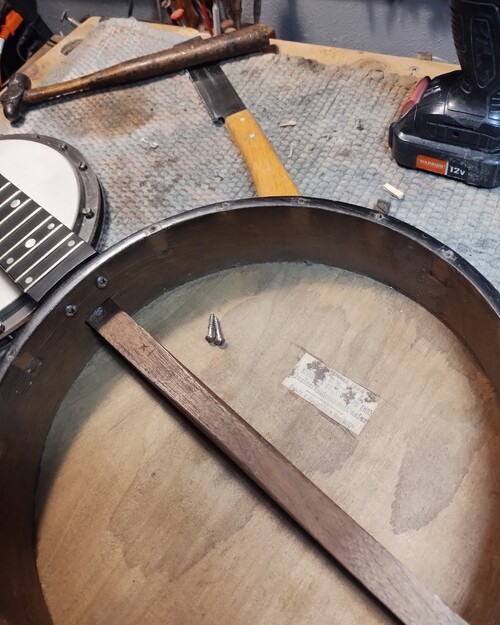
Issue: Dowel at upward angle.
Sequence #2
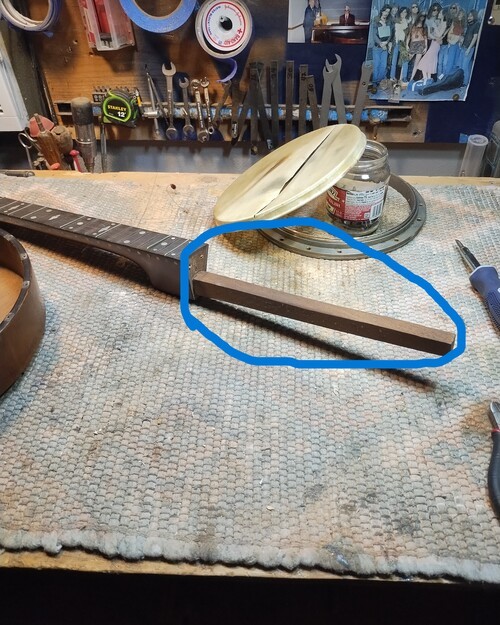
Removing the dowel to change the angle (Heat)
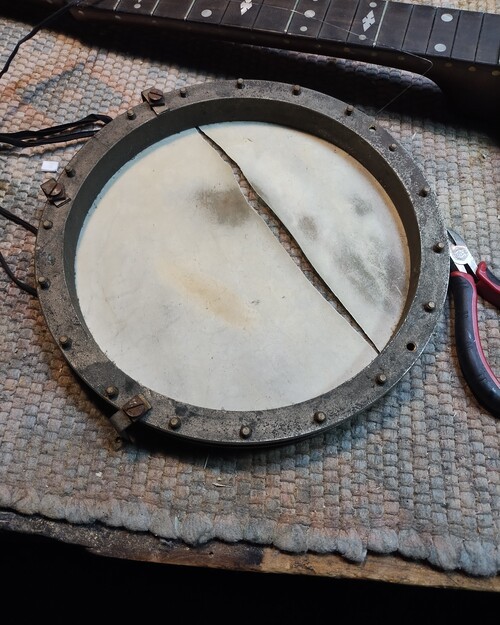
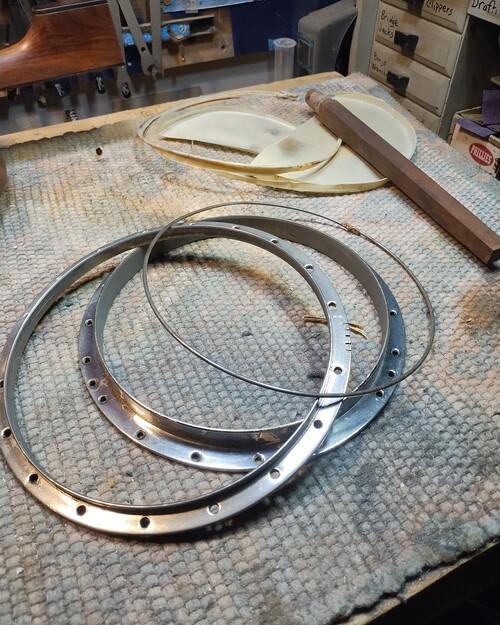
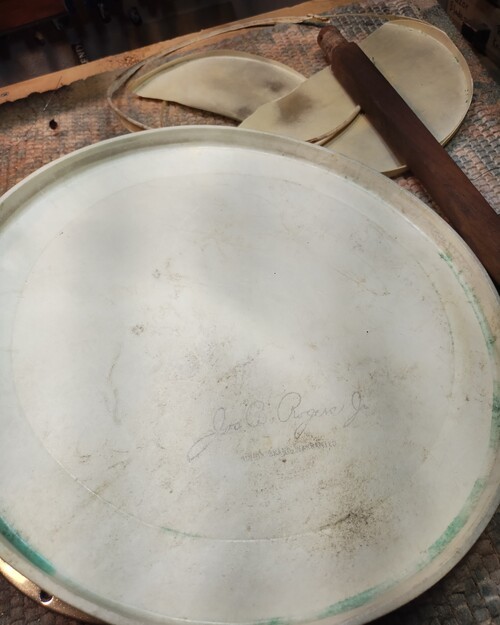
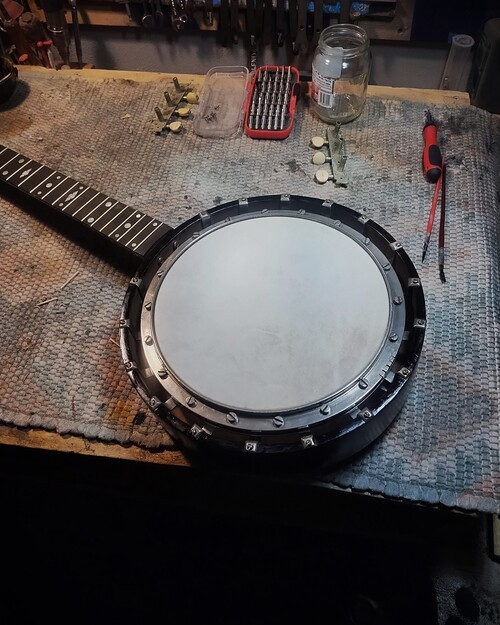
Replacing the head (Re-purposed vintage 11-1/8" Jos. Rogers)
Removing the dowel to change the angle (Heat)
Replacing the head (Re-purposed vintage 11-1/8" Jos. Rogers)
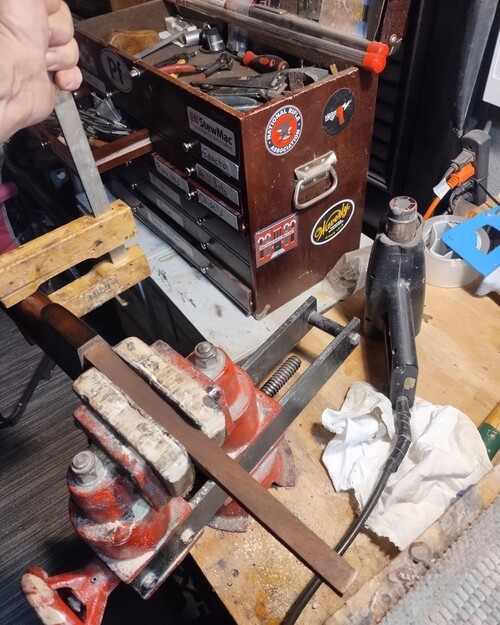
After gentle hear, care is taken to wiggle for release.
Hardware cleaned and waxed, not the screws yet.
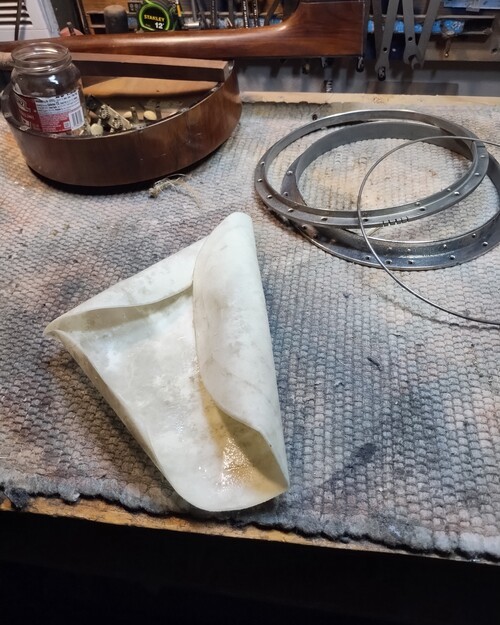
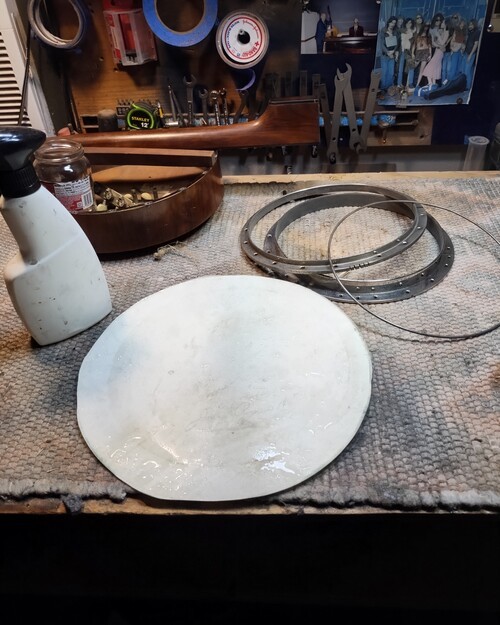
Re-hydrated
Excess removed, not much.
No room for error, all went perfect.
It will take all of this head to make it work.

Ready for the tuck.
Shown next to a rim I have had here for years.
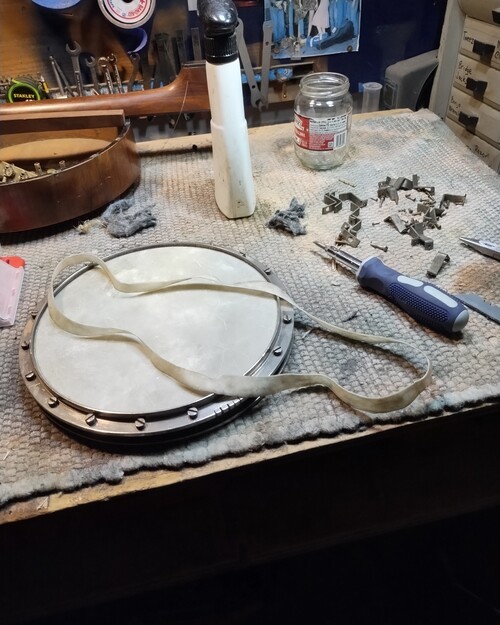
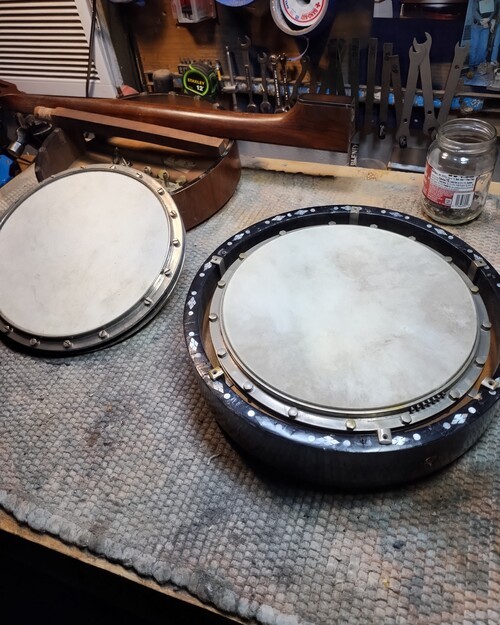
Now we can re-establish a downward slant.
Re-use original flesh ring.
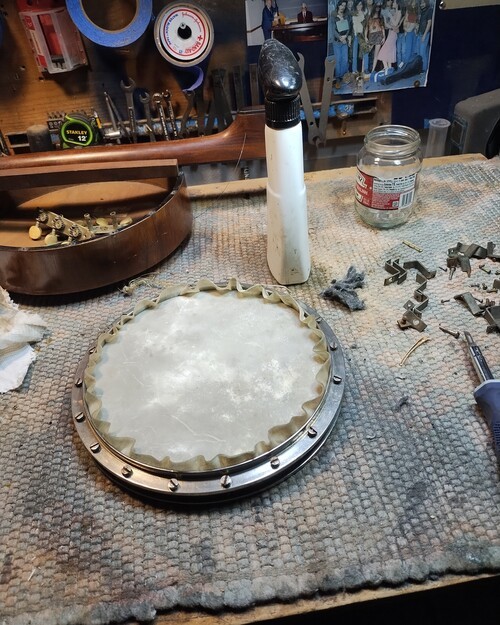
Lightly cinched.

Head cured, screws out for cleaning/oil.
Sequence #3
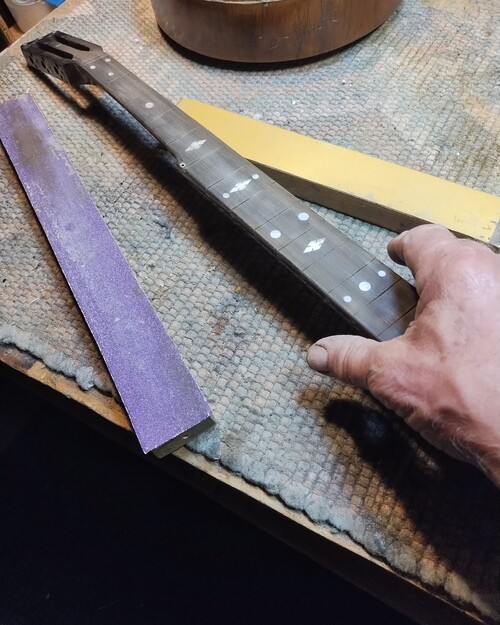
Fret work
I leveled the neck and I will use an alloy fret wire.
Unlike the original, modern wire has barbs on the fret tang that help retain them in the wood.
That was figured out after around 1915, that this was needed.
Fret work
I leveled the neck and I will use an alloy fret wire.
Unlike the original, modern wire has barbs on the fret tang that help retain them in the wood.
That was figured out after around 1915, that this was needed.
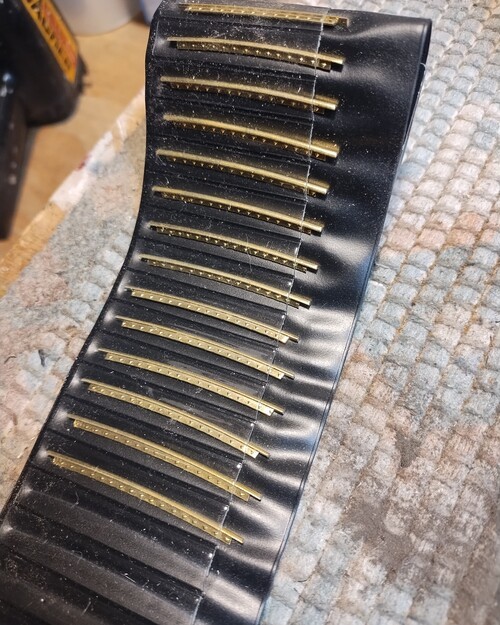
Fret tang barblets shown here.

Full compression up the neck, sealed.
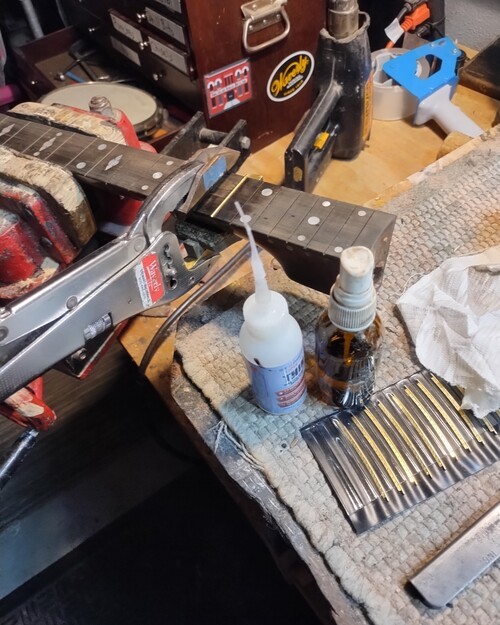
Each fret is sealed with CA after compressing.
Oiling the board, ready for dowel installation.
Sequence #4
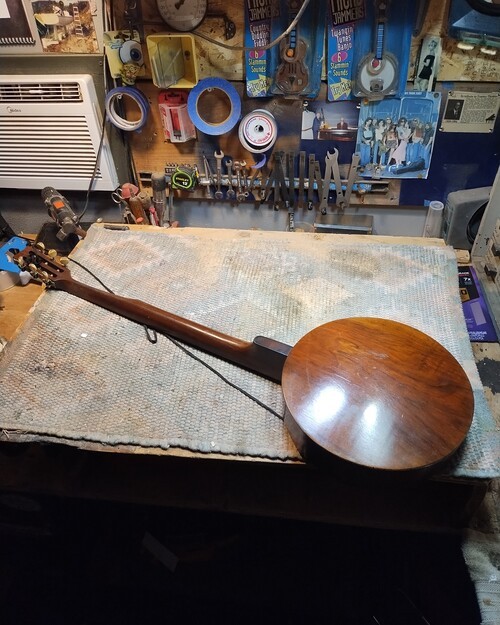
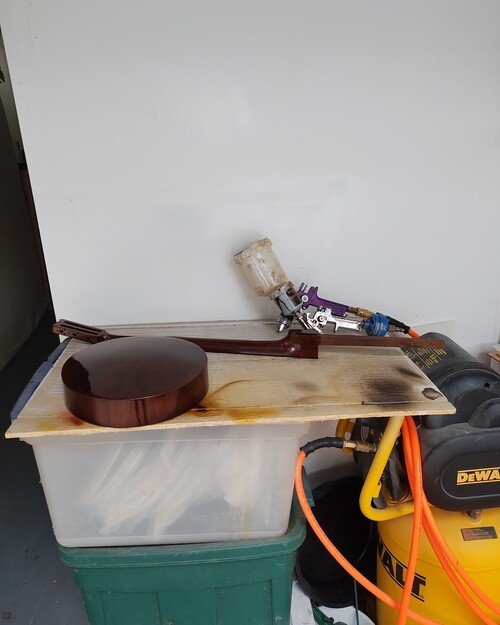
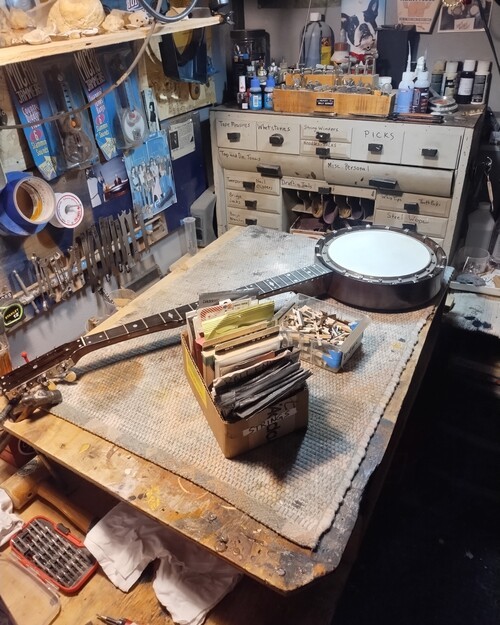
Refinish
This beautiful English Walnut is hiding under the old yellowed varnish.
I will strip and go back with Mohawk Classic Instrument Lacquer.
Nitrocellulose with a flex agent.
Refinish
This beautiful English Walnut is hiding under the old yellowed varnish.
I will strip and go back with Mohawk Classic Instrument Lacquer.
Nitrocellulose with a flex agent.
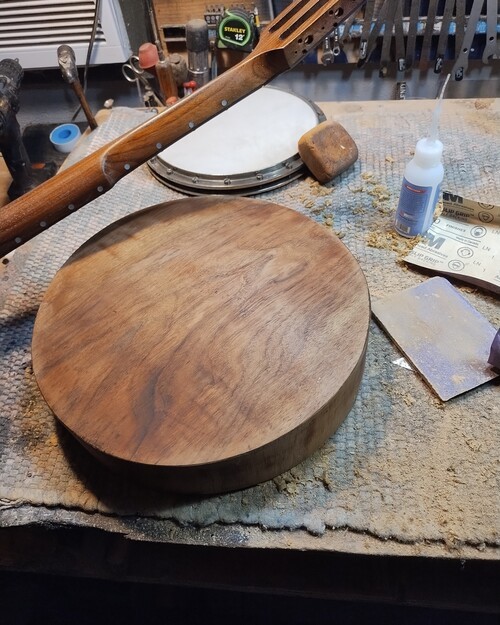
first fresh coat, grain "pops" now.
After 3 coats, looking nice again.
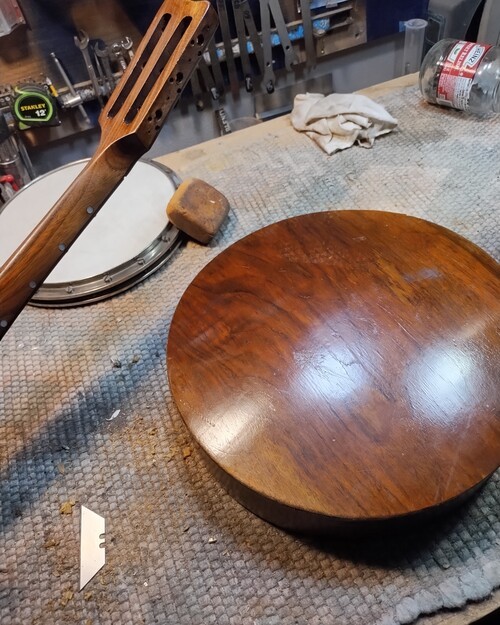
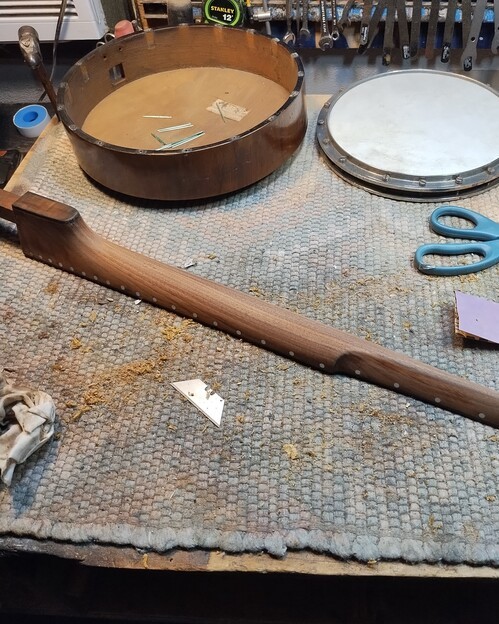
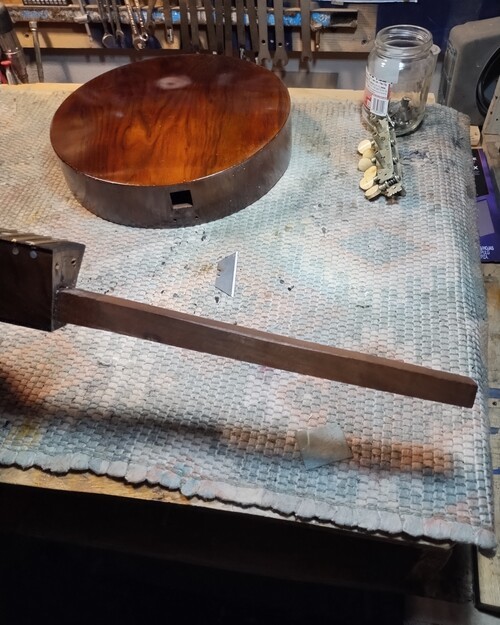
Now to strip/sand resonator.
Sequence 5 - Assembly
After final finish coats, dowel reset.
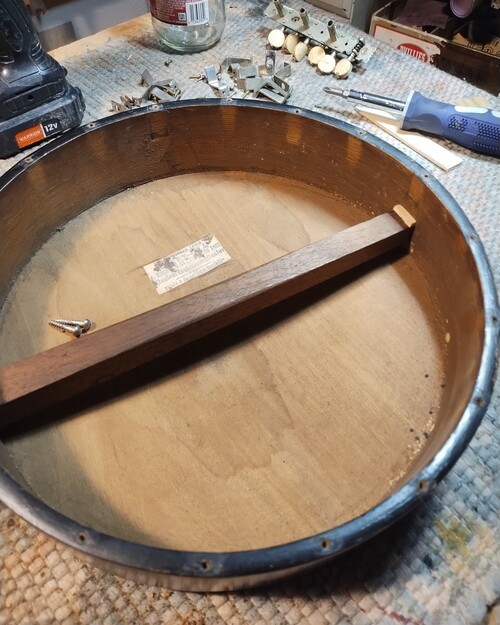
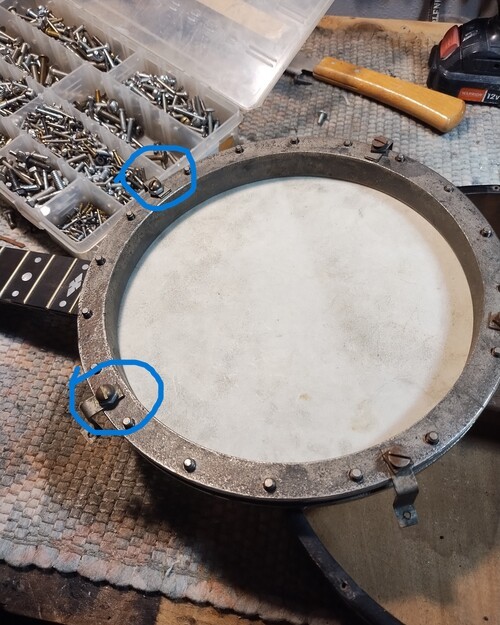
I found what hardware I needed to complete the mounting of the rim to the resonator.
Now it has no wobble.
I used larger/longer screws to have a more solid fit to the sidewall.
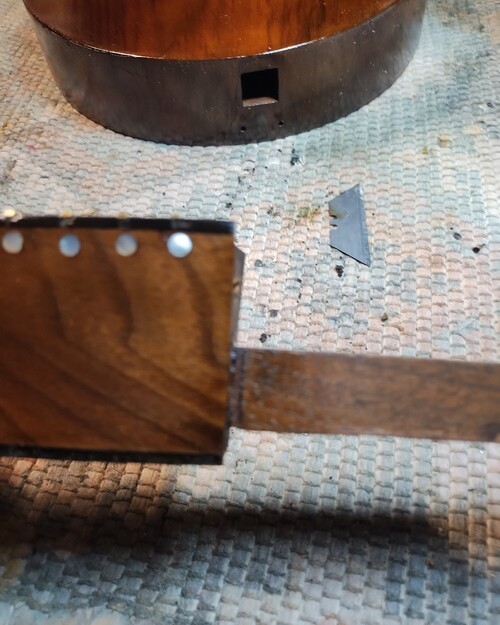
I made a shim to keep the dowel tip pressed downwards, as that hole had always been too large.
Rim was mounted to resonator.
Tuning machines cleaned, oiled.
After final finish coats, dowel reset.
I found what hardware I needed to complete the mounting of the rim to the resonator.
Now it has no wobble.
I used larger/longer screws to have a more solid fit to the sidewall.
I made a shim to keep the dowel tip pressed downwards, as that hole had always been too large.
Rim was mounted to resonator.
Tuning machines cleaned, oiled.
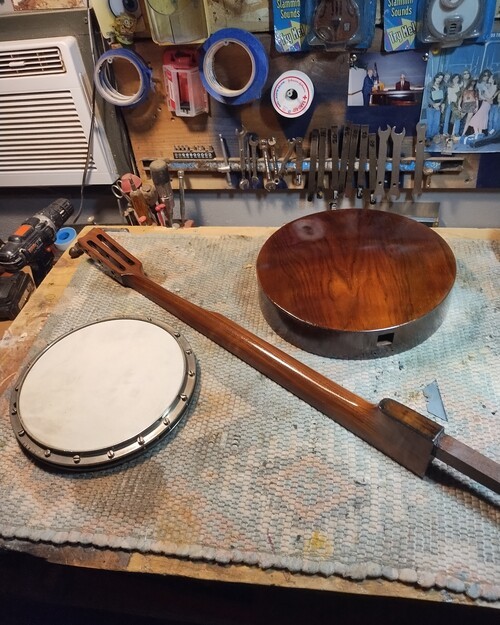
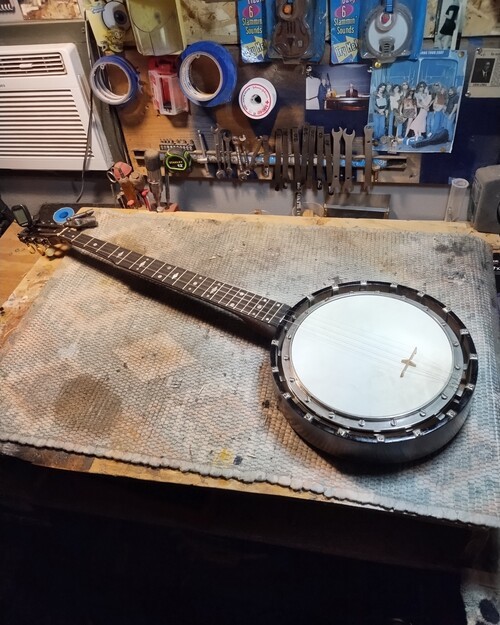
Time to set it up.
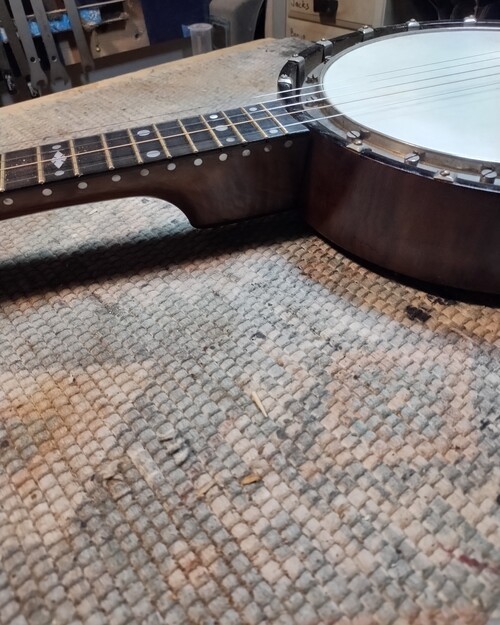
Action is good, and playable.
All back to tension.

Vintage Grover "non tip" bridge.
Now to let it all settle in and do final adjustments.
It plays up and down the neck.
Soon it will be ready to head back to it's owner.
Thanks for looking and sharing,
VM
It plays up and down the neck.
Soon it will be ready to head back to it's owner.
Thanks for looking and sharing,
VM