Private Page
TB-3 Resonator
This is the easiest way to show my process
My battle plan, since the cut-out area was slanted, was to make my filler with wood flour as I would in the fiberglass world when having to fill irregular voids.
It is a sifted product.
I had some brass stock that I used as my radius maker, put some p[adding on the backside of the resonator, taped off inside, clamped my caul in at the same slant as the cut.
Filled maybe a 1/4" at a time with flour,, packed, glued (Thin CA) and repeated until at the top of the caul.
The trick as in glass work, was waxing the caul so that it would pop loose.
I tested it with hard carnuba and it popped clean, as it should.
So I did the fill to the top of the brass then moved the brass to the top of the flange lip and finished off.
This is as far as I am so far but for me, the worst is over on the fill part.
So..
Are we refinishing it as well?
If so, I can get a better hide inside after I profile sand the affected area.
Here ya go Patron.
It is a sifted product.
I had some brass stock that I used as my radius maker, put some p[adding on the backside of the resonator, taped off inside, clamped my caul in at the same slant as the cut.
Filled maybe a 1/4" at a time with flour,, packed, glued (Thin CA) and repeated until at the top of the caul.
The trick as in glass work, was waxing the caul so that it would pop loose.
I tested it with hard carnuba and it popped clean, as it should.
So I did the fill to the top of the brass then moved the brass to the top of the flange lip and finished off.
This is as far as I am so far but for me, the worst is over on the fill part.
So..
Are we refinishing it as well?
If so, I can get a better hide inside after I profile sand the affected area.
Here ya go Patron.
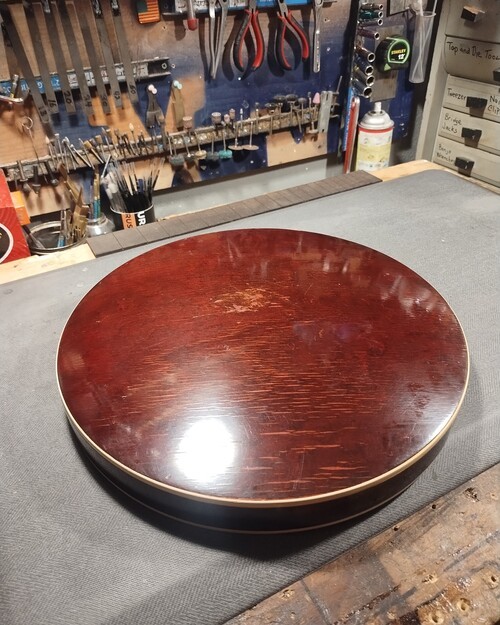
Normal checking
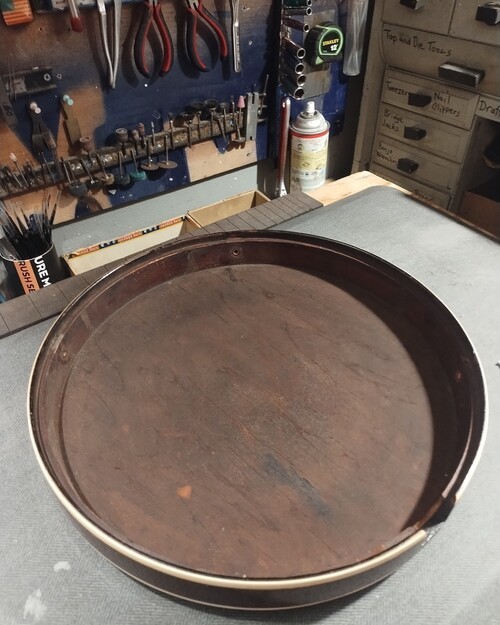
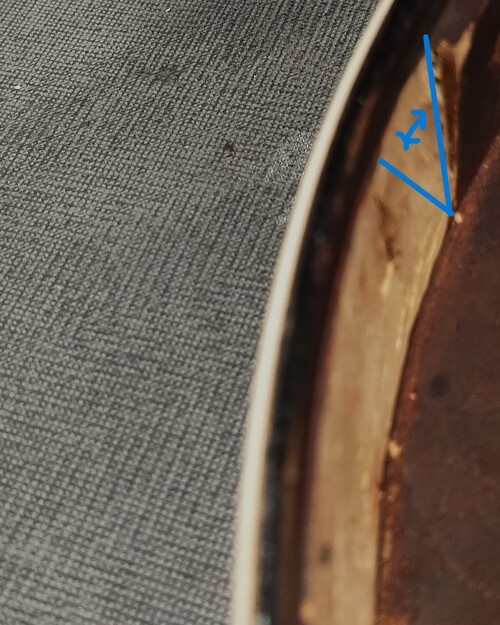
The angle of the cut.
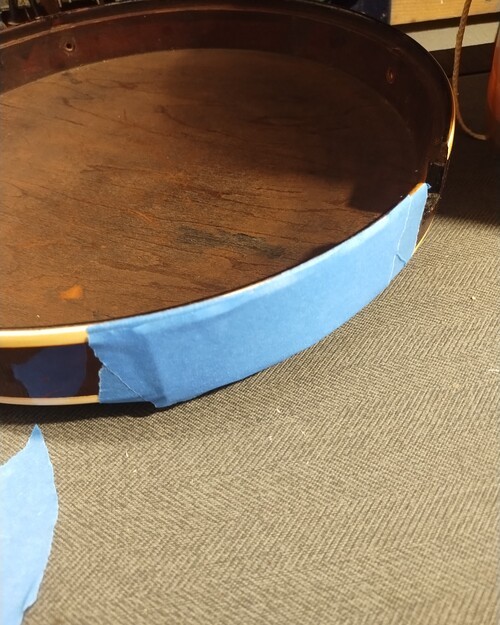
Backside padding,
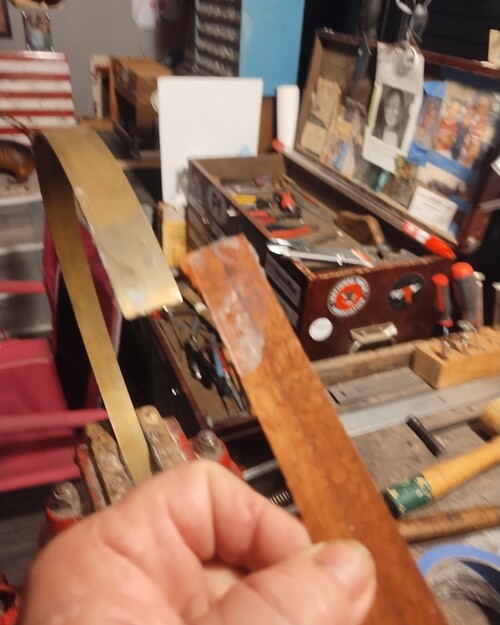
Perfect release, onward.
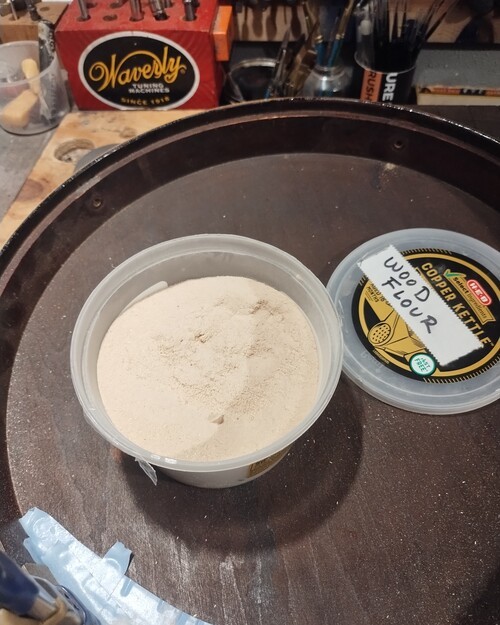
Time to flour -up.
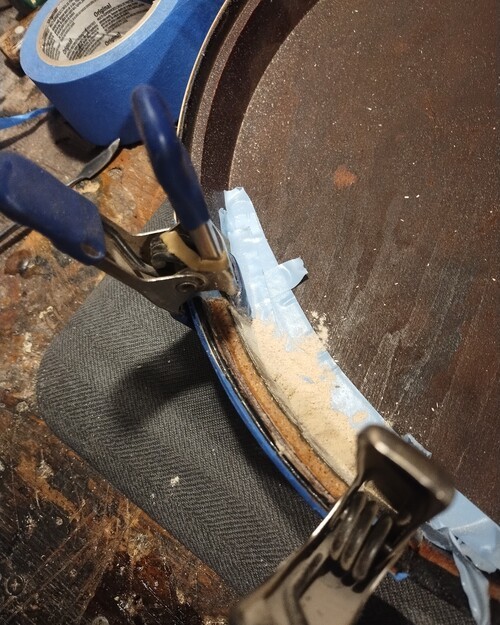
Caul raised to flange lip height.
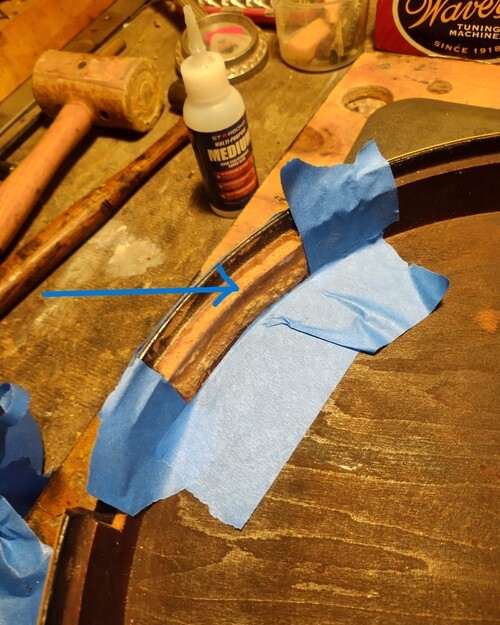
Adding glue after packing.
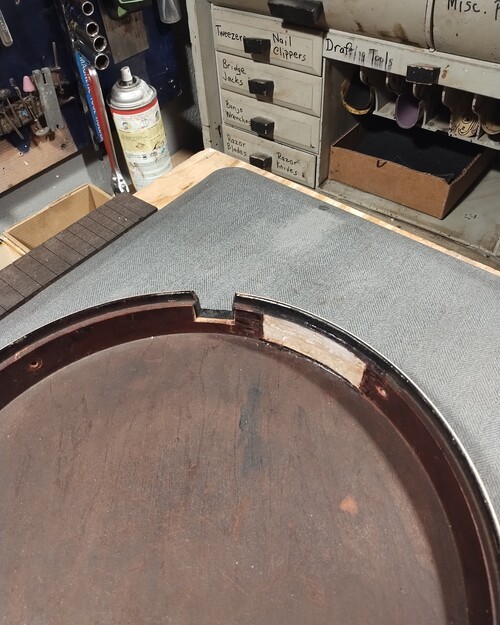
The radius is now there, and flange lip.
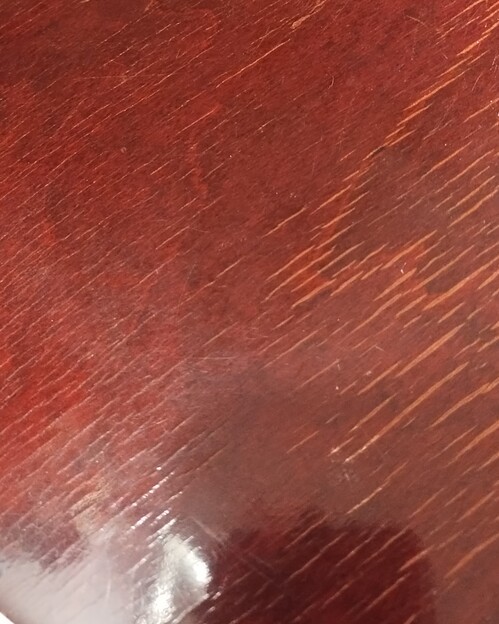
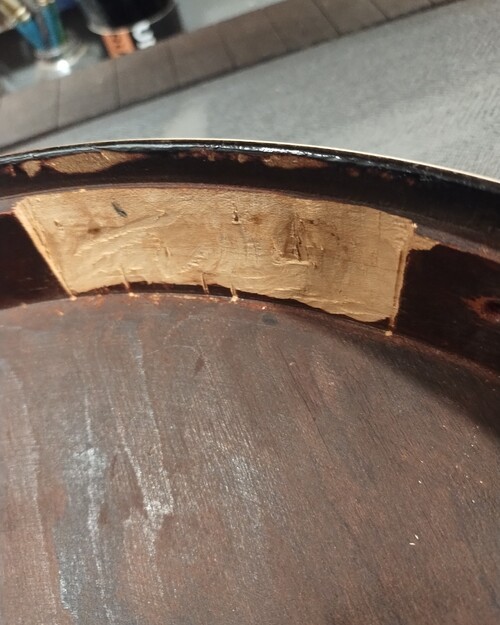
Ouch.
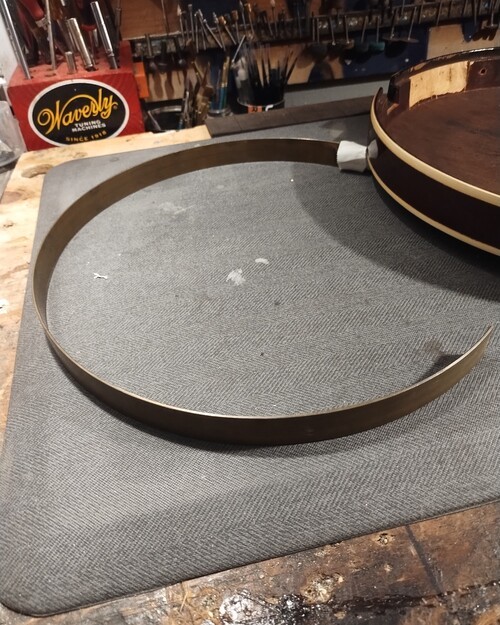
Brass stock.
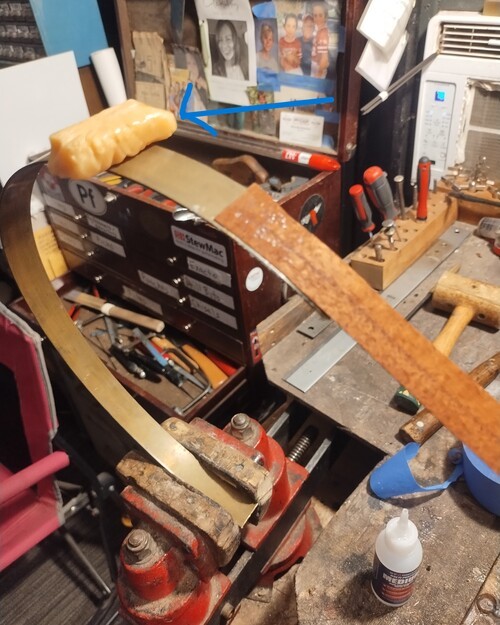
Testing the carnuba.
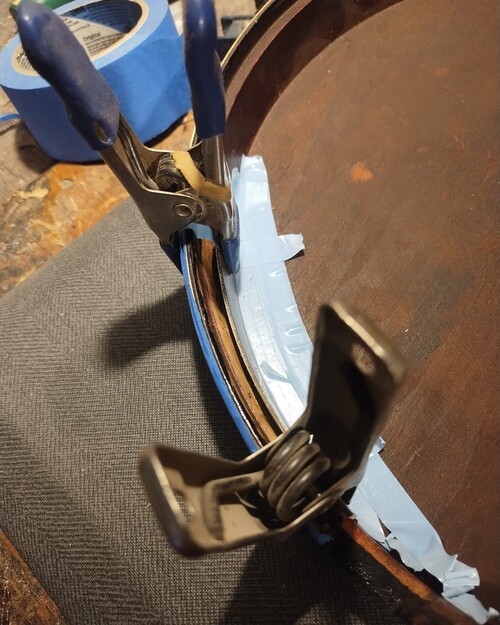
Caul clamped at angle.
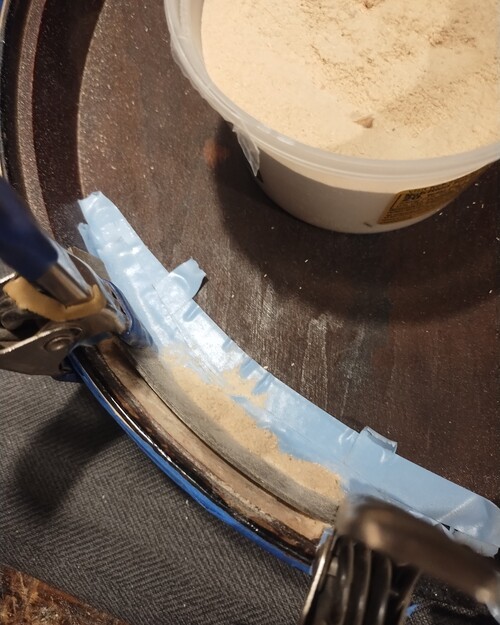
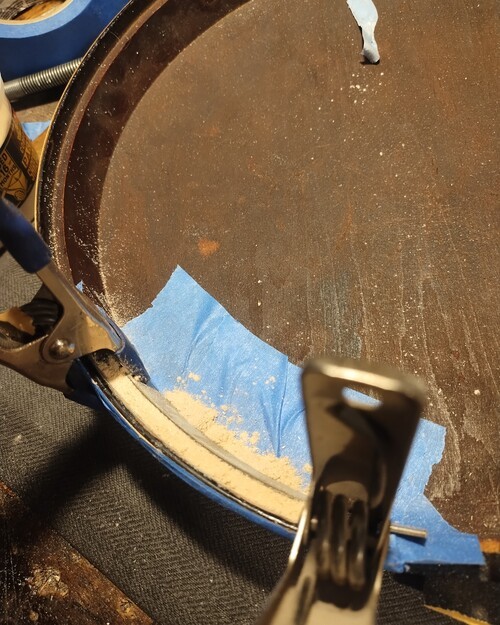
Packed
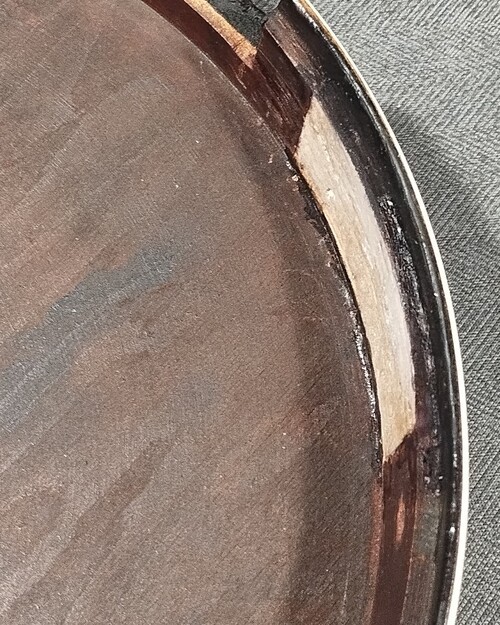
A little tint on the lip, now smooth it up.
More to follow